
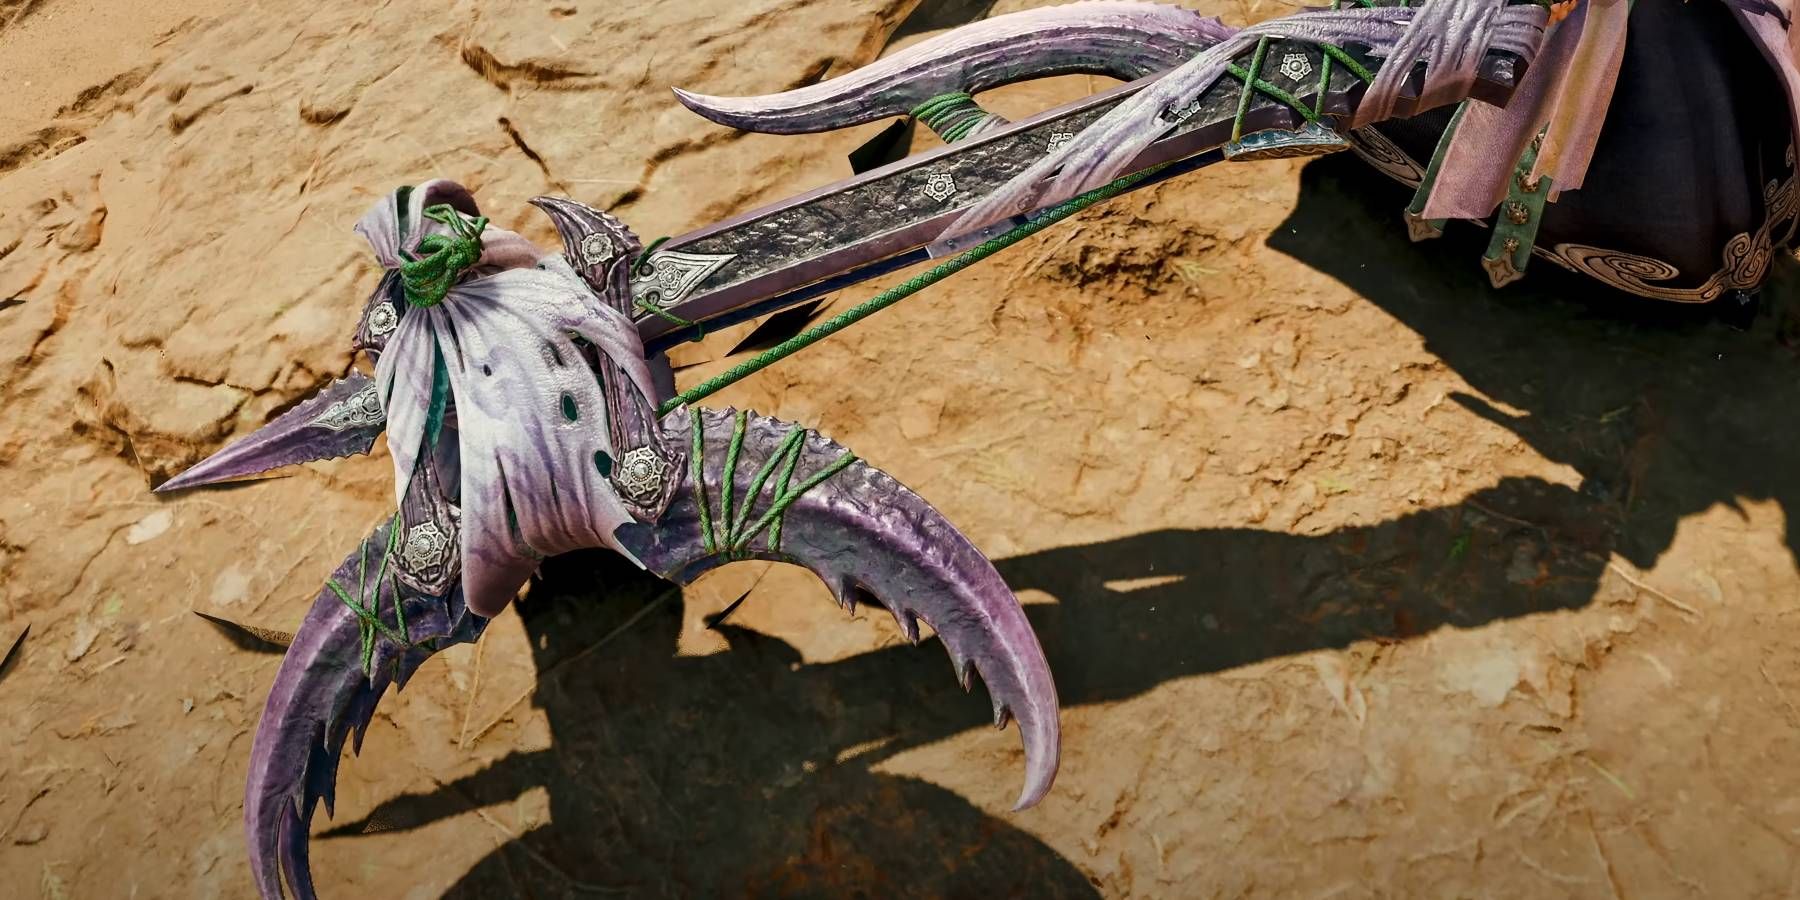
Among the diverse weapons available in Monster Hunter Wilds, the Switch Axe is particularly distinctive. This adaptable weapon lives up to its name, transitioning between two unique forms, each with its own capabilities. By skillfully switching between these forms, you can execute powerful attacks that unleash elemental bursts, effectively taking down enemy monsters.
Like the Charge Blade, the Switch Axe features two main modes for usage. However, much like all other weapons in the game, the Switch Axe follows the same basic principles. You can mount monsters, sheath the weapon, and enter Focus Mode using the same controls as with any other tool in Monster Hunter Wilds.
Managing the Switch Axe Gauges
Energy Build-Up Through Form Switching
When you equip the Switch Axe, you’ll see a symbol resembling the weapon’s design just below your health bar. This is the Switch Gauge, a crucial element with two distinct meters tied to the Switch Axe and its forms. Constantly balancing the Axe Gauge and the Sword Gauge is essential for effective gameplay.
Axe form attacks will enhance your Axe meter, while Sword form attacks will build your Sword meter. At first glance, this system in Monster Hunter Wilds may appear straightforward; however, Sword form attacks deplete the Axe Gauge. Consequently, you’ll need to maintain a careful balance since you can switch to Sword form only when the Axe Gauge is at a minimum of 30%.
Whenever an attack would drop your Axe Gauge below a certain threshold, your weapon will automatically revert to its original state once the current attack animation concludes.
Your objective is to keep both meters maximized for optimal performance. Start by attacking with Axe form to fill the Axe Gauge, setting you up for a longer duration in Sword form. While in Sword form, unleash additional attacks to enhance the Sword Gauge, unlocking powerful moves that can significantly increase your damage output.
Utilizing Both Forms of the Switch Axe
Counterattacks and Releasing Energy

The Switch Axe transitions between its Axe form and Sword form, each with distinct advantages and disadvantages. Axe mode features broad, sweeping slashes that hit monsters from a distance, but it does so at a slower pace. In contrast, the Sword form provides rapid attacks that build up elemental energy with every hit.
This guide will list controls for Switch Axe attacks as they appear on a PlayStation controller. For instance, the basic attack in both forms is executed using the Triangle button.
You’ll default to Axe mode initially, but you can switch between forms by pressing R2 during a combo. Most basic Triangle or Circle attacks in either form blend seamlessly with one another, allowing you to fluidly change from Axe to Sword whenever needed.
Axe Form Attacks
Axe form serves as your primary mode for the Switch Axe, providing you with numerous attacks against the various monsters in Monster Hunter Wilds . Your basic attacks consist of:
- Overhead Slash (Triangle)
- Axe: Wild Swing (Circle)
- Axe: Heavy Slam (Triangle after Wild Swing)
- Axe: Offset Rising Slash (Triangle + Circle)
- Axe: Fade Slash
The Overhead Slash functions as your basic attack, repeatable in a simple combo. The Wild Swing is a combo of several attacks, enabling you to swing your Axe rhythmically and damage anything nearby. This chain can finish with the Heavy Slam, delivering a powerful blow that enhances your weapon’s overall potential.
The Fade Slash allows you to execute an upward slash while moving backward with the Switch Axe. This technique can help avoid incoming attacks from monsters while still responding with a hit.
The Offset Rising Slash is an upward-slashing attack designed to target foes positioned above your character. However, the Offset Rising Slash features a new mechanic known as Perfect Offset in Monster Hunter Wilds. If timed appropriately against an approaching monster’s attack, a Perfect Offset lets you counter it and follow up with either a Heavy Slam or a quick Elemental Discharge using your Sword.
Sword Form Attacks

When you switch to Sword form, you unlock a new array of moves to strike at monsters. Sword attacks inflict greater damage than Axe attacks, making this mode ideal for delivering impactful blows to your foes. With proper management of your Switch Gauge, you can sustain Sword attacks for an extended period.
Your primary attacks in Sword form are as follows:
- Sword: Overhead Slash (Triangle)
- Sword: Double Slash (Circle)
- Counter Rising Slash (RT + Triangle)
- Element Discharge (Triangle + Circle)
- Zero Sum Discharge (rapidly press Triangle + Circle during Element Discharge)
- Compressed Slash (RT + Triangle + Circle)
Your Overhead Slash acts as one of your basic attacks, while the Double Slash delivers two rapid strikes against a target. Just like the Axe’s Offset Rising Slash, the Counter Rising Slash allows you to deflect an incoming attack before executing a spinning flurry of sword strikes.
The culminating move of the Switch Axe is the Element Discharge, which you can perform only after filling the Sword segment of the Switch Gauge. When partially charged, this attack releases a burst of energy in front of you, causing nearby monsters to stagger backward. If your Gauge is fully charged, this move will mount the monster, resulting in a massive damage explosion.
Alternatively, use the Compressed Slash for a stationary Elemental Discharge. Rapidly pressing the input for Element Discharge causes smaller explosions before the larger one, maximizing your damage output. Mastering the timing and buildup of an Element Discharge can yield your highest damage results with the Switch Axe.
Tips for Mastering the Switch Axe
Monitor Your Gauges and Maintain Aggression
Though not necessarily beginner-friendly, the Switch Axe offers an accessible playstyle for those who enjoy aggressive weaponry. To effectively master this weapon, you must maintain a balance between Axe and Sword modes by carefully observing your Switch Gauge. Building sufficient Axe power allows for prolonged use of Sword mode, leading to increased damage per second as you accumulate elemental energy with your hits.
One important tip for using the Switch Axe is to not hesitate to revert to Axe mode for additional reach. While Sword mode may deal more damage, Axe mode is still a potent weapon capable of frequent hits. Surprisingly, Axe mode offers slightly greater mobility, aiding you in dodging attacks from threatening monsters in Monster Hunter Wilds.
Utilizing elemental strikes when a monster exposes itself will stagger targets effectively. Practice timing your responses to enemy attacks to exploit counter opportunities with both weapon forms, enabling you to maintain offensive pressure. Once you master the nuances of the Switch Axe in Monster Hunter Wilds, you’ll wield a weapon that can tackle various challenges with ease.
