The Harrowing is the initial side quest for players who select the Mage class in Dragon Age: Origins. In this quest, you venture into the Fade to confront daunting challenges. It serves as a trial of will, where mages need to demonstrate their ability to manage their powers and show the Templars that they can maintain control over their magic.
During this experience, mages need to guard against being taken over by the demons of the Fade. This quest effectively illustrates how easily a demon can eliminate an unprepared player in the chaotic realm of the Fade, emphasizing the need for vigilance.
Locate Some Spirits
Upon entering the Fade, look for an interactable vase in the opening area containing Shimmering Orbs of Light, a magical item that restores health and is only usable within the Fade, vanishing once you exit. Ahead, you’ll encounter a character named Mouse, a lost spirit who claims to be a forgotten mage that failed his Harrowing and seeks to assist you in passing yours.
Engage with the statue near the vase to reveal a Codex entry.
As you make your way through the environment, you will encounter minor foes known as Wisp Wraiths. These orbs of light deal ranged magical damage, but a single use of a basic spell should easily defeat them. There’s an arena to your right featuring a Lyrium deposit that can replenish your Mana.
Continuing along the path, you’ll notice hills and statues ahead, and Mouse will inform you of a spirit nearby. Before engaging with that spirit, turn right and ascend a small hill to find another vase containing more Shimmering Orbs of Light, along with another statue that unlocks a Codex entry.
Convincing the Spirit of Valor to Aid You
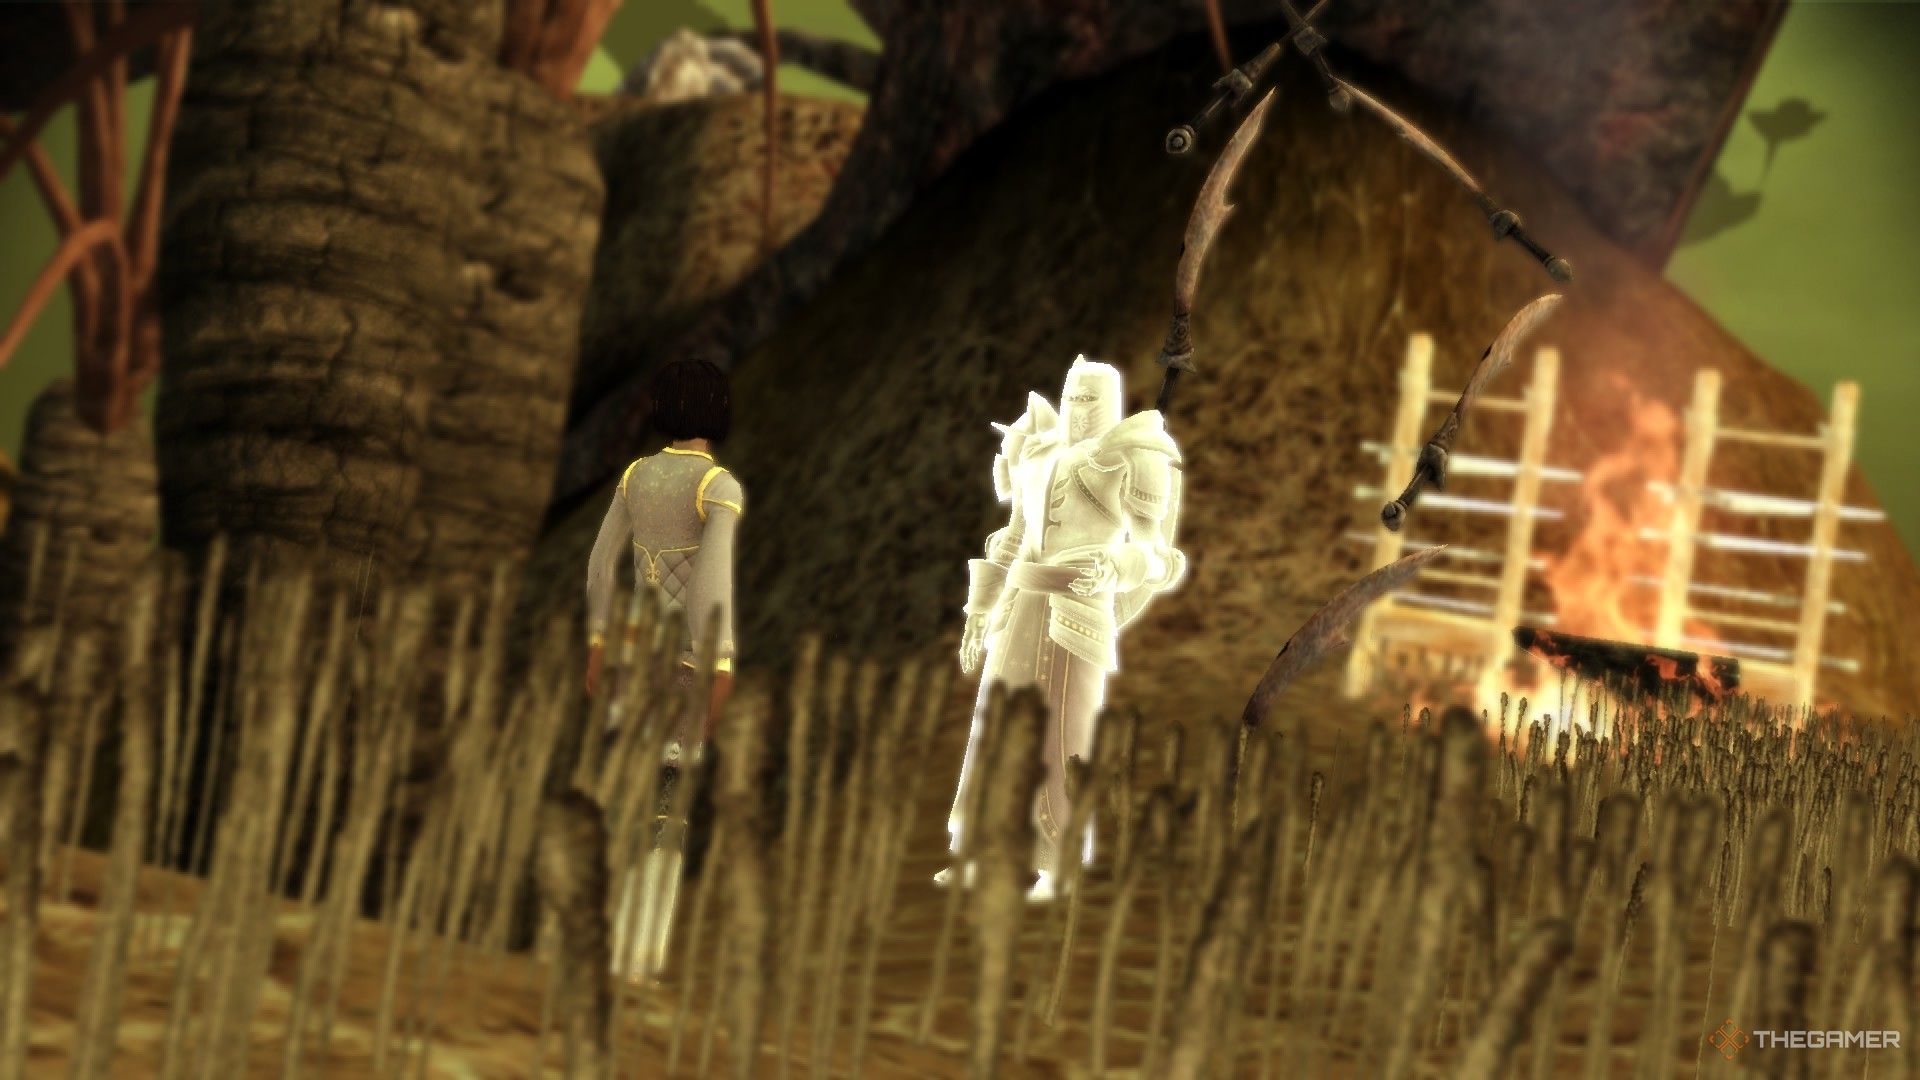
The next spirit you encounter will be the Spirit of Valor. Your goal is to persuade him to assist you in defeating the demon that stands in the way of completing your Harrowing test. You have two options for convincing him: you can either engage in an honorable duel or persuade him using your wits without resorting to combat.
|
Spirit of Valor |
|
|---|---|
|
Fight Valor |
If you choose to fight him, Mouse will assist you in the battle. Allow Mouse to take the front line while you hang back. |
|
Convince Valor |
If your Willpower is high, you can use persuasion to convince him to lend you his aid. |
|
Reward |
|
|
Valor’s Staff Overview |
|
|---|---|
|
Material |
Iron (Tier 1) |
|
Damage |
4.00 |
|
Armor Penetration |
20.00 |
|
Range |
50 |
|
Spell Power |
1 |
Once you defeat the demon and complete The Harrowing, this staff will be removed from your inventory.
After you obtain the Valor’s Staff, Spirit Wolves will appear and attack from behind. Remember that your basic spells should eliminate these foes in two hits. You can take them down one at a time by allowing Mouse to draw their attention. More Spirit Wolves will emerge as you progress.
Convincing the Sloth Demon to Aid You

Next, you will encounter the spirit known as Sloth. He is meant to be the most formidable presence in the area but appears too lethargic to care, even demonstrating to Mouse how to transform into a bear. This transformation enables Mouse to deal increased damage when assisting you against the demon.
You can persuade Sloth to help in two ways: by defeating him in battle or by correctly answering his riddles. If you opt to fight, he will change into three different forms upon being defeated each time.
|
Sloth Demon’s Riddle Answers |
|
|---|---|
|
“I have seas with no water, coasts with no sand, towns without people, mountains without land. What am I?” |
A map. |
|
“I’m rarely touched, but often held. If you have wit, you’ll use me well. What am I?” |
My tongue. |
|
“Often will I spin a tale, never will I charge a fee. I’ll amuse you an entire eve, but, alas, you won’t remember me. What am I?” |
A dream. |
Answering any of the riddles incorrectly will require you to battle the Sloth Demon.
If you answer all the riddles correctly, Mouse will transform into a bear. Expect more Spirit Wolves and Wisp Wraiths waiting in the following areas, which allows you to gain experience. You must then return to the place where Mouse indicated the final demon will spawn, located at the end of the map.
Defeating the Rage Demon
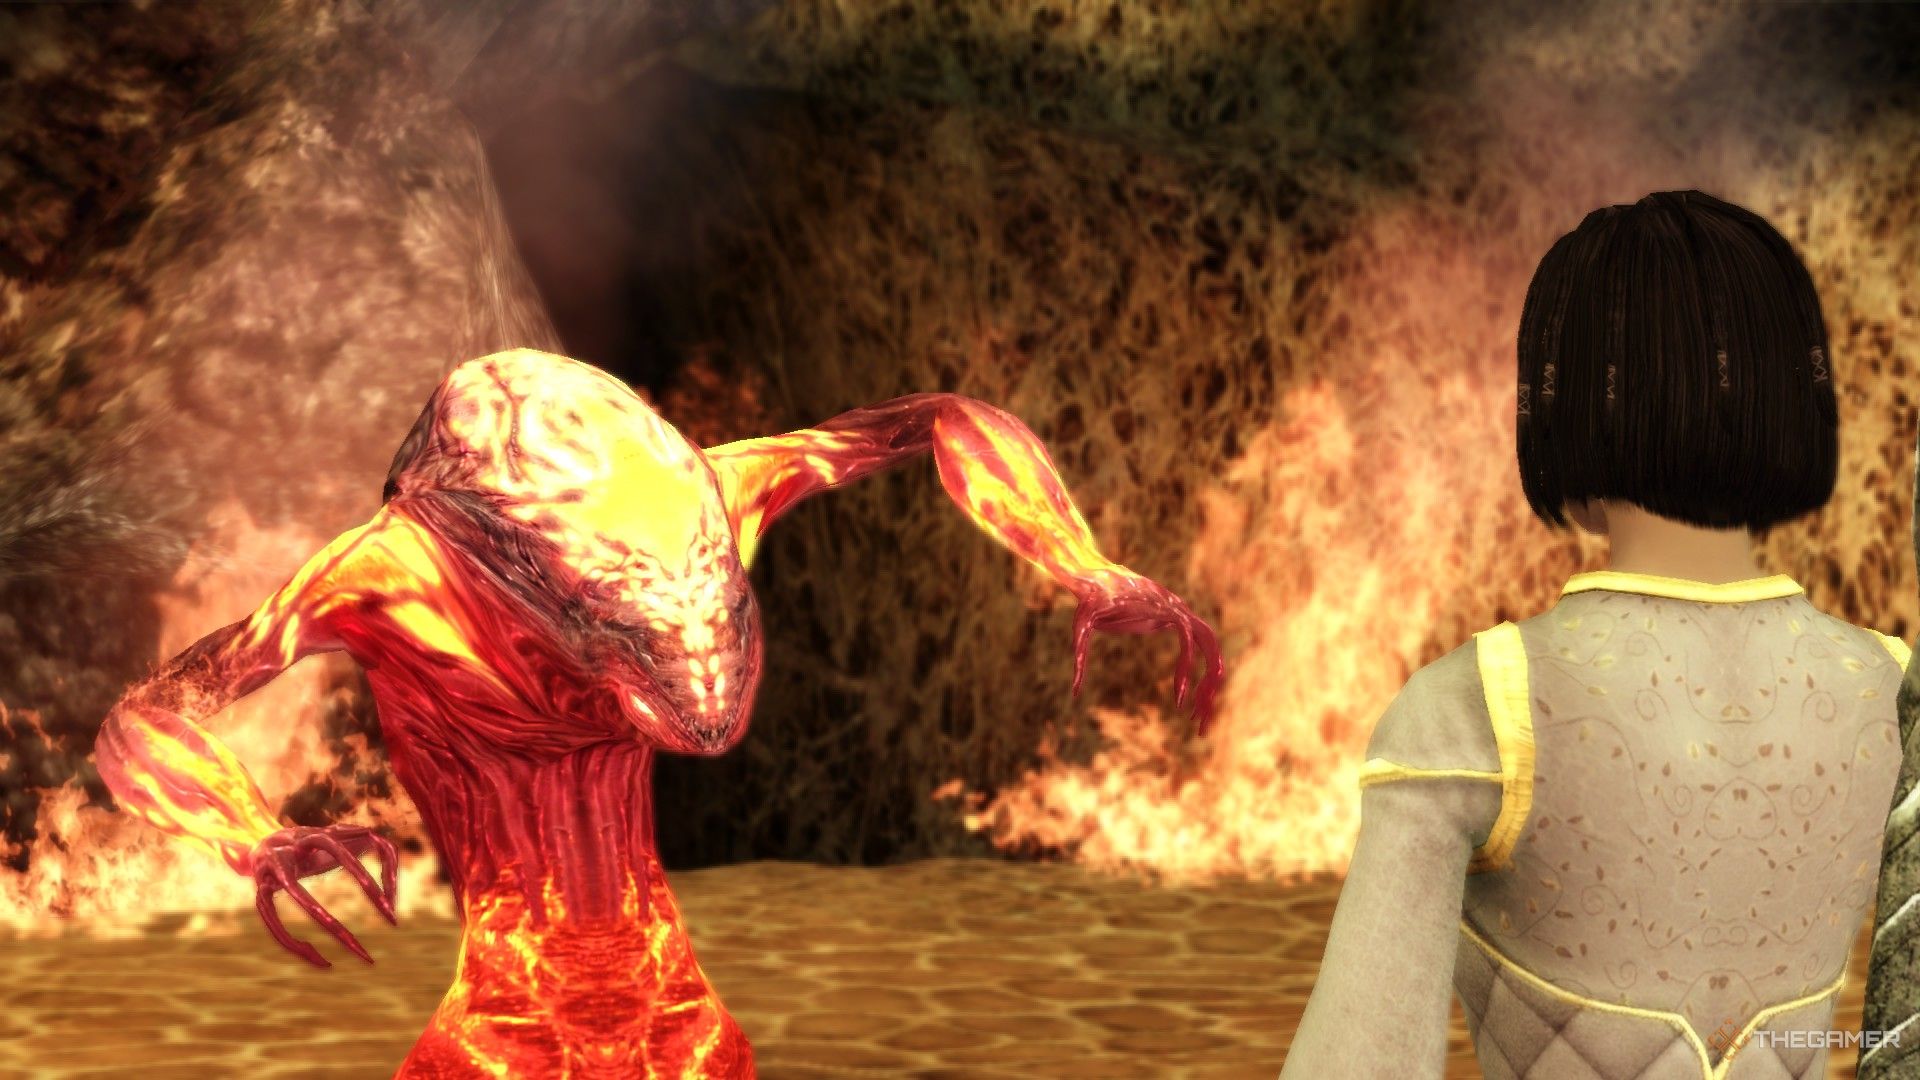
Upon reaching the arena, you’ll be confronted by the Rage Demon. During this battle, three Wisp Wraiths will surround you and Mouse; it’s crucial to maintain some distance and eliminate the Wisps first to avoid complicating your fight with the demon. Allow Mouse to distract the demon while you dispatch the Wisps swiftly.
Position yourself near the Lyrium Vein for quick access to Mana replenishment. Utilizing ice or frost spells will deal the most damage since the demon is fire-based, while fire spells will be less effective.
Once Mouse transforms into a bear, he becomes a companion. You can have him consume Shimmering Orbs of Light to heal himself during the battle.
After you defeat the Rage Demon, Mouse will reveal that he was the real threat all along. He imparts a life lesson about always being prepared for challenges, and then your character awakens back in The Circle Tower.