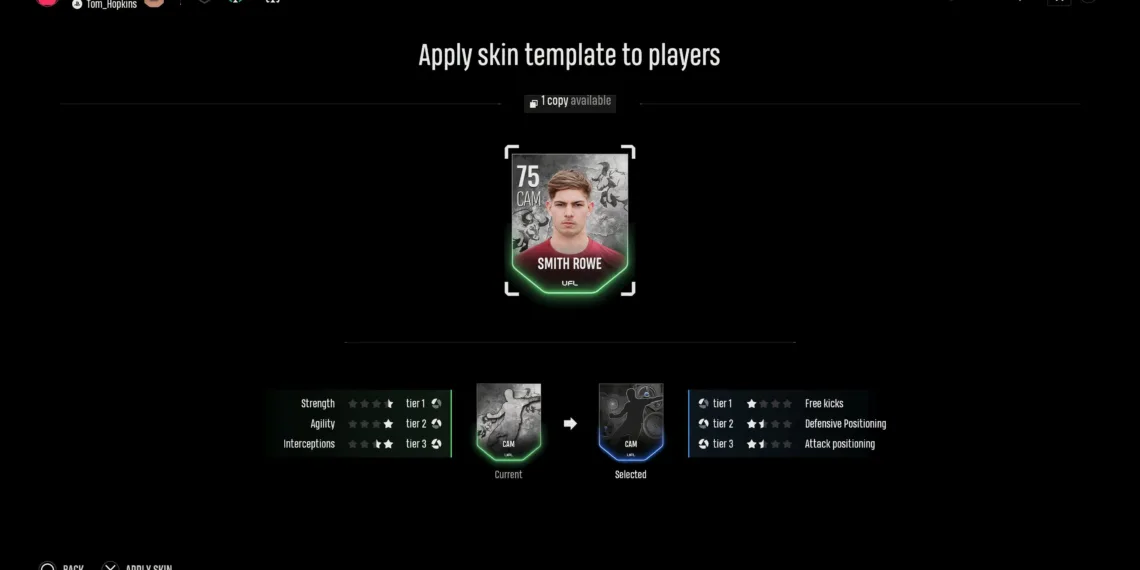
In UFL, skins function a bit differently compared to most games. While they do change the appearance of a player’s item in the game, their primary purpose is to enhance a player’s stats. You can obtain skins from packs and apply them to players who occupy the corresponding position.
Some rarer skins provide greater boosts to specific stats than others, and there are even unique skins designed for certain players within the game. To ensure your team remains as powerful as possible, it’s beneficial to continuously add and remove skins for optimal boosts. However, figuring out how to do this isn’t always straightforward.
How to Apply Skins
After opening packs—whether as rewards for playing or purchasing from the store—you’ll have a variety of skins ready to apply. However, you can’t apply them directly from the squad screen.
Instead, navigate to the main menu and select the Skins option. Choose the Library option to view all the skins you have.
Next, locate the skin you want to use on your selected player. Press X/A on the skin, and a list of players from your club that suit the required position will appear. Press X/A again to apply the skin. Alternatively, you can first choose a skin and then select the player you want to apply it to.
Each skin enhances specific stats, so ensure you apply one that boosts the relevant attributes for the player.
How to Remove Skins

Sometimes, you may need to replace a skin with a better one you’ve acquired over time. It’s important to remove the old skin before attaching the new one.
To do this, go to the skins library and find the player from whom you want to take off the skin. Then, press X/A on that player to detach the skin and return it to your library. Remember, this process can only be done within the skin-specific section of UFL, not the squad screen.
When you remove a skin from a player, it goes back into your library for you to use on another player.


