Amidst the frenzy of dodging monsters and trying to hit your target in every round, vanilla R.E.P.O. offers its own unique thrill. But what if you want to play with more than six players or outfit your character with cool cosmetics? For that, you’ll need to add some mods.
If you’re eager to dive into the world of modded R.E.P.O., this guide will show you how to get and utilize mods, including the program necessary for finding and installing them. We’ll walk you through each step, so you can unlock the exciting possibilities that mods can bring to your gameplay.
Keep in mind that some mods may conflict with each other or lead to crashes and performance issues. Usually, simply removing the troublesome mod will resolve the problem, but be sure to do your research on any modifications you plan to use before installation.
Locating Mods
If you’re new to modding, the thought of installing mods might feel overwhelming, but it’s easier than you think.
Instead of scouring multiple websites to download mod files and figuring out where to place them, you can use an app designed for mod installations straight into the game.

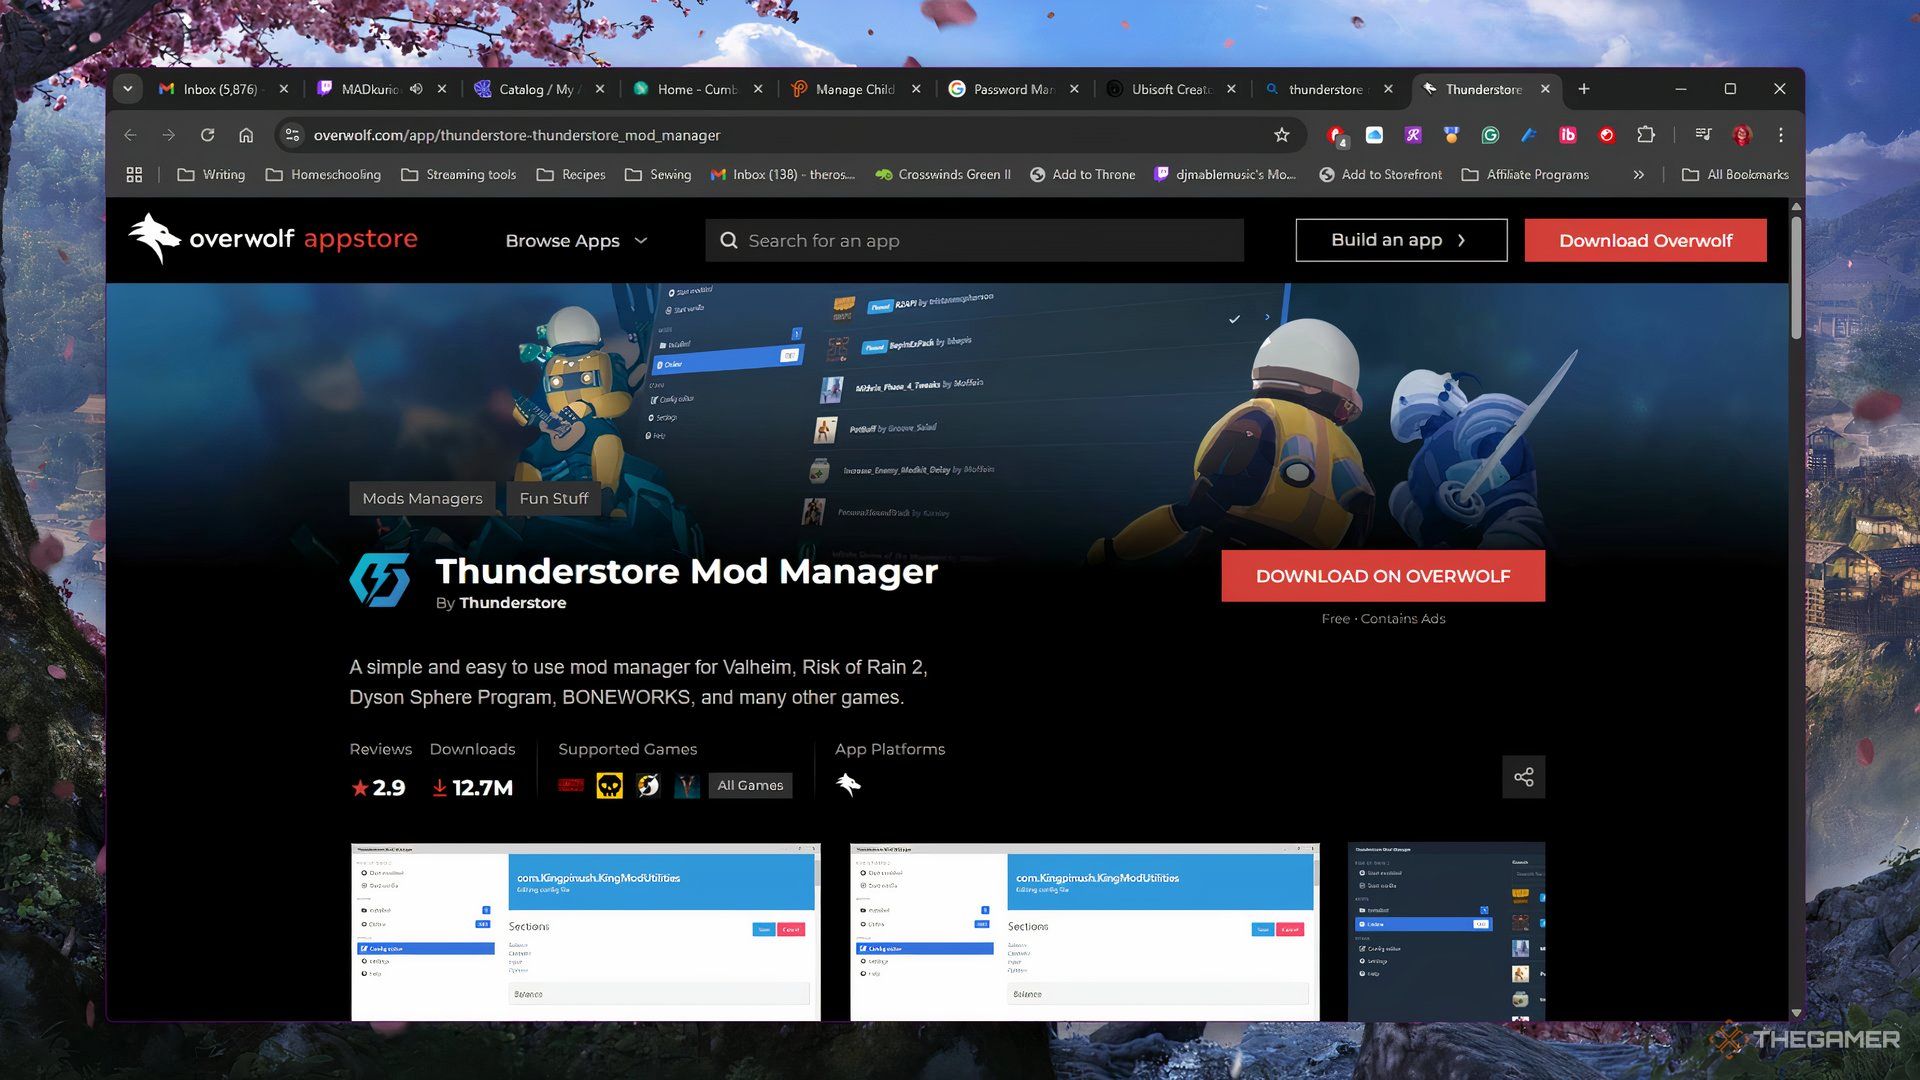
The Thunderstore Mod Manager, created by Overwolf, is the tool you’ll use to install and manage your mods for R.E.P.O. To get it, first download the Overwolf client, then install Thunderstore. The entire setup is straightforward and shouldn’t take long.
Installing Mods
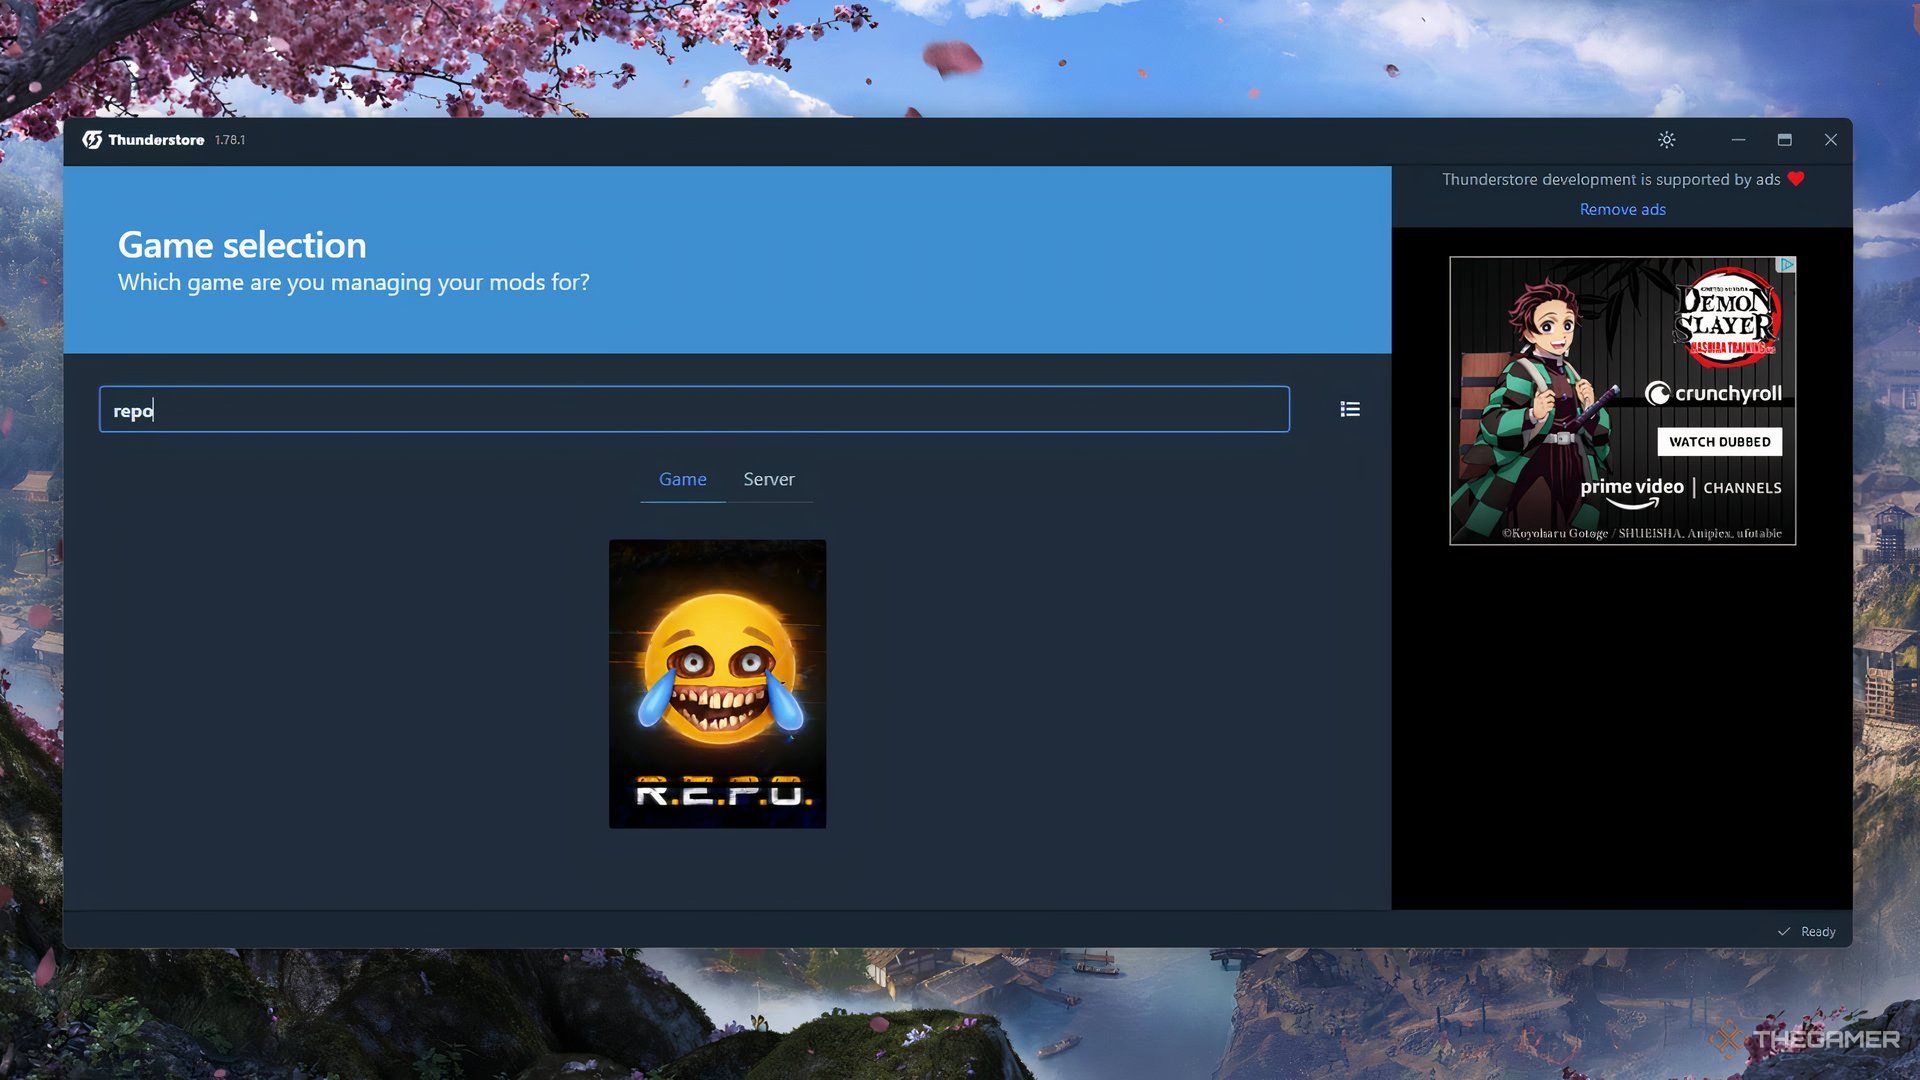
Once you have Thunderstore ready, search for R.E.P.O. (you can include or skip the periods) and click on it. This will lead you to its dedicated mod profile.

Here, you can explore and install any available mods for R.E.P.O., check which ones you have already added, and launch the game with those mods.
search, install, and utilize mods:
- Click on the Get mods tab. You can browse through the mods and apply filters to find specific kinds. If you’re after a particular mod, you can type the name in the search bar.
- Select the mod you’d like and hit Download.
- A window will appear asking you to pick a version. It’s best to go with the latest version of any mod. When ready, click on Download with dependencies.
- After the installation completes, it will appear under the My mods section.
- To start the game with your installed mods, click the blue button in the top right corner labeled Modded.
Make sure you know that every mod for R.E.P.O. requires a base mod called BepInExPack, found in the Get mods section. Installing this is crucial for any other mods to function, and you’ll see an error message if you attempt to launch the game without it.
Playing Multiplayer with Mods

One of the best features of Thunderstore is how effortless it makes modded multiplayer. Just click on Share at the top of the window, and you’ll receive an alphanumeric profile code to share with your friends.
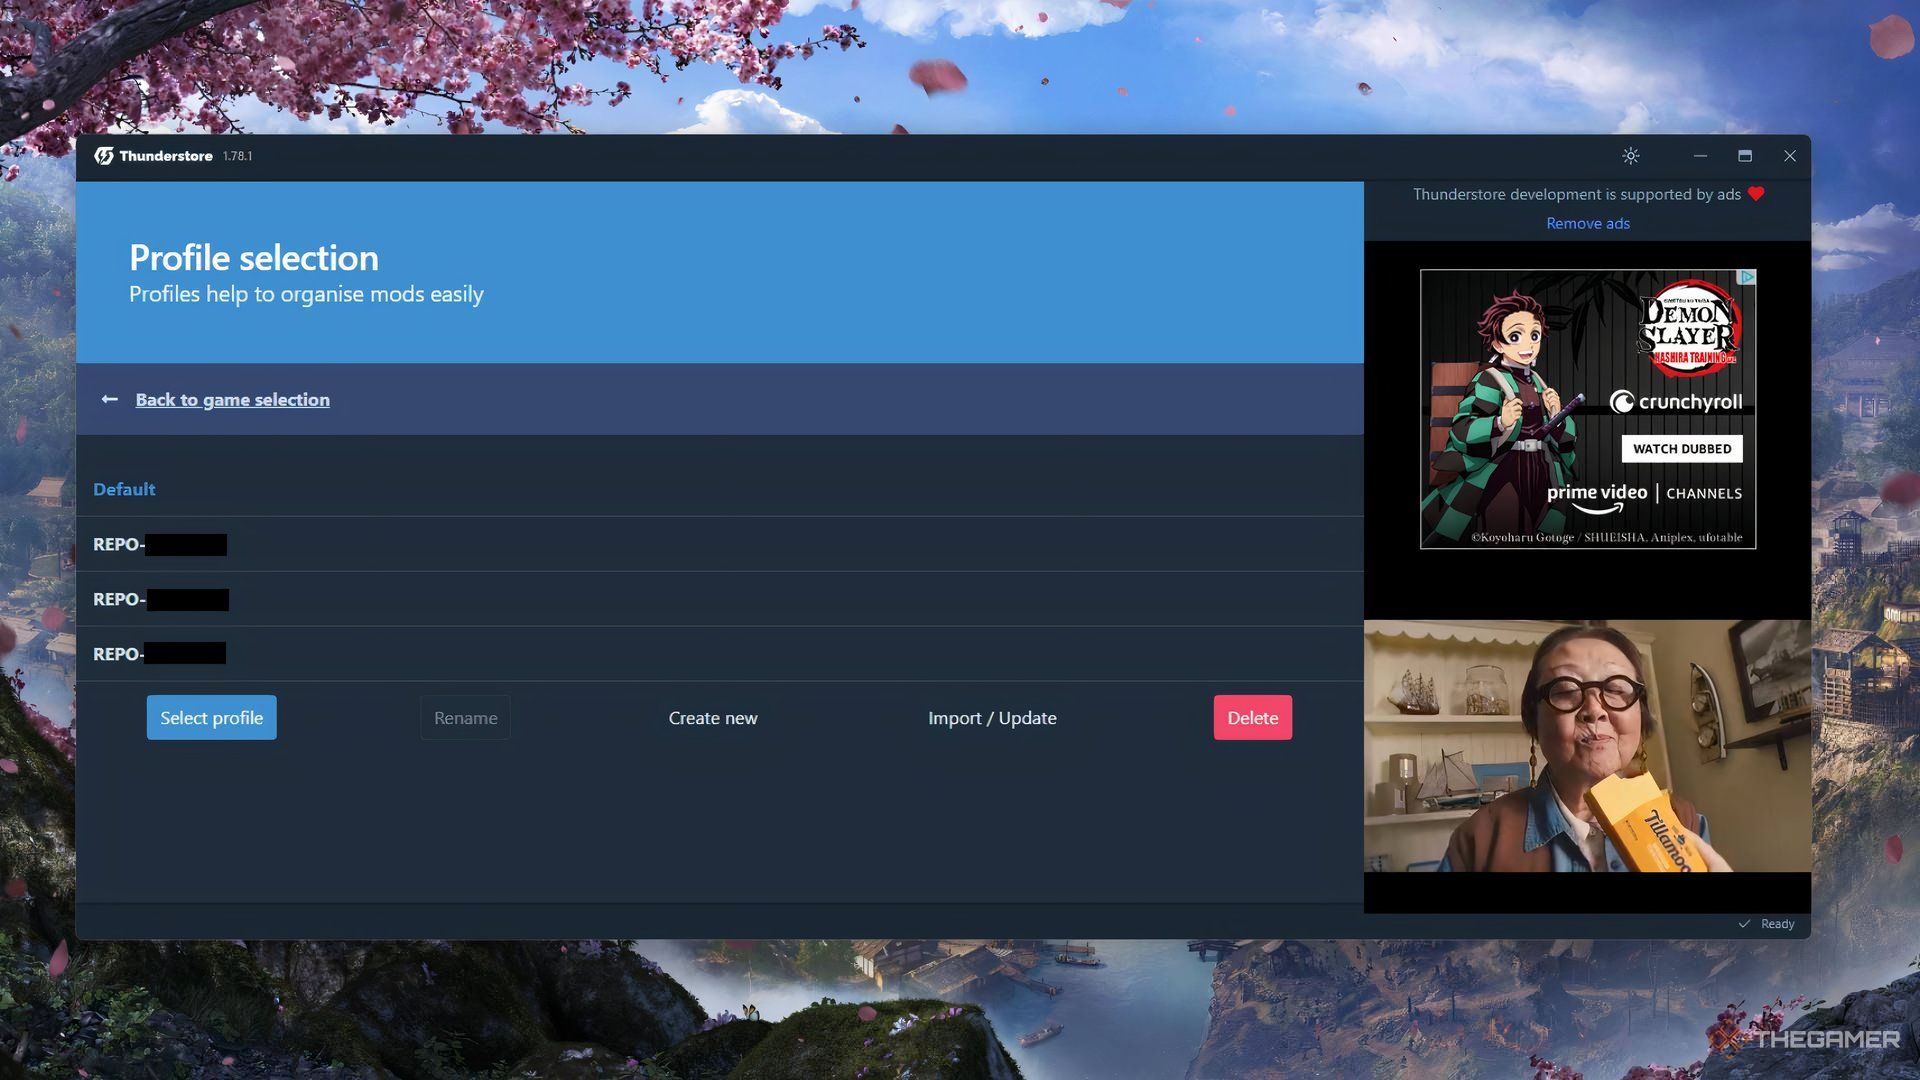
Guide your friends to install Thunderstore and then help them through the process to install your profile:
- Instruct them to click on Change profile.
- Next, they should click Import/Update.
- Then select From code.
- Have them paste in your profile code.
- Then, either create a new profile with these mods, or update an existing one.
- Lastly, the mods will be installed for them, and they only need to launch the game through Thunderstore.
This method can be particularly helpful if you have several mods, as your friends won’t have to go through the hassle of installing each one individually.