Mind Over Magic features an expansive underground dungeon that hosts most of the game’s non-management elements. As time goes on, managing your school will become more challenging unless you explore the various chambers and take on the bosses lurking in the underbelly of the school. The final showdown with the game’s last boss is located at the deepest levels.
Not only is it essential to conquer this area to claim victory, but the underground also provides numerous valuable tools and ritual rooms that you cannot create on your own. To enhance wands, reroll relics, and trade surplus resources, you must venture deep into the depths.
Overview of Underschool Facilities
The underschool is organized into a variety of biomes, each providing unique crafting materials and useful rooms that are not available for personal construction.
To make the most of your time, consider placing chests in the underschool rooms filled with everything needed for rituals: wands, motes, and portents are rendered useless above ground.
| Facility | Biome | Usage |
|---|---|---|
| Wand Transfigurator | Stone Ruins | Upgrades for your mages require this; there’s one transfigurator for level two and another for level three wands, and they must be used in sequence. |
| Voidcap Farm | Fungal Cavern | This room consistently produces voidcap mushrooms and is designed to keep mages from wandering through it accidentally. |
| Warded Rooms | Any | These rooms let you refight challenges from that biome and level, making them ideal for combat and warding trials, with some appropriate loot dropping as well. |
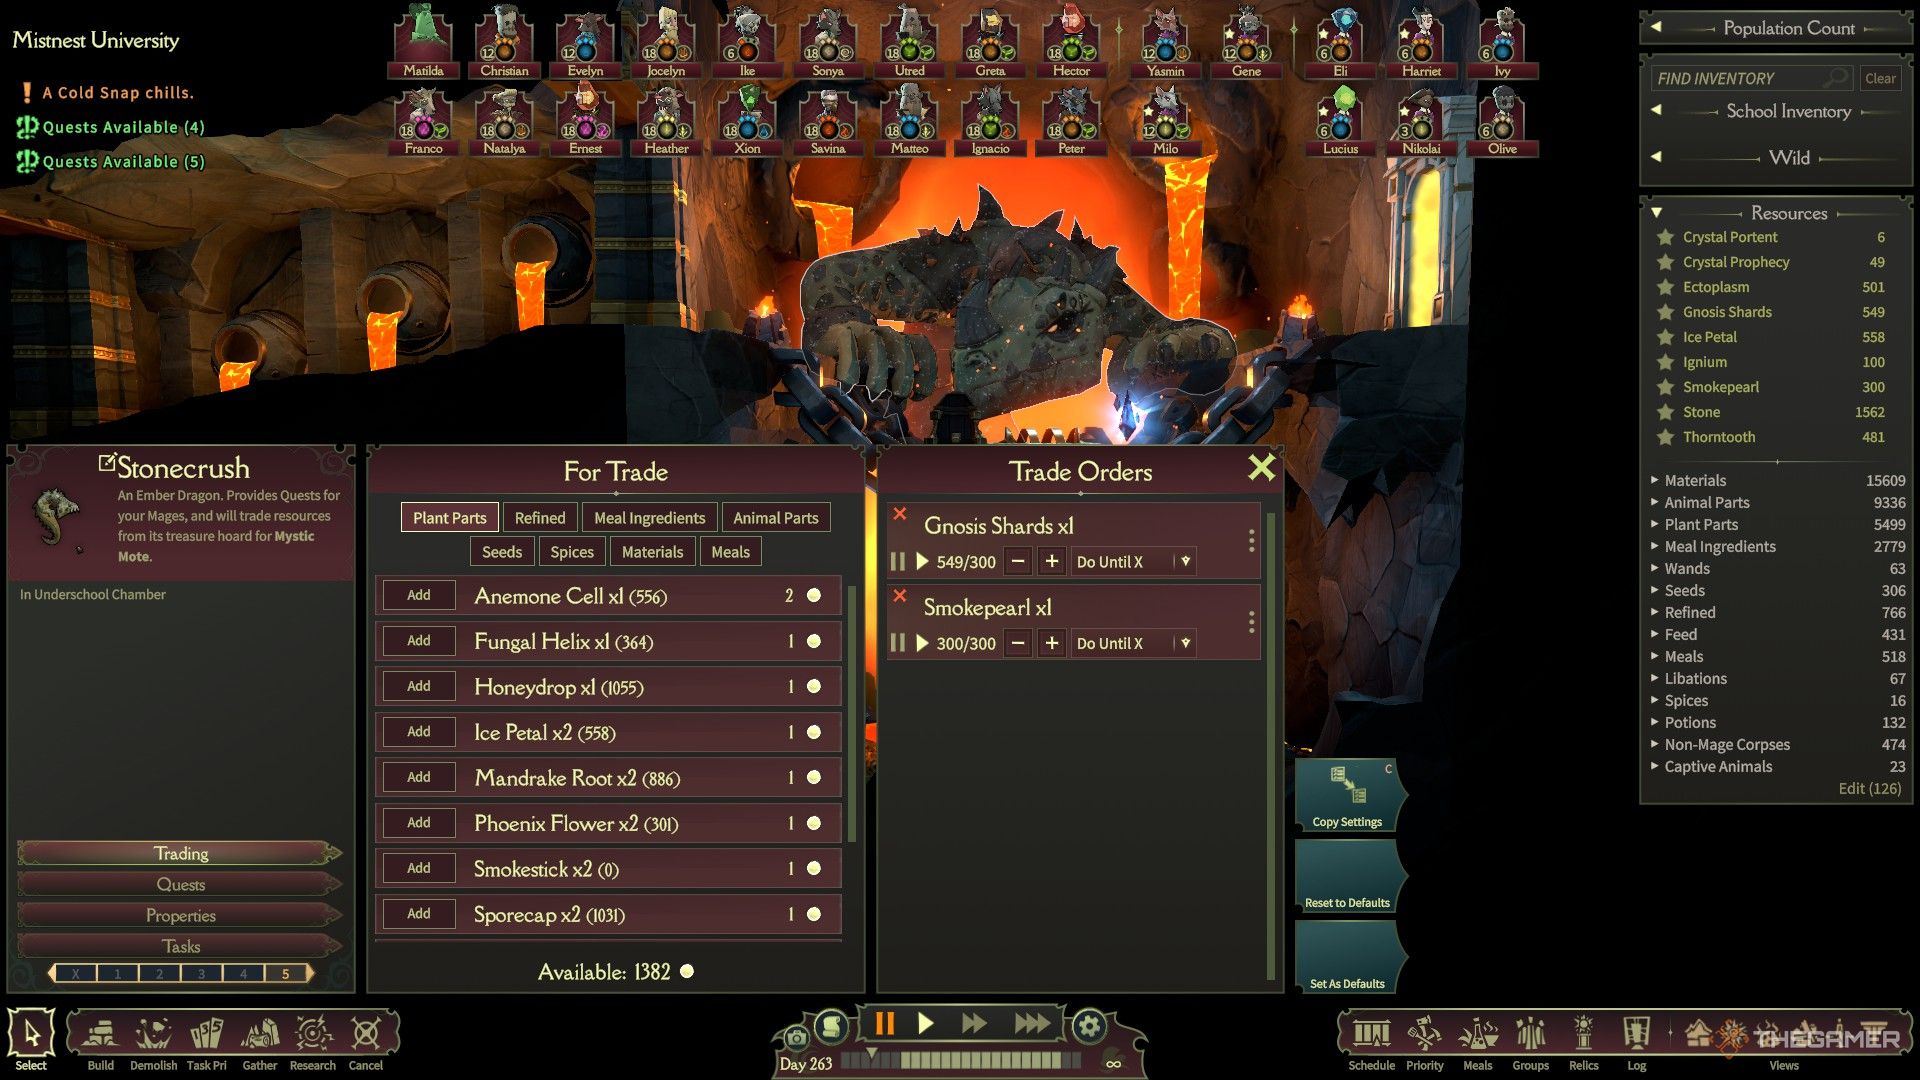
| Ember Dragon Roost | Lava Mines | The dragon will trade excess resources to help cover shortages with tough but manageable exchange rates; runewood is the easiest to farm at higher levels. |
| Altar of Fate | Nexus | For a small fee, you can reroll the abilities of a relic, adjust trials on a student, or modify the relic slots on a mage, all of which become inexpensive later in the game. |
| Infinite Halls | Nexus | These offer repeatable dungeons with varying levels; clearing these rooms within 24 hours rewards you with gnosis, mystic motes, and experience. |
The underschool also provides additional space for building your base, with rooms fittingly named with keywords like private, silent, and grounded for enhanced functionality. However, there are some restrictions:
- Rooms cannot be resized or new walls and doors added.
- Wall fixtures cannot be constructed, meaning you cannot create a room needing items like blackboards or incense burners.
- Underground areas can reduce the morale of nature and darkness mages, who require natural light.
Despite these limitations, you can utilize the space in several ways:
- Store refining beasts that don’t need specific room types.
- Keep storage rooms underground to prevent issues like oozes spawning from neglect.
- Build a Sculpture Studio, which must be situated on or below the ground floor with no special wall requirements.
- Early game simple workshops may not require wall fixtures or decorations, making space management less of a hassle.
All Underschool Boss Fights
Every boss battle in the game takes place in the underschool, allowing players to choose when to engage. Although urgency is necessary to manage the growing malice, you will have ample time to rest and prepare between fights.
Each boss can be fought indefinitely, providing limited experience but offering a steady reward of loot with each victory. Particularly, the burrower larva is a reliable source of smokepearls, which are hard to harvest in bulk.
To speed up farming a boss, consider placing a mana lantern right outside the effigy.
| Boss | Location | Strategy | Elemental Weaknesses |
|---|---|---|---|
| Burrower Larva | Lava Mines | This boss regenerates 5% of its health every round. If your team can’t defeat it quickly or maintain constant pressure, it could lead to defeat. It will burrow every few rounds and become untargetable, offering a chance to buff your team. | Weak to water. |
| Burrower Spitter | Fungal Cavern | The spitter summons frontline minions and can regenerate them when bloodied. Use a lightning mage to target it in the back to activate the second phase early, making the minions only need to be beaten once. | Resists all (use abjuration to change resistances). |
| Ancient Seal | Nexus | Collect four seal fragments to access the final boss fight. These fragments can be earned through dragon quests or crafted by level eight mages in different elements. | Race seals are easier fights than most elemental guardians. |
| Wretched Embodiment | Nexus | This boss can strike mages from any position and is invulnerable while its minions are present; so plan your attack scheme wisely. If you have level eight mages with powerful spells, you can breach its health quickly without worrying about defenses. | No weaknesses or resistances (use the abjuration "nowhere to hide"). |
Defeating the Wretched Embodiment frees all mages from the malice conviction penalty, lifting any time-based mood penalty. You will also receive a level 25 relic that any mage can use, enhancing their skills significantly and allowing them to float through walls like your founding ghost.