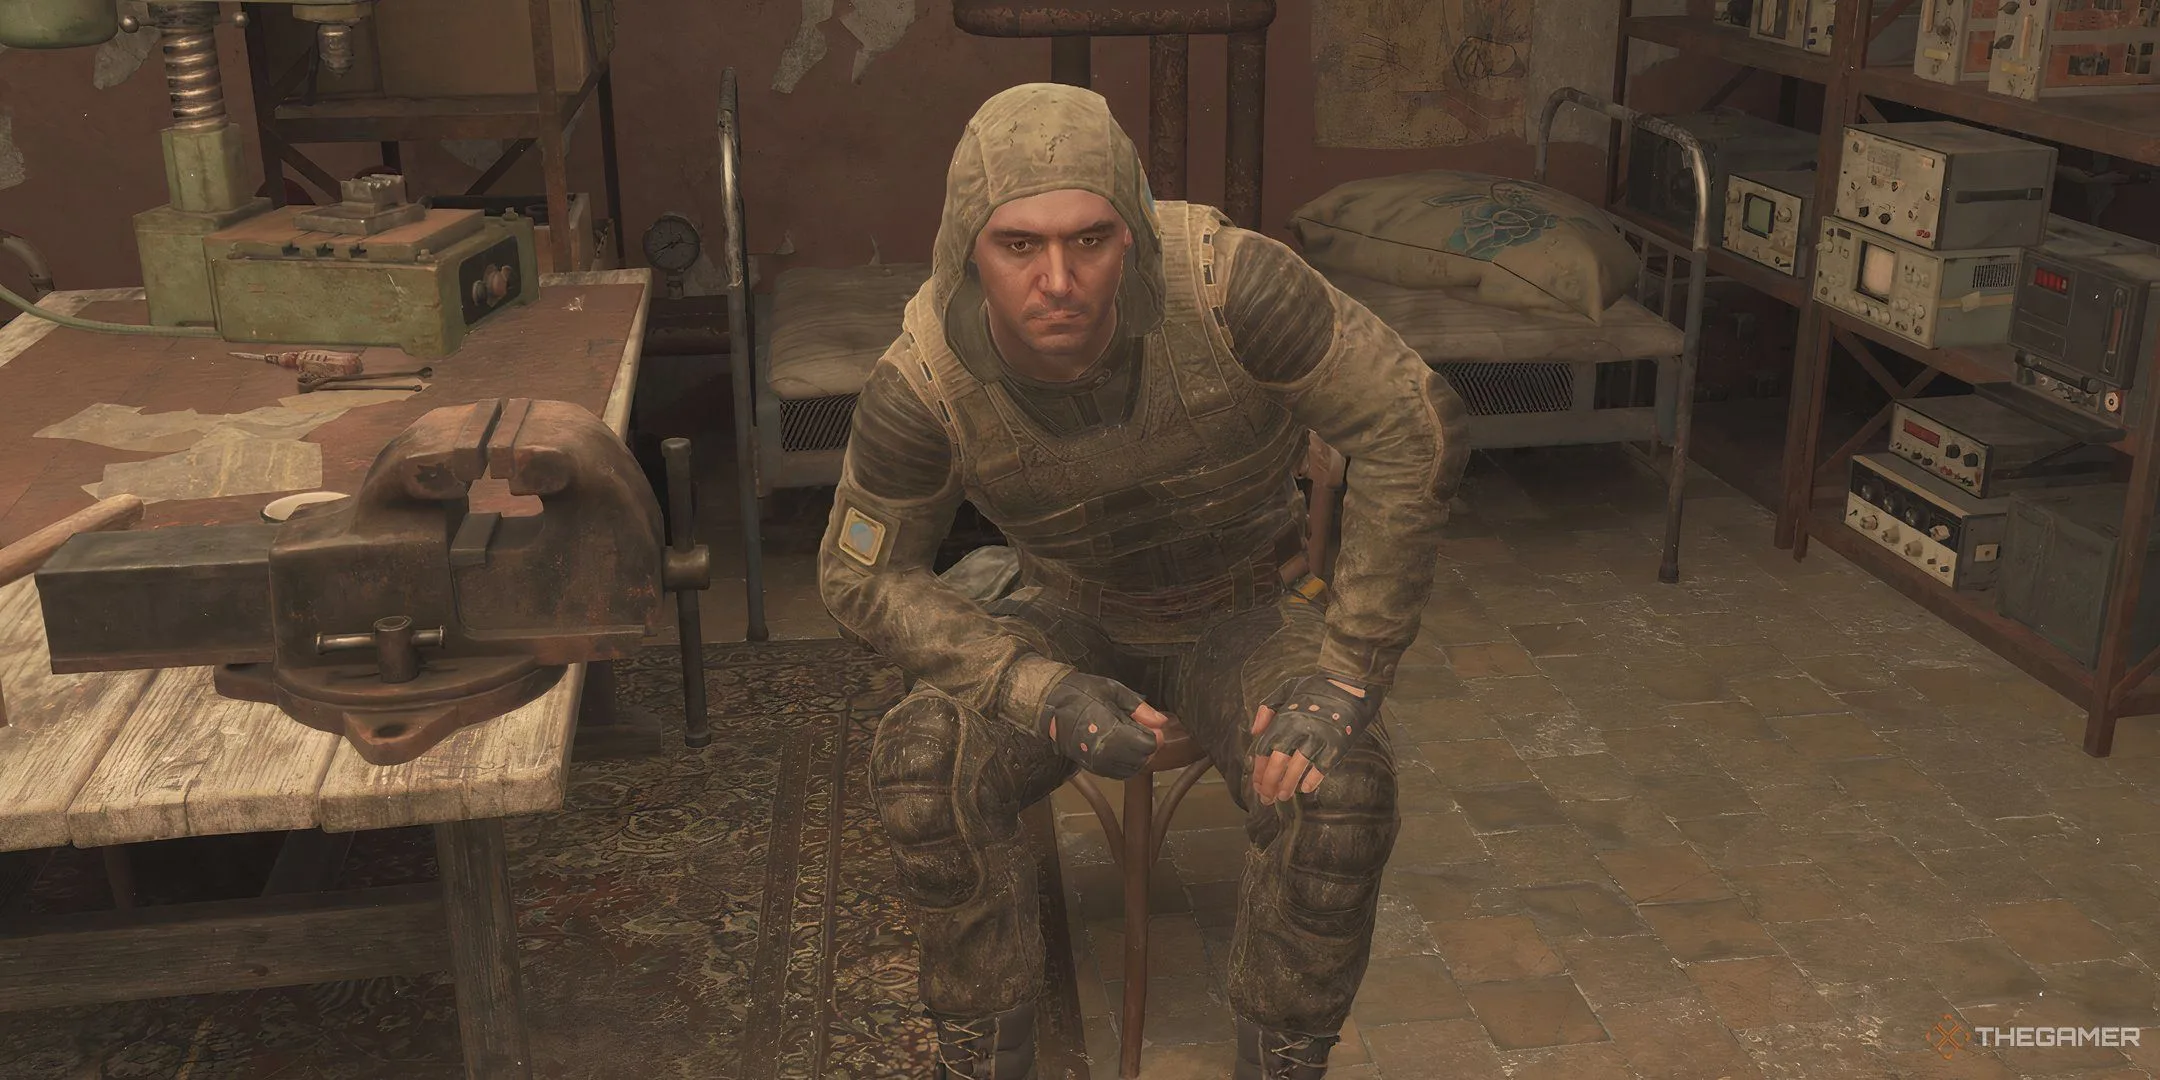
In the game Stalker 2: Heart Of Chornobyl, you’ll find yourself spending a significant portion of your time in the Garbage area. Here, your initial task is to complete some minor assignments for a character named Diode. Once you’ve finished these tasks, you will encounter a crucial character who will instruct you to carry out an assassination. After completing this segment, you can move on to the next area.
The next major location you’ll explore is known as Wild Lands. Your primary goal in this area is to access the Noontide Base. The method for entering will depend on your earlier decisions in the game.
How to Access the Noontide Base and Locate Their Cargo
Your quest, “Hot On The Trail,” begins after your conversation with Scar from the previous objective, and the choices you make here will significantly influence what comes next. The first step is to gain entry to the Noontide Base, and here are the ways to do that:
- If you presented the damaged PDA to the Colonel in Slag Heap, he will provide you with a Warden Badge. You can then present this badge at the base’s entrance to gain entry.
- On the other hand, if you showed the PDA to Scar or chose not to show it to anyone, you’ll receive a quest called “A Heavy Burden,” which will require you to locate Noontide’s cargo. This cargo serves as your key to accessing the base.
To find the cargo, head to the blue marker on your map and check the area around the rocks near the water. You should find a briefcase on the ground and a PDA on one of the deceased bodies. After securing these items, look for a narrow path that leads to the base, but be cautious of potential dangers along the way.
As you navigate this route, you’ll encounter three Bloodsucker mutants, which can be quite challenging to defeat, especially since the tall grass can slow you down while moving through the swampy terrain. Be mindful of the tripwires on the ground, as running over them will trigger grenades.
When you finally enter the base, you may need to speak with various NPCs if you possess the badge. Alternatively, you may need to deliver the cargo to Professor Lodochka. In either case, your next task will be to locate Dubny. To do this, simply take one of the stairs in the main area and follow the first path on your left.
You’ll eventually reach a section featuring wooden planks leading into a hole, which will guide you to Dubny for the next phase of the quest.
How to Find Strider
After your interaction with Dubny, you’ll be tasked with locating Strider, who is currently facing an emergency in the base. Retrace your steps to the main base and follow the yellow marker for the main quest until you enter a large area where you’ll find several injured guards near the entrance. To reach Strider, follow these steps:
- Upon entering, make your way to the far end using the path to the left of the minivan. Don’t take the first gap in the wall on your left; instead, enter the second one.
- Proceed forward to find a small gap in the fence where you can jump onto the middle part of a train and exit through the fence on the other side.
- You can then crouch through the cylinders and hollow boxes on the ground until you find the first gap in the right wall.
- Jump and crouch through the acid and its fumes, continuing forward to the other side of the room.
- Once you turn right from a pillar, you should see some wooden platforms that will lead you to Strider.
After you talk to Strider and show him the PDA, you’ll need to consult Lodochka again, who will send you to the WPS building for the final portion of the quest.
How to Enter the WPS Underground Area
When you approach the WPS building, you will first hear a radio transmission that updates your quest to interact with the survivors. You’ll find them in a small building near the entrance. They will inform you about a mutant that has breached the facility and ask you to retrieve the key from North, who is located on the rooftop.
To get to the roof, you should ignore the larger building and follow the yellow marker to the smaller one across the way. Once inside, take the stairs to your right up to the middle level, where you’ll find a broken floor. This allows you to leap onto a container ahead and access another staircase leading up.
You can engage with any enemies you encounter since they’ve turned into zombies and will attack if you are not careful.
After climbing up, you will find another ladder that leads to the rooftop. Head over to a small table and jump at the edge to discover North’s lifeless body on some pipes below. Retrieve the keys from his corpse, then parkour down to the basement entrance by following the yellow marker. You can also use the key to access North’s cabin, which is near the container you previously jumped onto.
As you descend into the basement, you’ll need to navigate through a portion of the sewer path covered in acid before you find another ladder going back up. Follow a straight route deeper into the area until you encounter the mutant.
How to Defeat the Mutant and Locate the Monolith Stash
Preparing for battle in the final area of the WPS basement will be quite difficult. You will face numerous zombies, as well as a unique mutant capable of inflicting PSI damage with each attack. This damage acts separately from the usual radiation hazards.
The PSI radiation will gradually deplete your health and distort your vision. The strategy here is to take cover behind an object when the mutant turns to attack and then unleash your firepower for a few seconds.
It’s advisable to equip both a shotgun and a scoped firearm for this encounter; the shotgun works well against the boss, and the scoped gun is effective against the zombies the mutant summons.
Once you take down the mutant, you can proceed down the path to find the Inductor and some pills to mitigate your Psi radiation. Continue past the exit leading back up to find the Monolith Stash on your left and enter the code.
Unfortunately, the stash will likely be empty, yielding only a few firearms and ammunition. Returning to Strider will complete your quest. If you accepted the Shift Change quest, be prepared to battle Hog and several other humans while making your exit.

