In The First Berserker: Khazan, there are several bonus missions, with “Birth of Evil” being a notable one. This mission brings an engaging storyline where your goal is to eliminate the remaining Knivesveil forces and rescue Seona. You can begin this mission by visiting the Vitalon Residence located in the Capital City of Vitalon.
This area contains two Soulstones and a Jarling, along with a rather challenging elite enemy. Below, we will guide you through a detailed walkthrough, including locations for the Soulstones and Jarling, as well as strategies to defeat your foes.
Completing the Birth of Evil Quest
Where to Find the Jarling
After you activate the first Blade Nexus, head east to the stairs where you will encounter some enemies. Watch out for their spinning attack, as it can inflict significant damage. Defeat these foes, then continue straight ahead. You will come across some chaos matter; hit the one on your left and quickly retreat.
Once it detonates, retaliate against the enemy to the left and eliminate the one on the right. Following that, take the left path, clearing the chaos matter if you wish, and draw the attention of the enemy on the right.

This enemy has a lot of health, so try to lure him slightly to the left, destroy the chaos matter, and step back. He will get caught in the explosion, giving you a chance to strike and make a counterattack. Take him down, then deal with the sharpshooters.
You’ll find a chest behind the sharpshooter who was firing at you from the north. Collect this loot before climbing the stairs right in front of the Double-Edged Butcher you just defeated. There, you’ll see jars on the ground; destroy them to reveal the Jarling.
First Soulstone Location
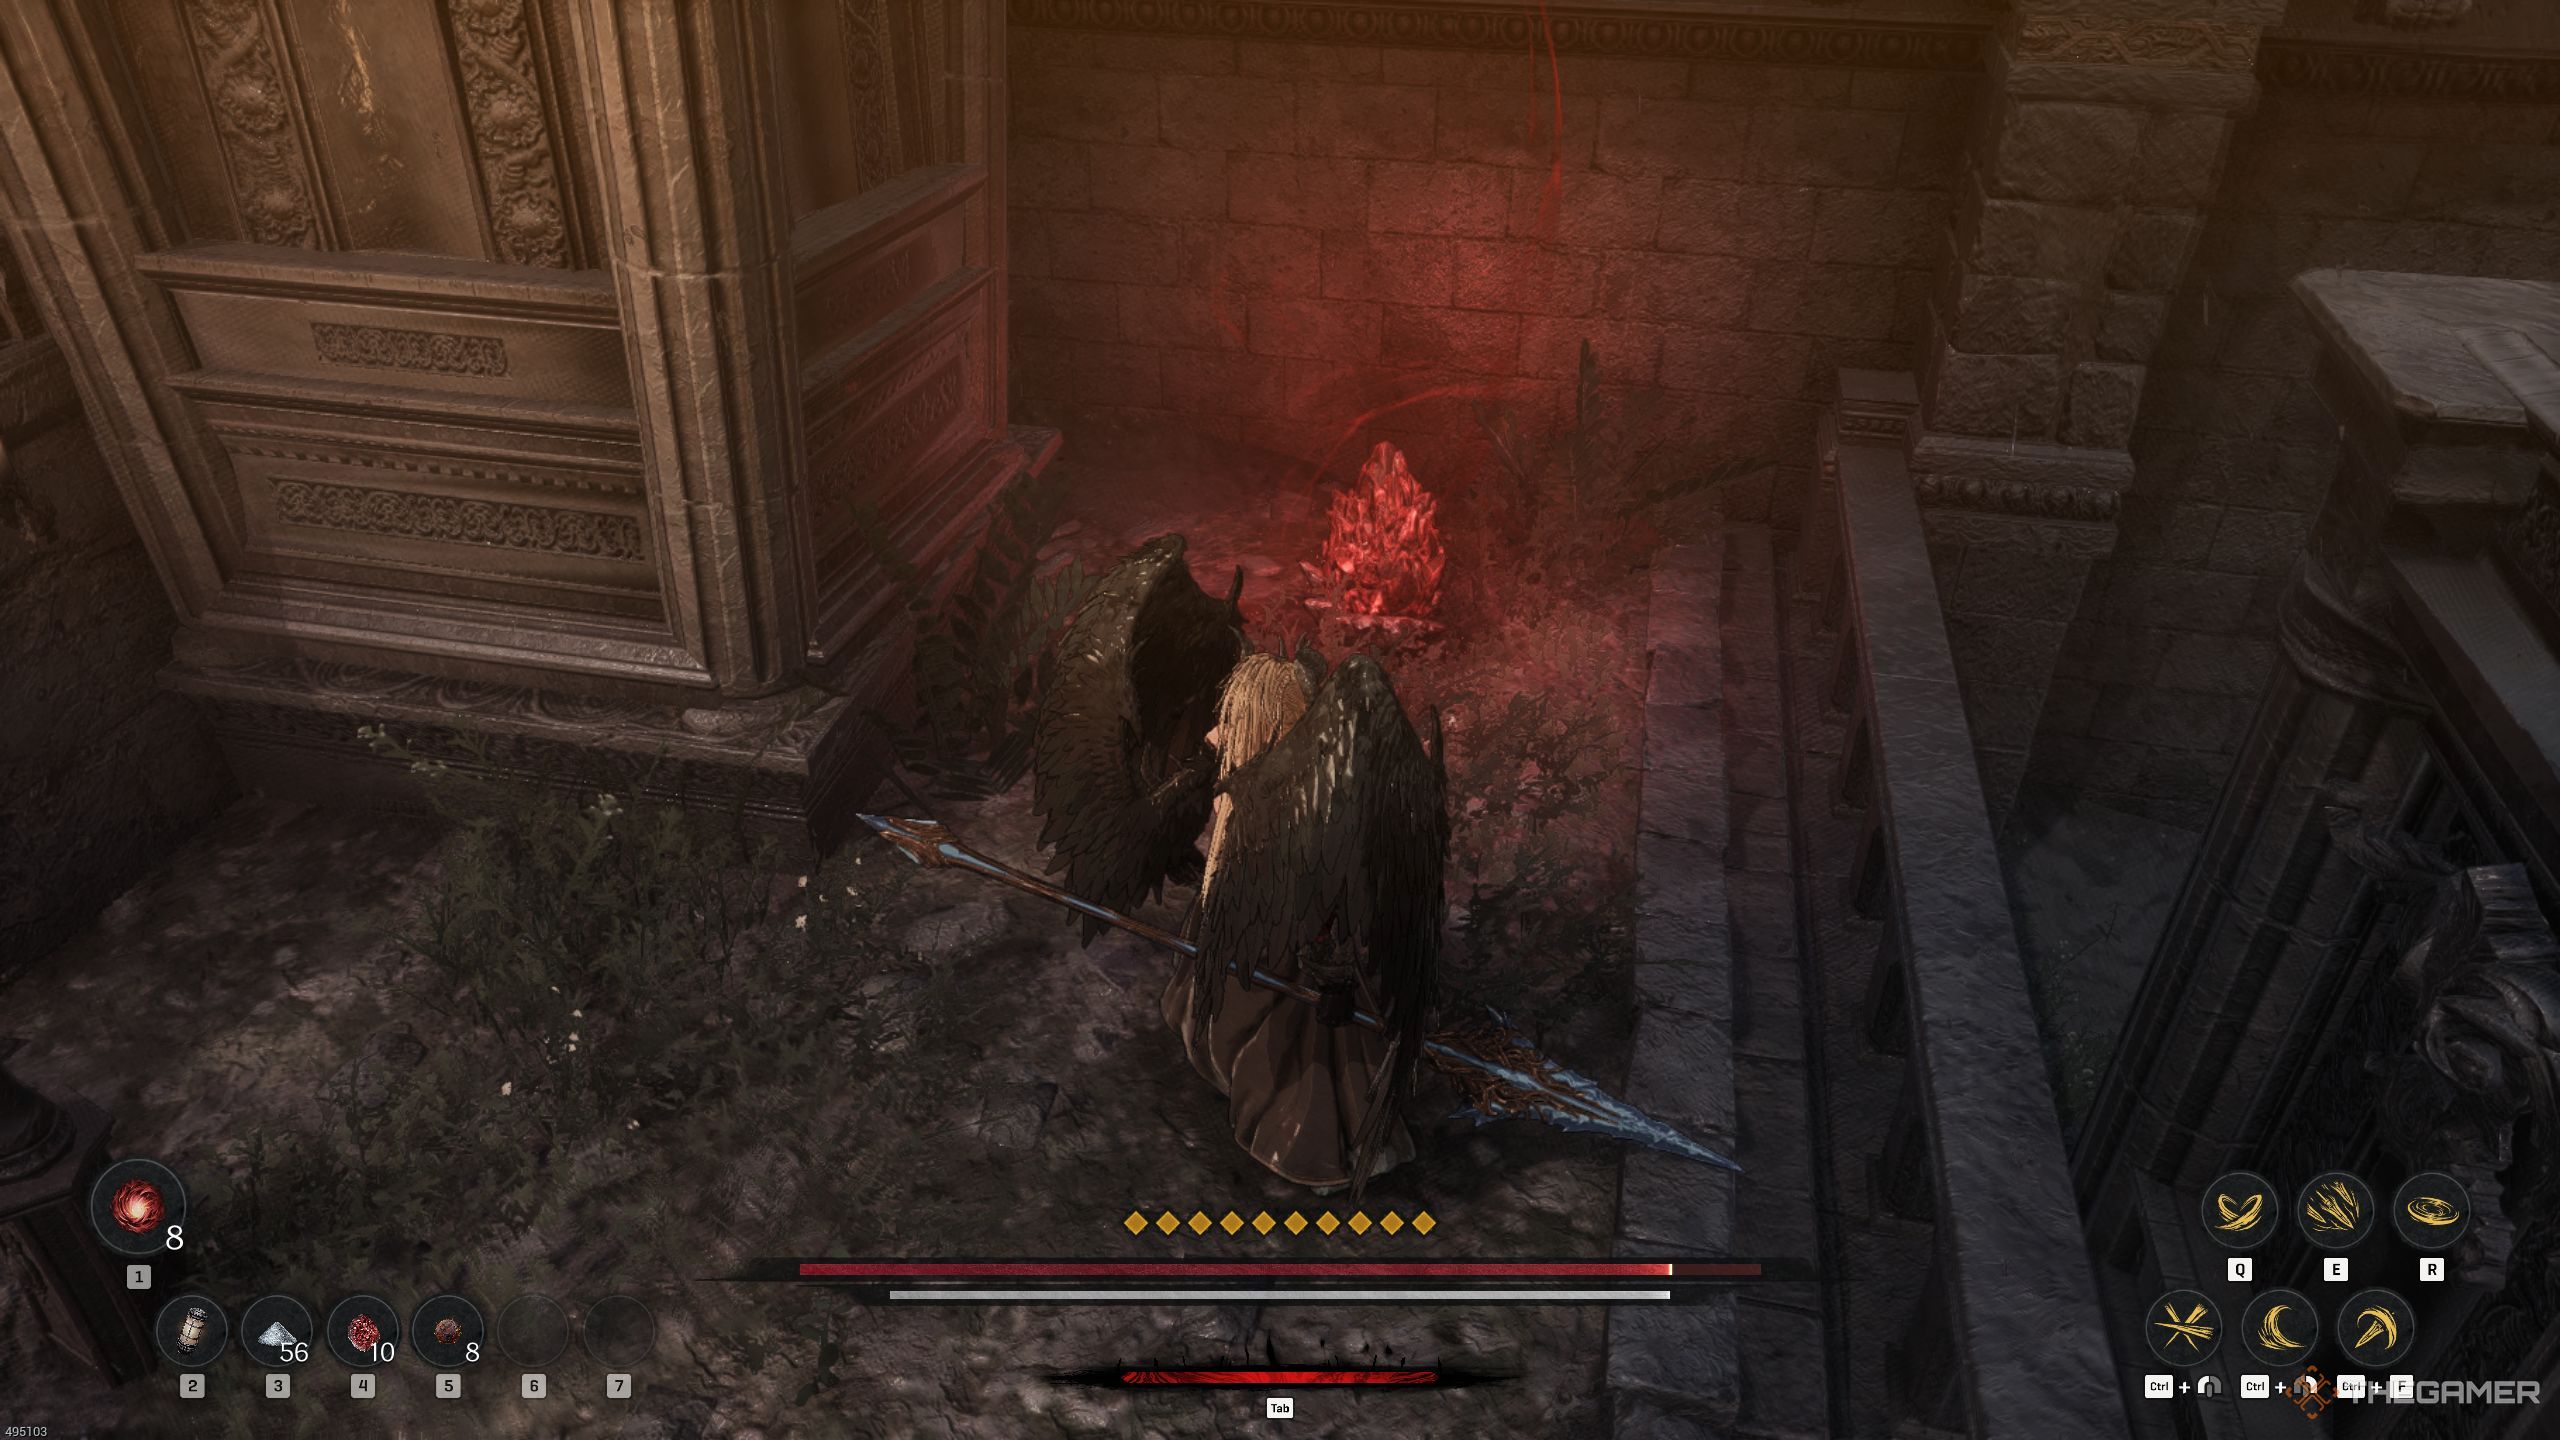
Observe the staircase to the east of the Double-Edged Butcher. Descend and you will discover even more chaos matter. Destroy the central one to stagger all nearby enemies. After you’ve dealt with them, take out the chaos matter on your right to collect some Lacrima.
Return to the previous area, turn right, and go left. Destroy the cart to clear the way to the staircase. Ascend to destroy the first Soulstone. After that, head downstairs and go east. There, an elite enemy named Lunatic Destroyer will rush at you, but there’s a chaos matter that can prove extremely helpful in this fight.
Defeating the Elite Enemy
Guide the enemy close to the chaos matter and eliminate it to stagger him. Then, launch your combos and take the counterattack opportunity. This should help you chip away about 50% of his health. As he replenishes his stamina, unleash another combo on him.
If you hear a peculiar noise without a screen indication, the enemy is preparing for a grab attack. This move is lightning-fast, so dodge backwards immediately when you see him reaching out. His swings are slow, which can throw off your timing, so avoiding them rather than trying to parry is advised.
Watch out for his annoying combo where he charges up his first hit and then immediately strikes again, followed by a delayed third hit, which can be followed up with another quick blow. If you dodge this combo successfully, he can enhance it with a sixth delayed hit.

His leap attack is also unguardable. The elite enemy will leap toward you and charge his weapon. This attack is delayed, so time your counterattack wisely.
He also performs normal weapon slam attacks that can be dodged.
Once you’ve defeated this elite enemy, loot the area and make your way up the stairs located west of where you collected the Lacrima.
Finding the Second Soulstone
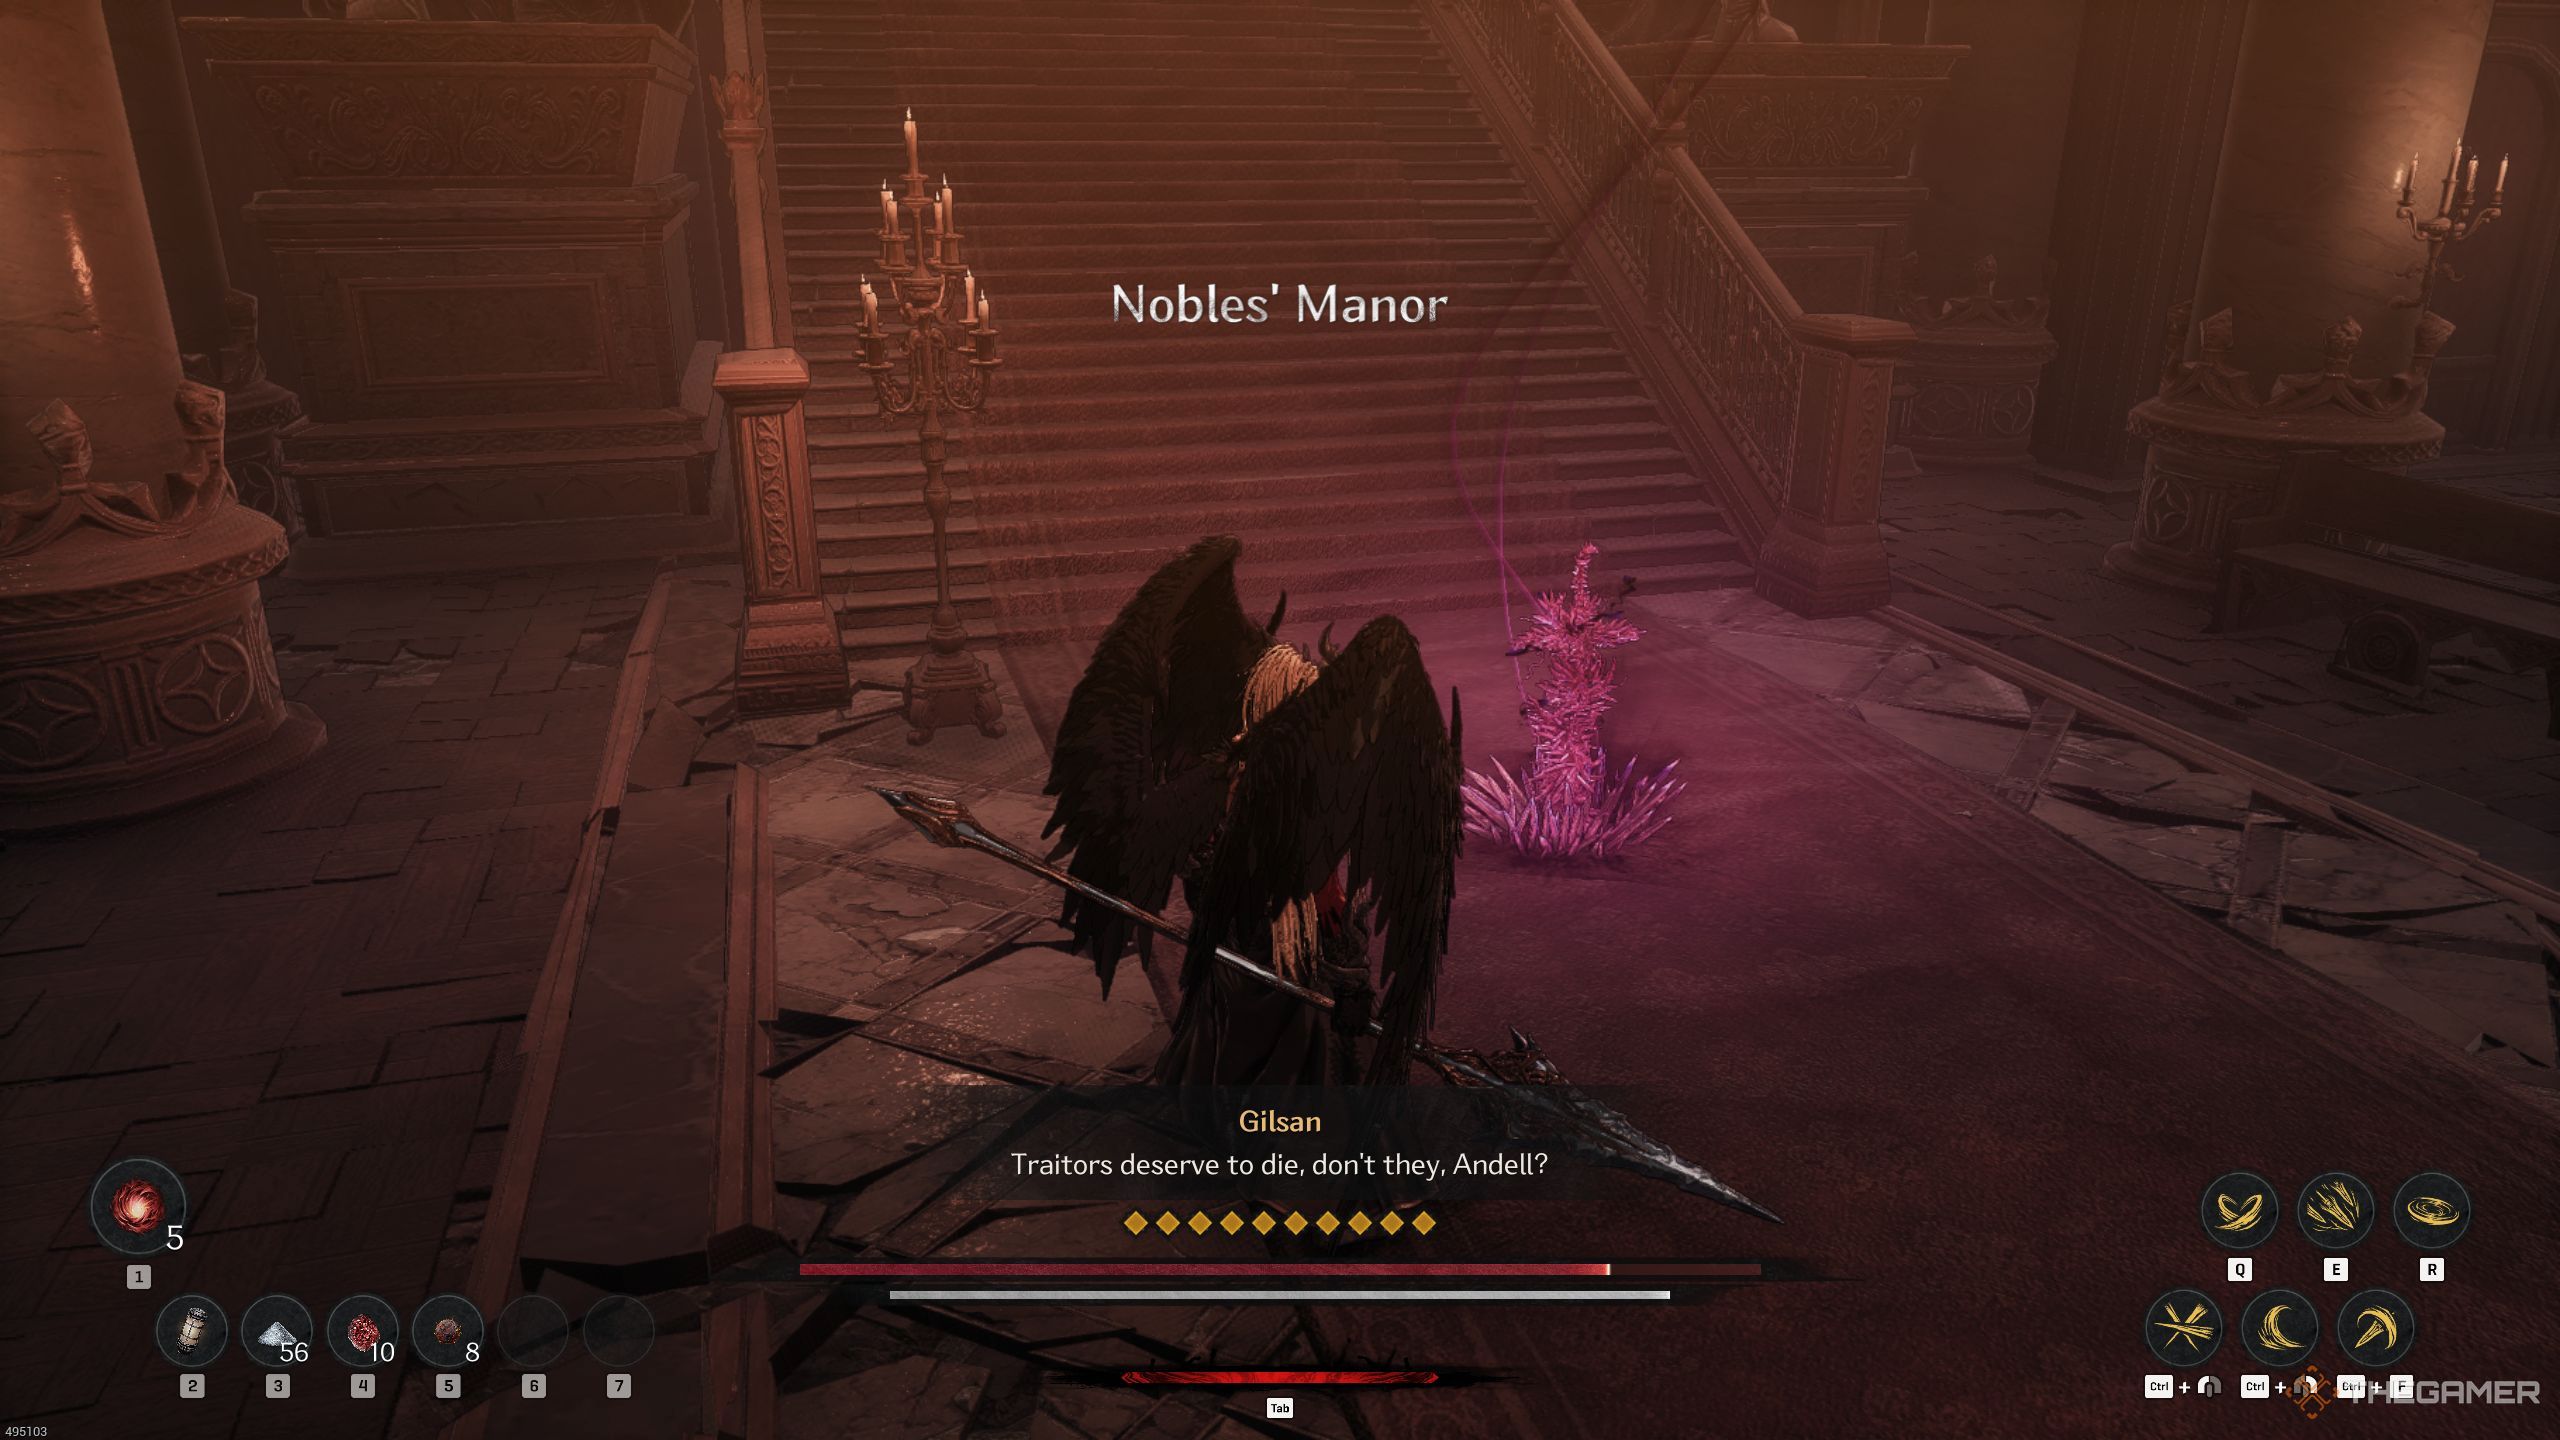
Enter Nobles’ Manor and activate the Blade Nexus. Proceed up the stairs, destroy the barricades, and continue climbing. First, eliminate the enemies firing arrows at you. Here, be particularly cautious of the Knivesveil Outlaw, as he’s quite powerful.
However, if you execute long combos on him, he won’t stand much of a chance. When he begins a kick combo, it’s best to retreat quickly.
The Knivesveil Outlaw has an attack that cannot be dodged or parried. If you get hit, be wary of the follow-up attack.
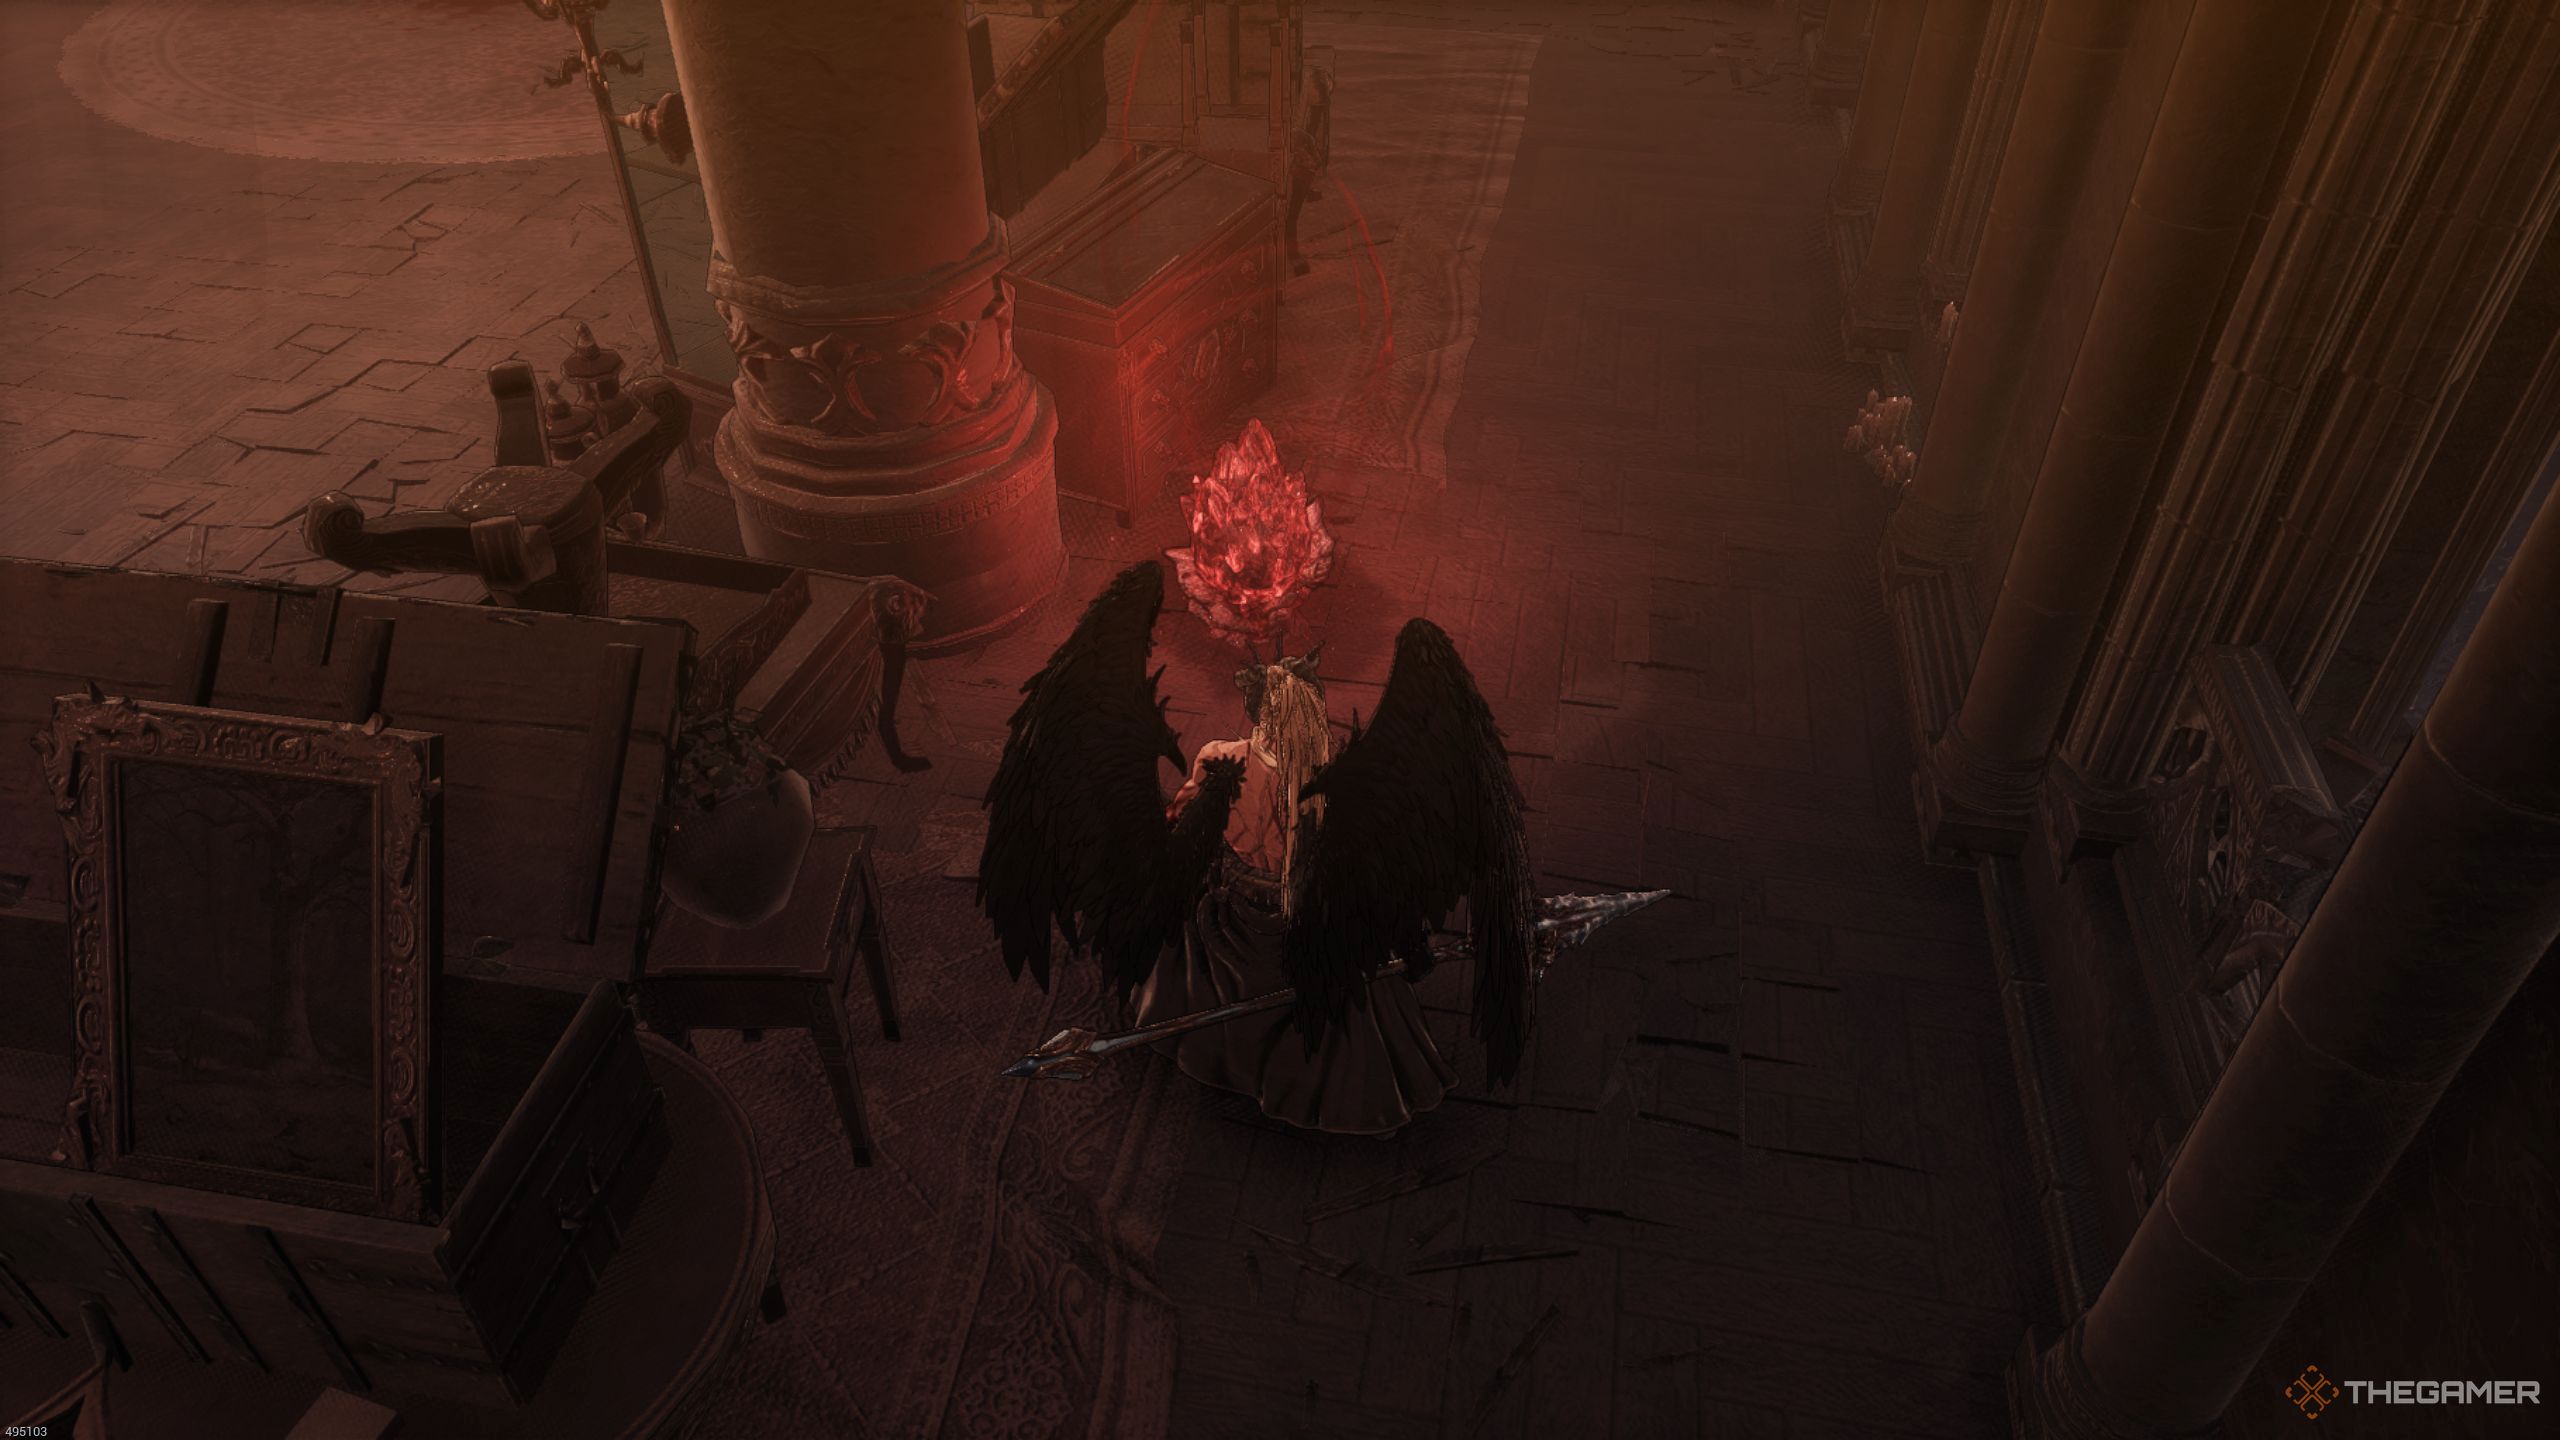
After eliminating all enemies, you’ll need to destroy the Soulstone found in the room behind the pillar to the northeast of the staircase (you might have already taken care of it during the fight). Then, proceed to the east, defeat the enemies there, and head down the staircase to acquire the Augment of Wisdom.
After obtaining the item, head back up the staircase and approach the door ahead. Before entering, move to the left and open the chest. Then, open the door, absorb the Lacrima, and activate the Blade Nexus.
Defeating Gilsan
Gilsan isn’t too tough as a boss, but you may face difficulties at the start due to additional enemies in the arena. Move quickly toward the enemy shooting at you directly ahead and take him down. Then, deal with the one on the staircase to make confronting Gilsan much easier.
Gilsan is a humanoid boss, and your attacks will consistently stagger him. However, managing your stamina effectively is crucial.
It’s wise not to underestimate Gilsan and to finish him off quickly. Even if you stagger him during your combos, he can launch a drop kick, which deals significant damage. He might follow that up with combos that can be hard to dodge.

Gilsan is a boss you’ll want to parry since he uses daggers. He employs intricate combos, hitting you twice before using a cross slash. In another combo, he can hit you four times in a row.
He has variations in his leap attack, delivering either a double or single slash that carries substantial poise. He can also execute two kicks, leading to a massive knockdown.
The most perilous move he can perform is the unguardable leaping cross slash followed by a leaping overhead slash.
Both these attacks can deal a lot of damage and are either dodgeable or counterattackable. It’s usually better to counterattack as it allows you to deal damage in return.
In general, this fight shouldn’t cause much trouble, but the key is to monitor your stamina and avoid being trapped by his combos and knockback moves.
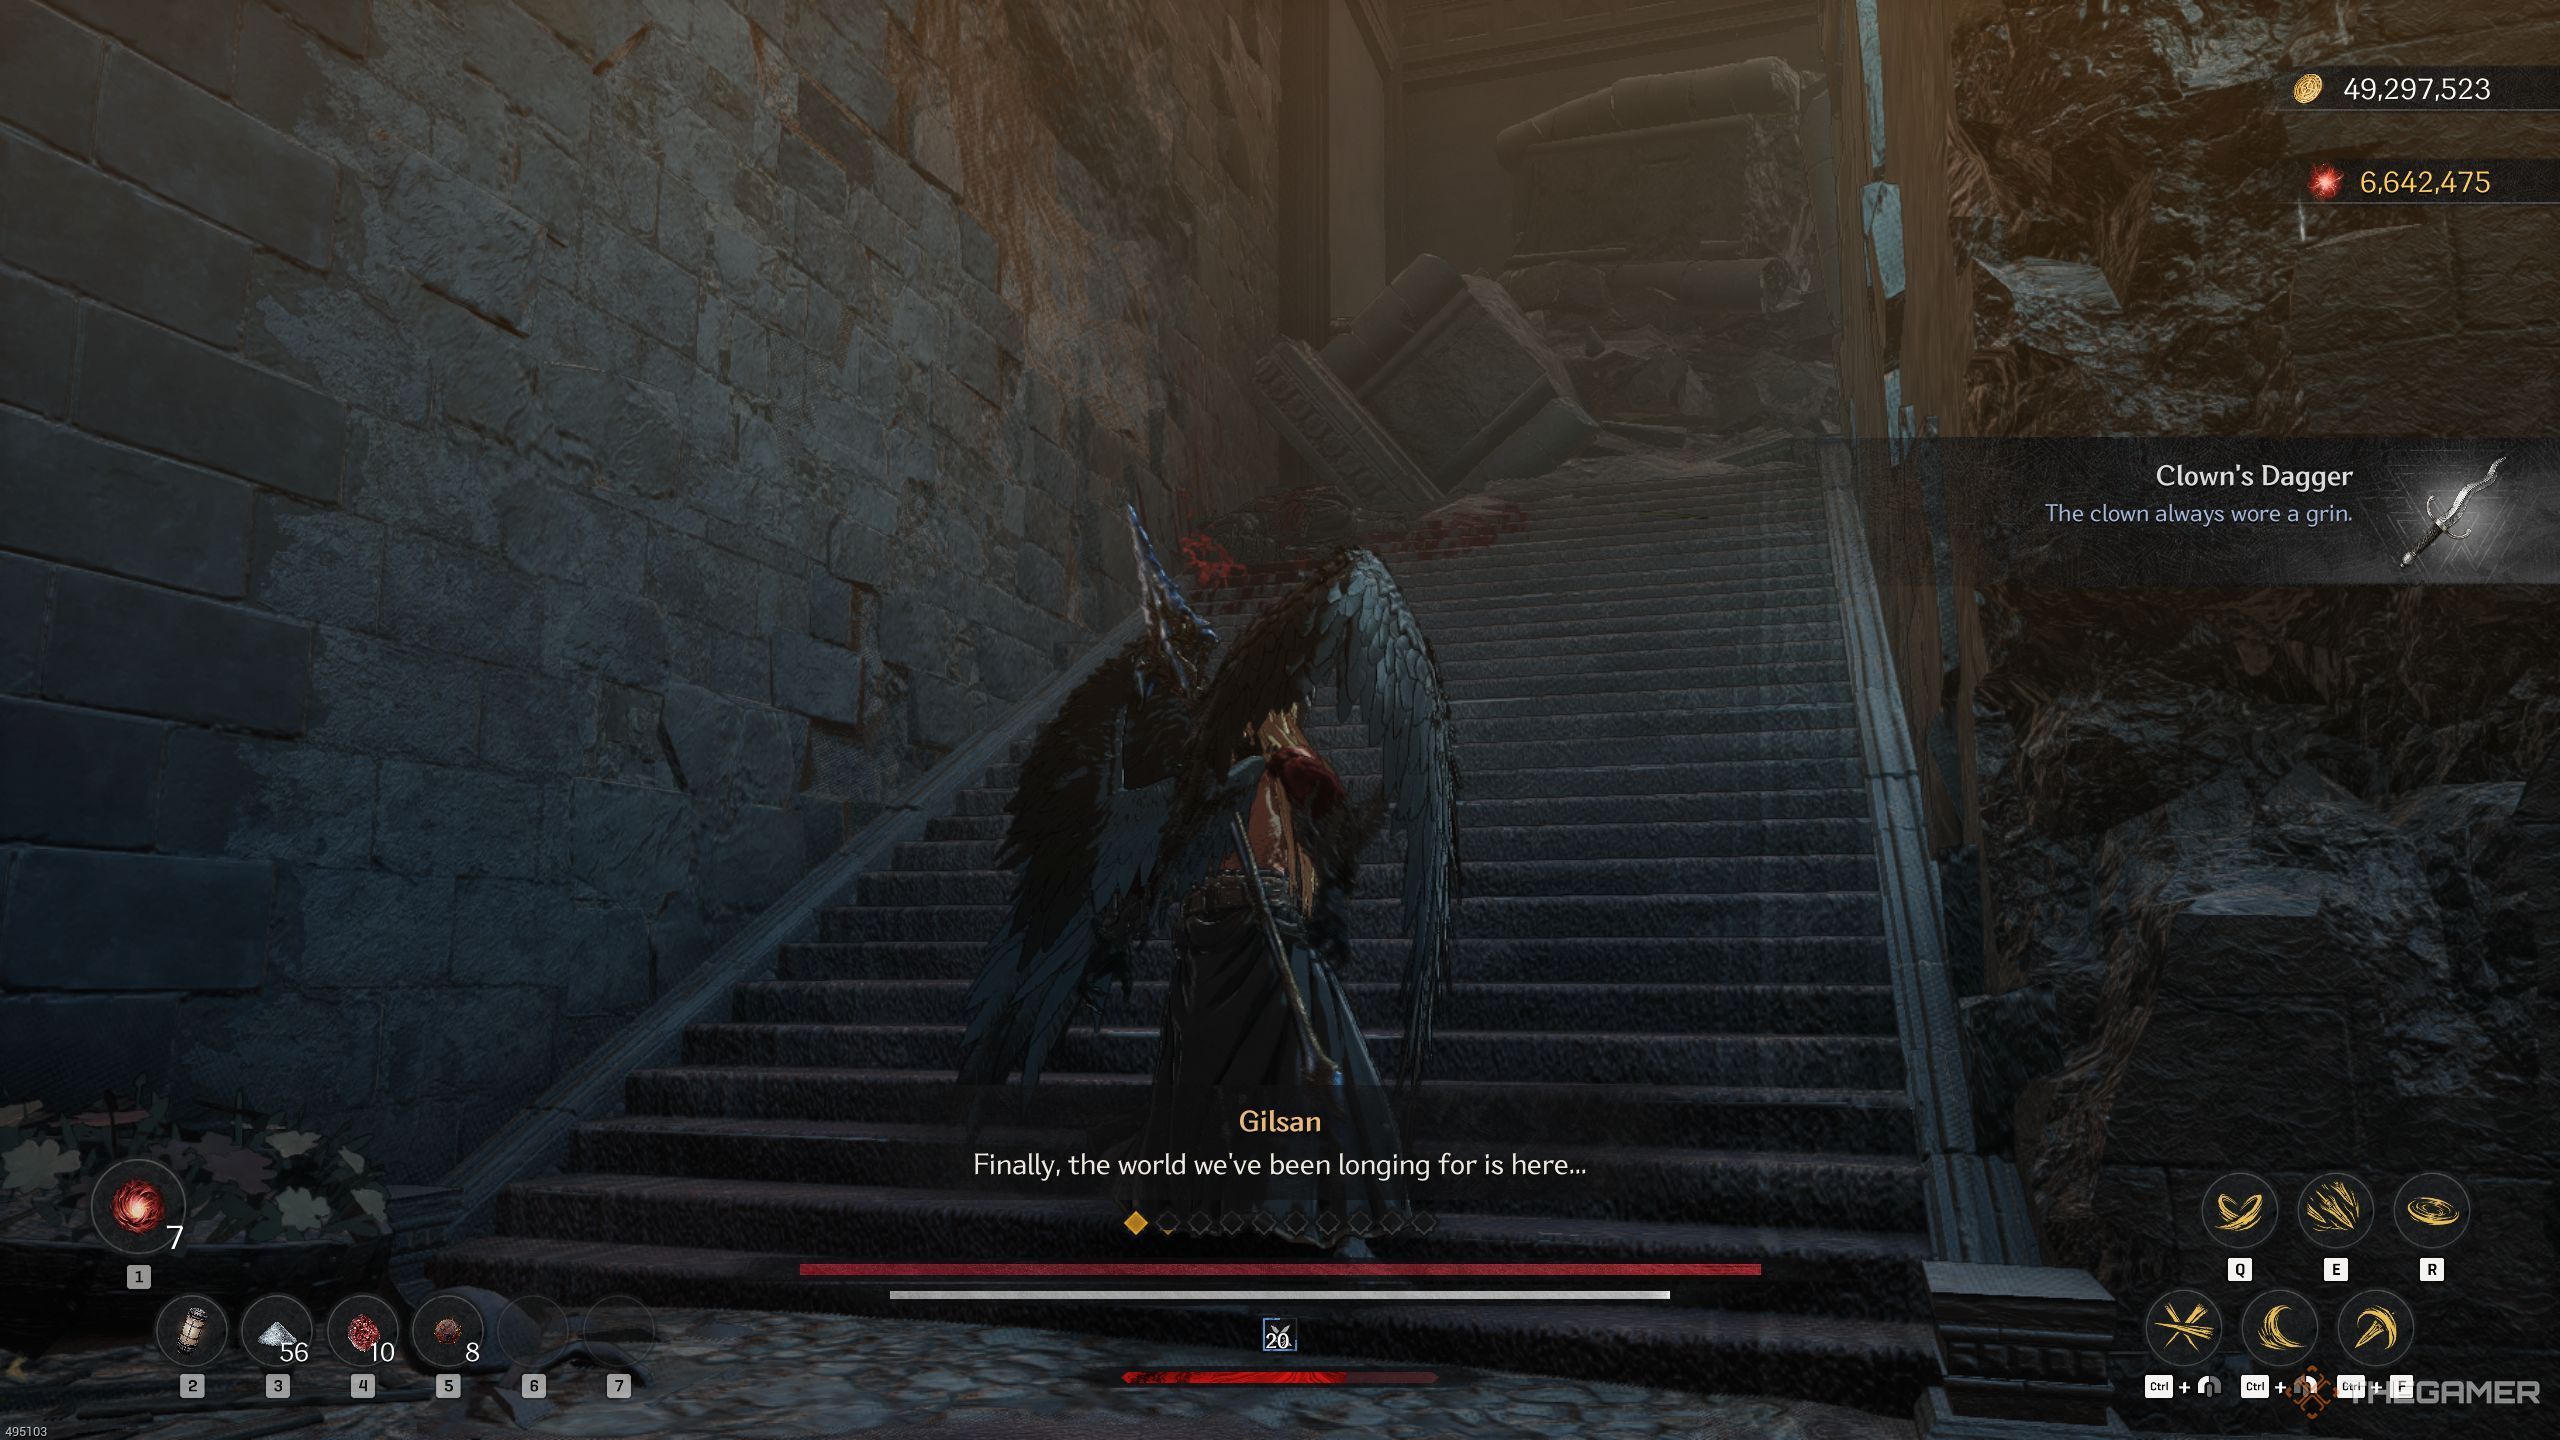
When you defeat him, you may receive random pieces from the Dragonscale set, a variety of weapons or accessories, and Transmutation Mist, along with a Clown’s Dagger. Once you finish the mission, speak with Seona and return to the Crevice.