Ender Magnolia: Bloom In The Mist presents a range of unique bosses that can be quite challenging. However, with practice and persistence, you can master each one, and if you fail, you can always give it another shot until you come out victorious.
Yolvan is an early boss you will encounter in the Land of Fumes, and defeating him is essential for advancing in the main storyline. While battling Yolvan can be tricky due to his two combat phases, with some dodging skills, you can defeat him without too much trouble.
Finding Yolvan
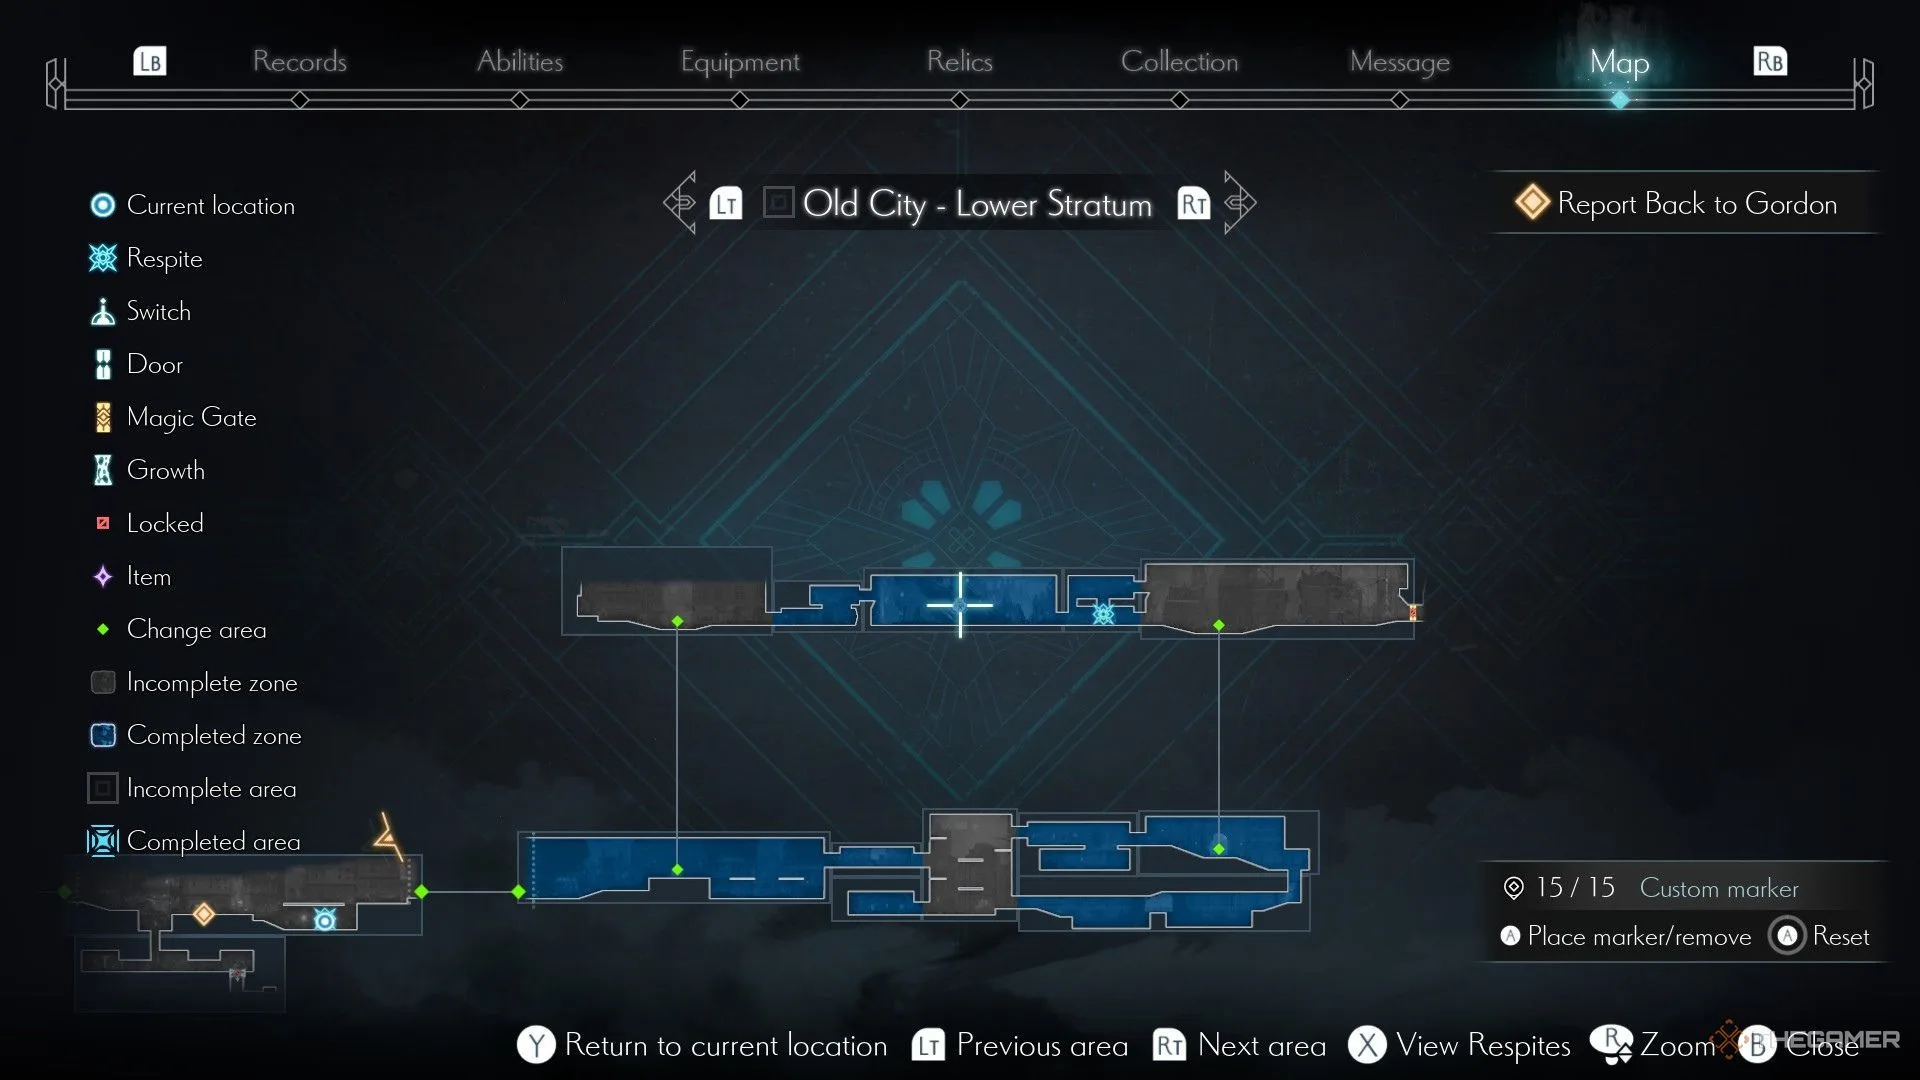
You can locate Yolvan in the Old City – Lower Stratum area, close to the locked gate. As you explore, you will find a section with a red locked door to your right and a door to the Clock Tower Palace – Entrance Respite on your left.
Encounter various mutated enemies as you navigate this area. To progress to the Respite, you will need to first head toward the locked gate on the right. From there, jump on the platforms and move left, where you’ll discover an opening to access the Respite and a switch to unlock the door to the Respite room.

Above a platform near the red locked door, you’ll find the Sanguinary Raven Relic. This item increases your aerial attack damage by 10% when equipped, making it particularly useful against airborne enemies, especially during your upcoming battle with Yolvan.
Rest at the Respite and move to the left to enter Yolvan’s boss arena and begin the fight.
How To Beat Yolvan, The Black-Winged Huntsman
Yolvan is often in the air and relies heavily on ranged attacks. You can dodge these attacks if you know when they’re coming. Since Yolvan moves constantly between locations, you will need to perform jump attacks and dashes to reach him.
|
Yolvan’s Attacks |
||
|---|---|---|
|
Attack Name |
Attack Description |
How To Avoid |
|
Three-Shot Bullets |
Yolvan will use his magic pistol to fire three small projectiles at you in succession. |
This attack can be tricky to dodge, as the angle of the bullets may require multiple dodges. If he’s close or mid-range, you can dodge towards him. However, if he’s far away, jump and dash in mid-air to avoid all the bullets. |
|
Single Impact |
The boss will shoot a larger projectile at you. |
Dodge this attack by dashing in any direction. |
|
Bullet Barrage |
The boss will teleport to an edge of the screen and dash while shooting at the ground. |
Dash towards the direction he’s coming from to avoid the bullets altogether. |
By this time in the game, you’ll have Nola’s melee and Lito’s ranged attack. Use double jumps and dashes to get close to Yolvan while in the air, and use Nola’s melee attacks to damage him. You can also use Lito’s ranged attack if he is out of reach.
When Yolvan’s break gauge is full, he will drop down and take significant fall damage based on the height of his fall. His attacks are quite avoidable, except for one, and dashing while jumping helps you evade his attacks too.

Avoid taking hits in the first phase, as the second phase is much tougher, and you’ll want to conserve your healing items for that encounter.
Once you deplete his health, Yolvan will fall and try to walk away briefly before transforming into Caladrius at full health. Use this short window to heal and position yourself behind Caladrius for some quick attacks as soon as he completes his transformation.
How To Beat Caladrius

Caladrius is essentially a mutated version of Yolvan, but you will need to adapt your strategy during this phase. Caladrius strikes much harder than Yolvan, but the good news is you won’t need to jump constantly to get near him in this fight.
|
Caladrius Attacks |
||
|---|---|---|
|
Attack Name |
Attack Description |
How To Avoid |
|
Hand Swipe |
Caladrius will swipe one of his arms down, dealing damage if you’re too close. |
Watch for Caladrius’s glowing eyes; this signals the attack. Back off or dodge when you see this happen. |
|
Jump Smash |
The boss will jump and smash down on the ground with one hand. |
This can be anticipated if you see him jump with glowing eyes. Just dash in any direction to evade this attack. |
|
Tri-Orb |
Caladrius will glow his eyes and jump away, shooting three orbs at you at different altitudes. |
This attack may seem hard to dodge, but it’s simple—just dash towards Caladrius to avoid it completely. |
Always try to maneuver behind Caladrius. When you succeed, you can land multiple hits before he turns around or attacks. Don’t shy away from his strikes; dash towards him and continue attacking until you bring his HP to zero.
Rewards For Beating Yolvan
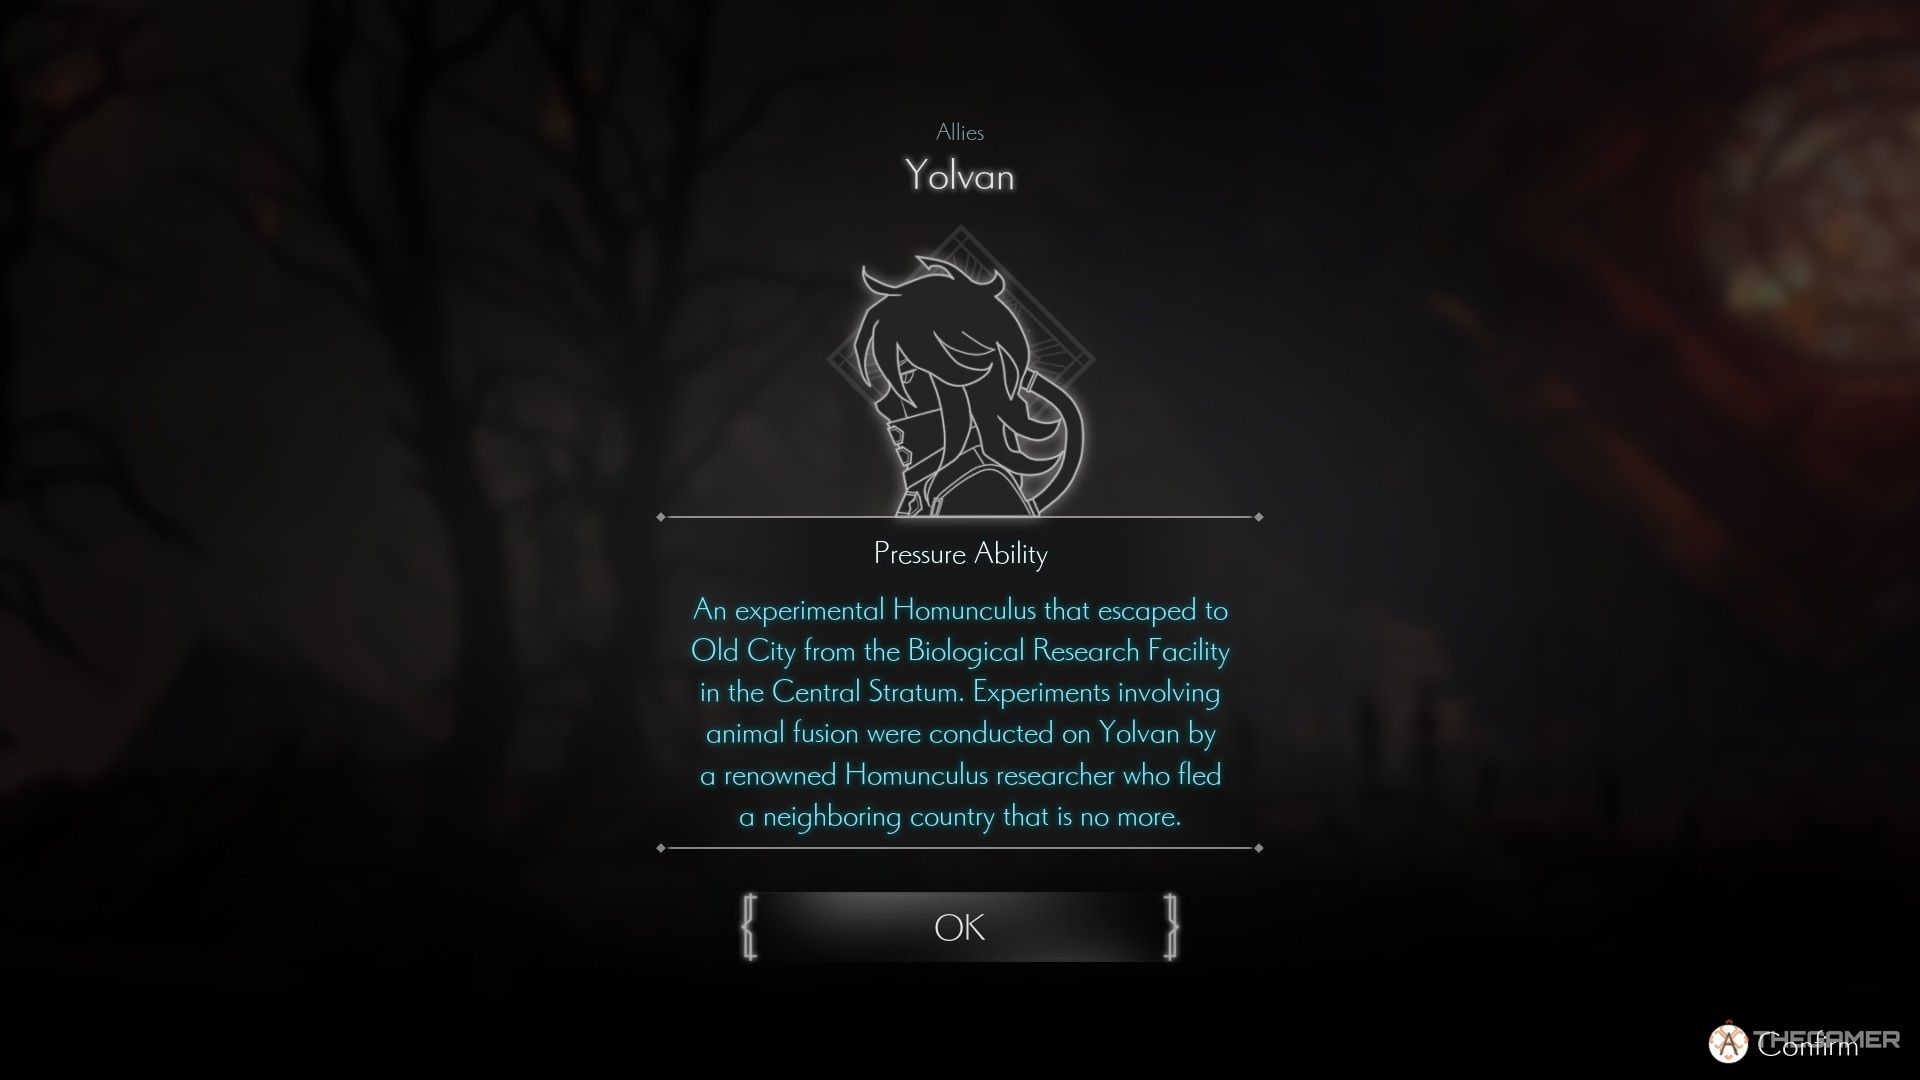
After you defeat Caladrius and attune him, he will revert to being Yolvan and become your ally. Yolvan possesses impressive long-range skills, which you activate by holding a button, and these abilities remain active as long as you keep holding it.
Additonally, Yolvan’s ability operates even when you move, jump, or dash, providing constant damage. His first ability, the Barrage, features auto-aim functionality that targets the nearest threat but deals minimal damage.
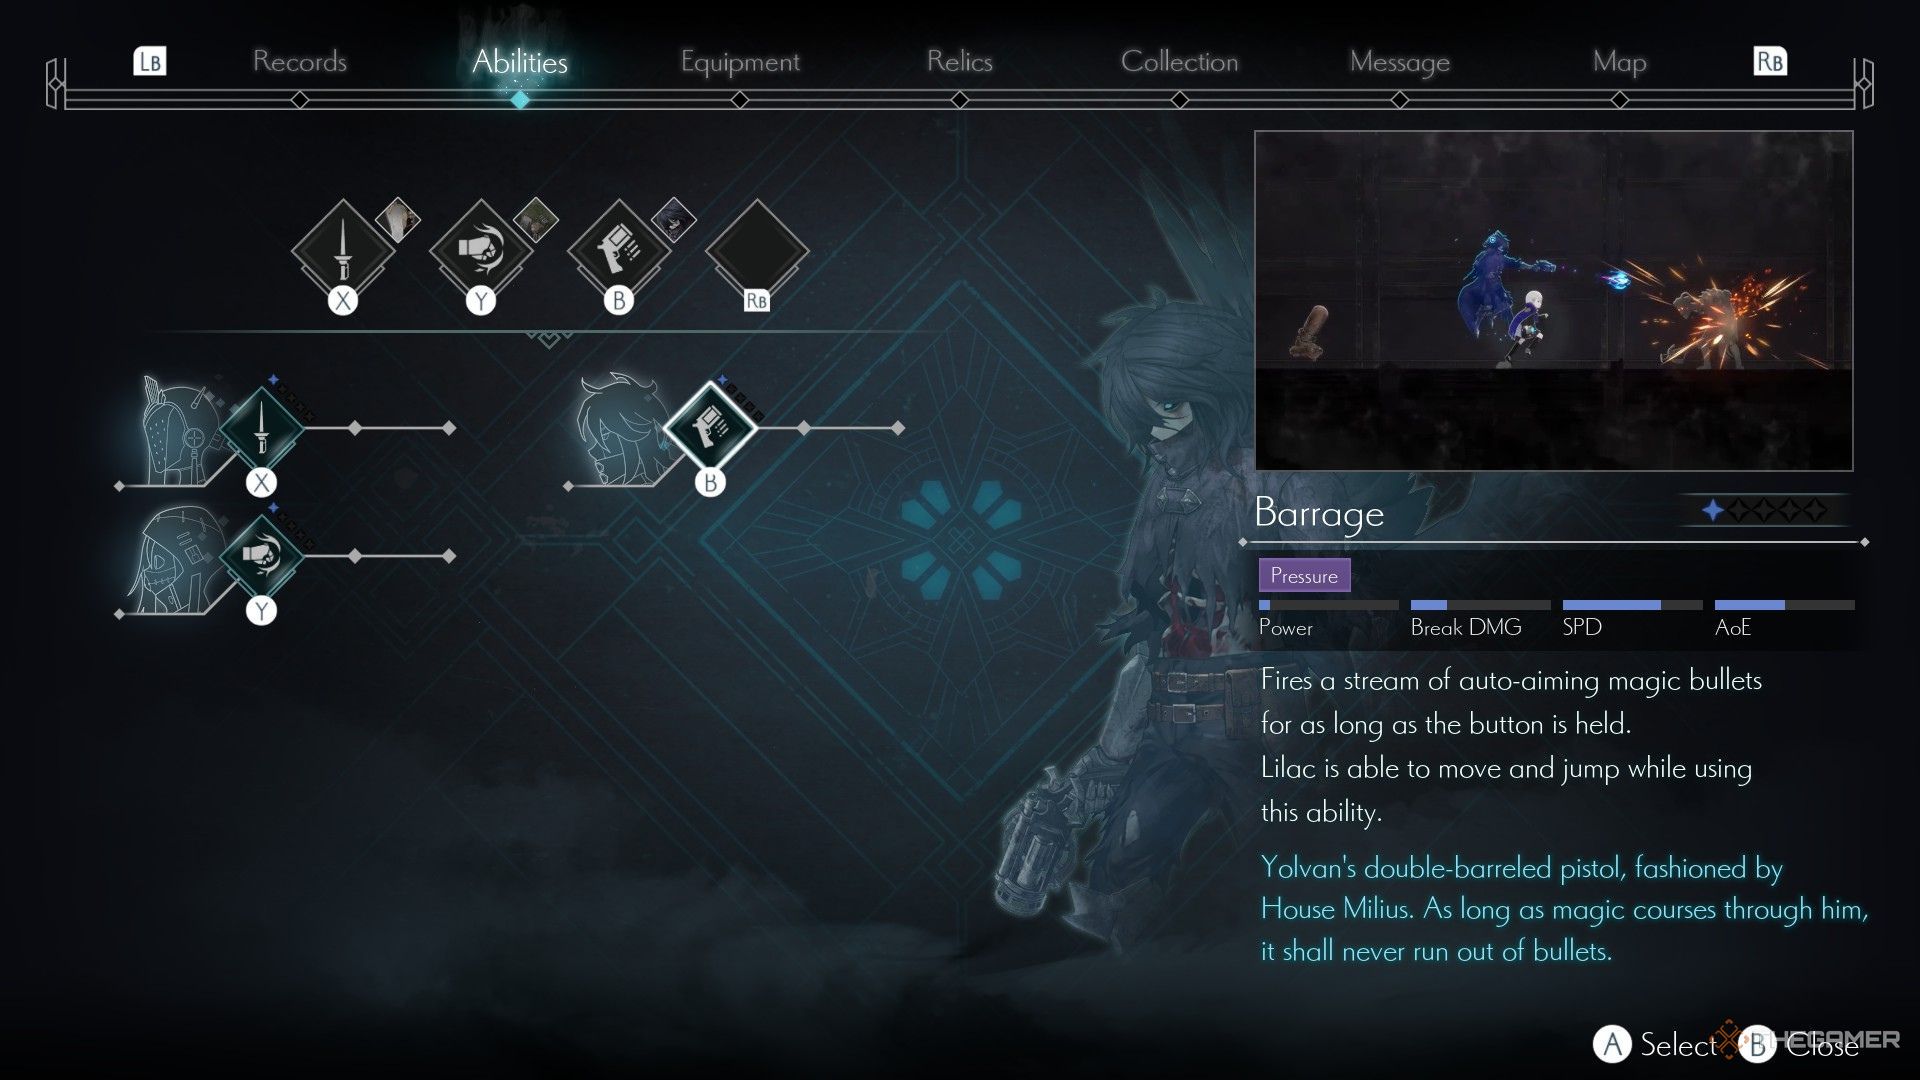
Yolvan’s abilities are particularly effective against airborne foes, enabling you to inflict damage from a distance while remaining safe.
After defeating Yolvan, return to the Arcane Smith at the small village within the Old Town. The Arcane Smith will hand you the Lower Stratum Key, which unlocks the red locked door near the Clock Tower Palace – Entrance Respite, allowing you to progress further in the game.
Speaking to the Arcane Smith post-battle will also grant you the Fast Travel ability, and Hati, the Wolf Homunculus, will join your team on this adventure.


