On Day 007 in The Hundred Line: Last Defense Academy, you face your first Commander in battle. You’ll be accompanied by the same trusted teammates, but when things don’t appear to be in your favor, Eito comes to the rescue!
As an invasion unfolds at your school, you’re initially pinned down by the Commander. This marks the first time you gain a new ally. Survive the first two waves alone, then discover how Eito Aotsuki’s hemoanima powers can turn the tide.
Strategies for Defeating the First Commander
Waves One and Two
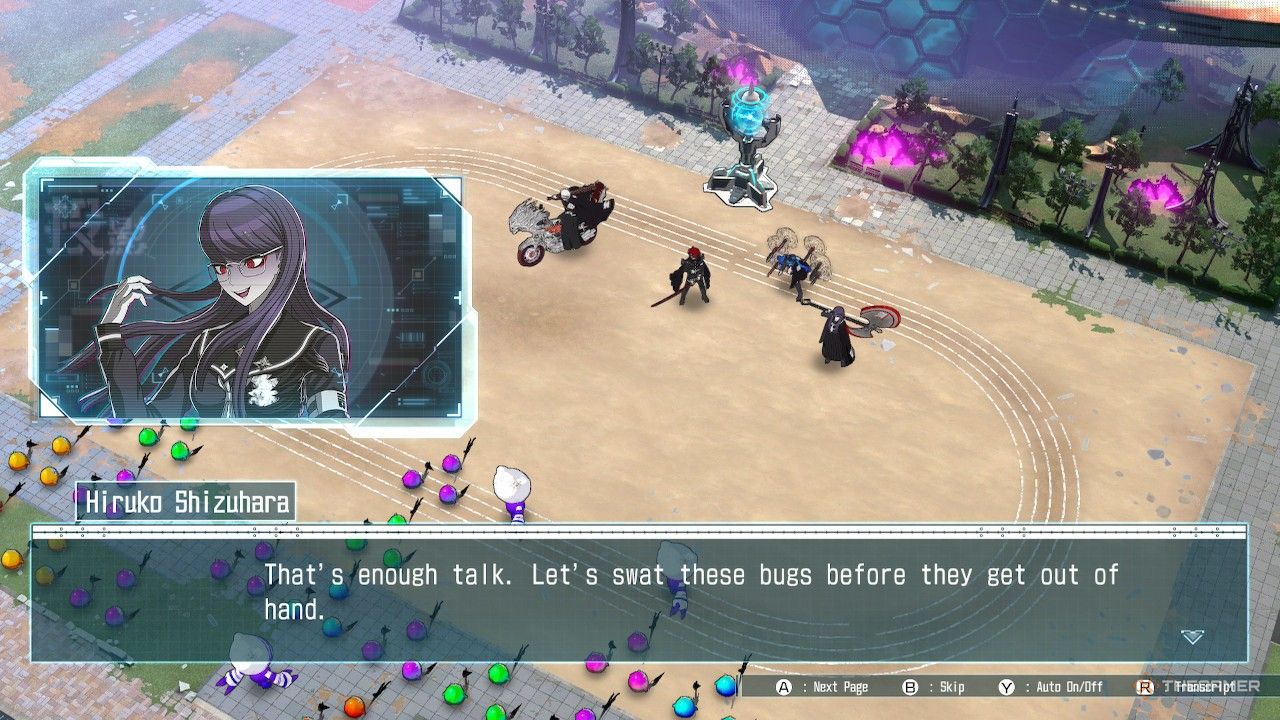
With Hiruko taking charge, your familiar team of Takumi, Hiruko, Darumi, and Takemaru is back in action. The initial part of the battle is straightforward: eliminate all enemies in the first few waves while shielding the Barrier Generator at all costs.
Utilize multi-target attacks effectively to eliminate as many foes as possible in a single strike. Make strategic use of your team’s passive skills as you traverse the battlefield, defending the academy.
As this battle is a step up from your previous encounters, you might witness your first Enemy Transformation. An enemy may gain power if they defeat a teammate before you can retaliate.
To gain the upper hand, make good use of your Special Attacks and upgraded hemoanima abilities when your Voltage exceeds 100%. You can stockpile Voltage up to 300%, so use it wisely for powerful attacks that can stun your teammate while clearing the first two waves of foes.
After dealing with all the invaders on the field, any fallen teammates are revived and any surviving allies have their health restored before entering the next wave. Though you’ll face tougher enemies in the second wave, dispatch them quickly to prepare for the final stage of the battle.
Wave Three: Eito Joins the Fight
As the situation becomes dire for your four teammates trapped by the Commander, Eito arrives in uniform, prepared to unleash his hemoanima powers, signaling that he will be a regular participant in the battles ahead.
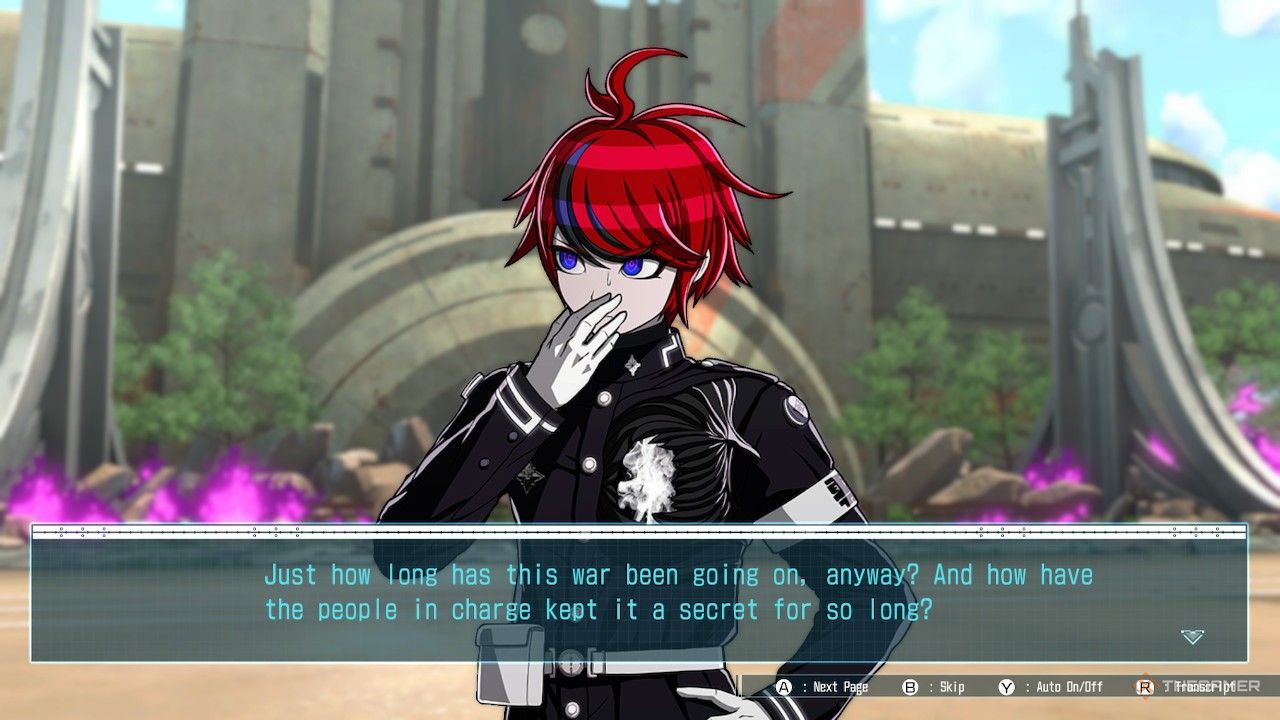
Eito is a formidable melee combatant when you first unlock him. He can use the Judge move to inflict damage to three squares in front of him. Plus, his passive skill, Special Fortunetelling, gives him a chance to gain an extra point in attack or defense after taking a turn. If he doesn’t receive a buff, he will simply become Fatigued after using a significant amount of Action Points.
The objective during this phase is to defeat the enemy Commander to complete the wave. You don’t need to eliminate other invaders, but defeating stronger enemies can grant you additional Attack Points for each kill, which can help maintain your momentum.
Consider assigning roles early in this battle. Designate some teammates to defend the Barrier Generator while others push forward to attack the Commander. Utilize Takumi and Darumi to handle the smaller invaders approaching the generator, while Takumi, Hiruko, and Eito can engage the Commander directly, as they currently possess the strongest offensive capabilities.

Keep an eye on your Voltage and be ready to employ Special Attacks for maximum damage. Just remember, using these can stun your teammate during your subsequent turn. Once the Commander is defeated, the battle concludes, regardless of the number of lesser foes still standing.
Following the Commander’s defeat, a short scene will explain the Final Blow, where one of your teammates delivers the finishing strike after defeating a Commander. Initially, you’ll be required to select Hiruko for this role, but in future encounters, you’ll need to decide who will claim the Commander’s power by landing that final hit, wrapping up the battle and collecting any Battle Points earned in the process.