When you dive into the realm of Runescape: Dragonwilds and check out the map, you’ll spot a designated area for various side quests you can undertake. One of these quests is called Highlighting The Problem, located in the second region known as Bramblemead Valley.
To embark on this quest, you’ll need to locate a specific statue near the Runecrafting Guild and then figure out how to reach three pedestals to charge your mysterious orb. This quest requires a certain magic spell, and I’ll guide you through it.
Where to Begin the Highlighting The Problem Quest
The main motivation for taking on the Highlighting The Problem quest is the ultimate reward: the Staff of Light. While it might take a bit of time before you can craft this item, you can initiate the quest as soon as you arrive in Bramblemead Valley. To begin, head to the vault in the northern part of the map.
As you navigate this vault, you’ll eventually find a sandy section with broken pillars shortly after collecting the first Vault Core. Here, you’ll need to defeat four rats. Then, look to the right side from where you entered; you’ll notice a higher opening. Use the Windstep spell to reach it and interact with the statue to kick off the quest.
Note: You can unlock the Windstep spell quite early in the Runecrafting skill tree, which is crucial for this quest.
Finding the Statue in the Runecrafting Guild
Your first task is to find the statue within the Runecrafting Guild. On the map, it’s located to the left of the vault. To get there, exit the vault and leap through the gap on your right. Move southeast until you spot a road leading up the mountain to the northwest.
This road is littered with stone boulders. As you reach the summit, you’ll encounter some goblins near a building shown on your map. The statue can be found by going through a small gate on the bottom left side of the building’s picture on the map. Interacting with it will progress the quest.
How to Interact with Each Pedestal
After interacting with the statue in the Runecrafting Guild, you’ll be instructed to engage with three pedestals located above the three buildings surrounding the main structure. You’ll need both the Windstep spell and precise positioning to reach them.
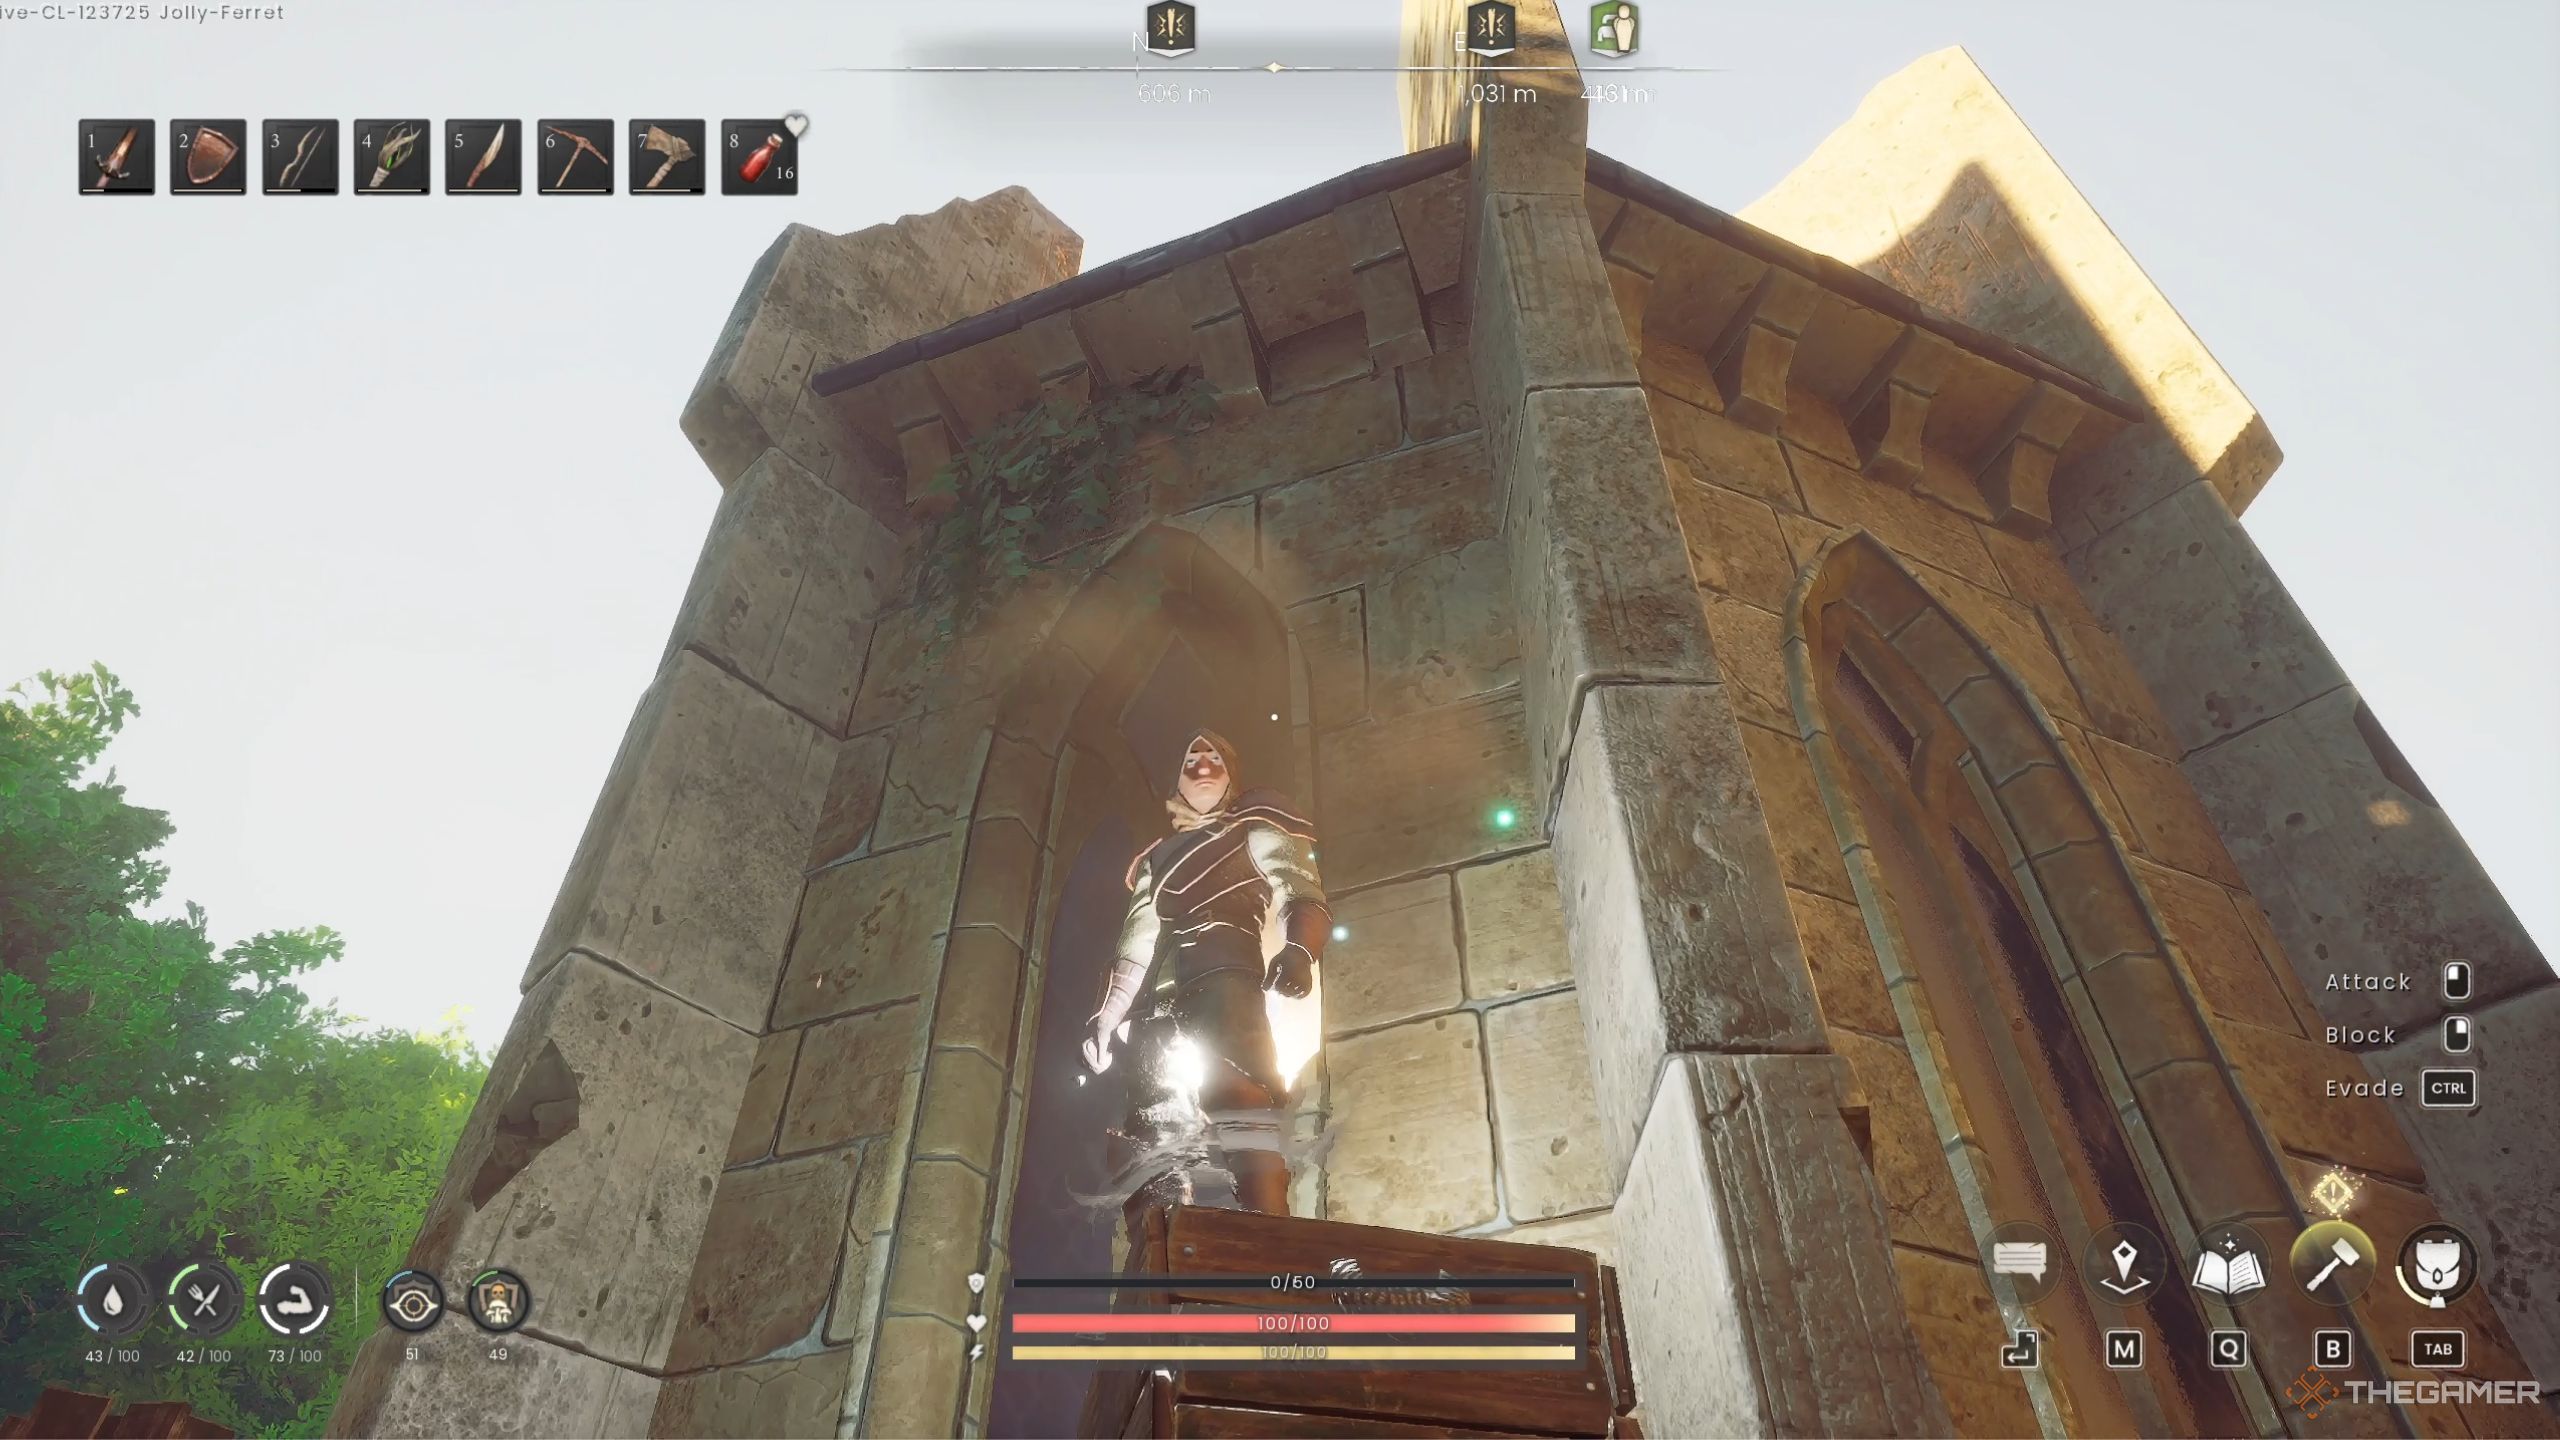
Start by heading to the first pedestal, located slightly to the right of where the statue is pointing. Go around the building to find a small platform with a few stairs. Stand on this platform and use Windstep to leap to the first pedestal at the top. Precision is key here.
From the first pedestal, you’ll notice a small roof connecting you to the main building. Carefully walk on this roof until you can use Windstep again to jump to the terrace on the right. You’ll find a chest here and can then use Windstep once more to reach the level above you.
Next, use the Windstep spell again to directly jump to the second building with another pedestal. This jump won’t be possible from the terrace directly, but the slight elevation gained from the previous jump will help immensely.
For the third pedestal, return to ground level and navigate around the building. Look for crates nearby and select those with the least height difference from the roof, then Windstep your way up. This should allow you to access all three pedestals. Afterward, return to the statue to claim your Staff of Light.
Crafting this item will require 16 Blightwood, eight Wild Anima, four Sapphire, 12 Vault Shards, and one Vault Core.