The First Berserker: Khazan – "Why Have You Forsaken Us" Mission Overview
While many side missions in The First Berserker: Khazan are relatively straightforward, the “Why Have You Forsaken Us” quest stands out as a more complex challenge. This mission is packed with hidden secrets and numerous formidable foes.
We’ll guide you through the locations of all valuable items, prepare you for every enemy confrontation, alert you to various traps, and ensure you navigate this harrowing dungeon with all your collectibles intact.
Laboratory Wing Entrance
Upon entering the first room, you’ll find two rotating light pillars. As you step in, you’ll be attacked by Polluted Husks, Frenzied Husks, and Plague Husks. Move towards the back of the room, skillfully dodging the lasers. Let the traps take care of the husks, and once they’re defeated, pull the switch and collect the Necklace of Sealed Plague.
Tip: Consider equipping that necklace; it might be helpful!
In the following room, additional husks await. Lure the Polluted and Frenzied Husks to you. After dispatching them, eliminate the Plague Husk feasting on a corpse. Activate the switch near the Plague Husk to retrieve the Concentrated Fire Essence, and then head down the stairs.
Enemies Encountered
- Polluted Husk
- Frenzied Husk
- Plague Husk
- Undead Vagrant
- Undead Archer
- Undead Swordsman
- Undead Shieldbearer
- Renowned Warrior’s Shadow
Notable Items
- Necklace of Sealed Plague
- Warrior’s Scroll
- Crusader’s Scroll
Your next challenge will involve an Undead Vagrant, an Undead Archer, and some Undead Swordsmen. Defeat them, but remember to keep hitting them when they fall to prevent them from getting back up.
Discovering Valuable Scrolls
Once clear, check the bookshelf in the corner. Pulling a specific book will reveal a secret room containing the Warrior’s Scroll. You can also eliminate the Undead Archer here and pull another switch to open the cells in the adjacent room.
Note: Beware of chaos vials in this area—breaking them can cause you harm.
In the following room, an Undead Shieldbearer will break through the wall. These enemies are not overly tough, but they can block most frontal attacks. You can either engage them directly or dodge their charge and strike from behind.
First Soulstone
Upon entering the next room, look to your right to find a Soulstone (1/3) encased in a chamber. Break it open, then descend to confront the Elite Renowned Warrior’s Shadow. This boss can heal with every hit, so strategize your approach carefully. Defeating him will yield various rewards, including the Crusader’s Scroll.
Warning: There are Explosive Spiders nearby; be prepared to fight them if their tanks break.
Progressing Through the Laboratory Wing
After defeating the Renowned Warrior’s Shadow, activate the switch, clear out more husks, and descend the spiral stairs to reach the Sector No. 4 Laboratory Wing Blade Nexus.
Sector No. 4 Laboratory Wing
The area is crawling with:
- Polluted Husk
- Frenzied Husk
- Plague Husk
- Undead Ice Archer
- Undead Shieldbearer
- Corrupted Creation
- Pincer Spider
- Failed Creation
- Undead Assassin
Here, you can find notable items such as the Beastslayer’s Scroll, Ghost Twin Blades, and others while also encountering two more Soulstones.
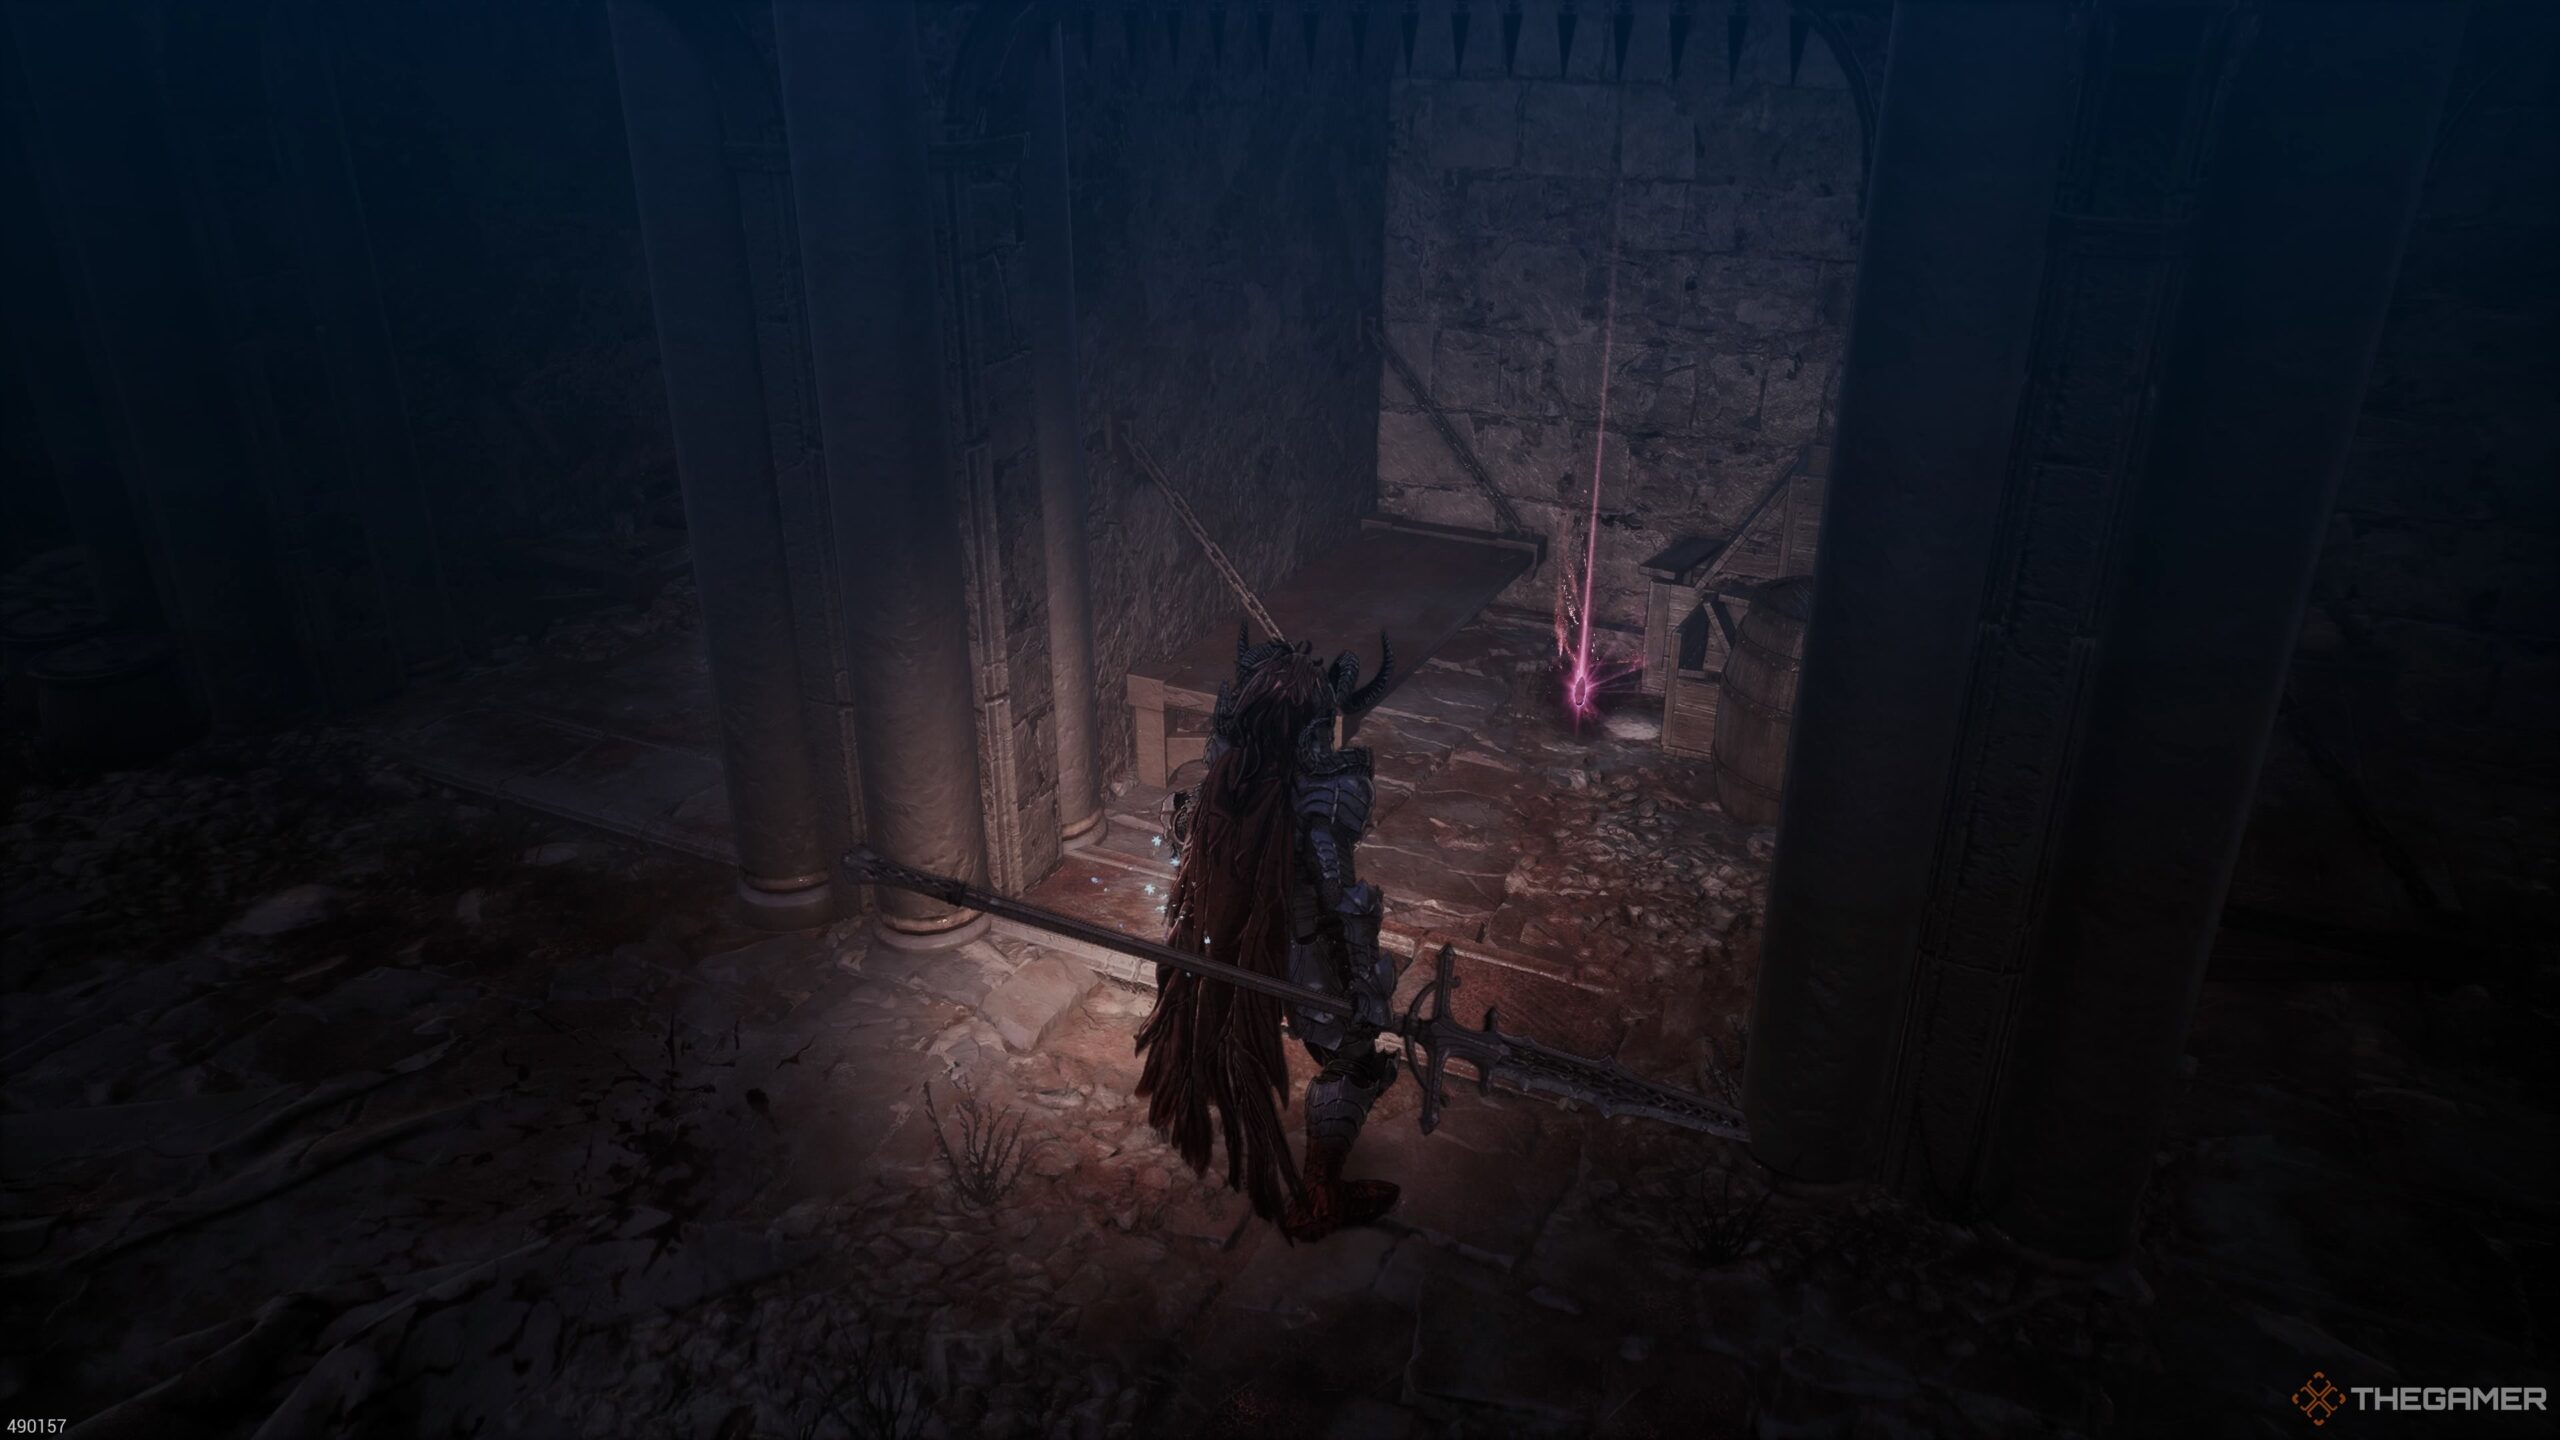
The Second Soulstone
Continue down the spiral staircase and into a room across from the Blade Nexus. The second Soulstone (2/3) is hidden near a statue on the left side; use a javelin to retrieve it. Clear the husks in the next room, then grab any Inner Essences lying around.
As you proceed, you will also run into a Corrupted Creation. Keep an eye on its tail—block before its tail whip and rush in when it tries to unleash energy beams.
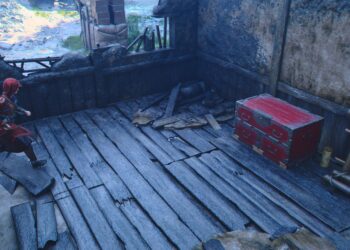
Collecting the Final Loot
Once you’ve cleared that area, check a chest in the room where you fought the Corrupted Creation for items including the Decayed Greatsword and Hunter’s Gear.
The Final Soulstone
The final Soulstone (3/3) can be found behind the tank where the second Corrupted Creation was located. Destroy it to obtain all three Soulstones.
Having completed your collection, prepare for the boss fight with Yerid the Completed. His combat style mirrors that of Shactuka, so employing similar strategies will be key to your success.
Together, let’s tackle the remaining trials of The First Berserker: Khazan!