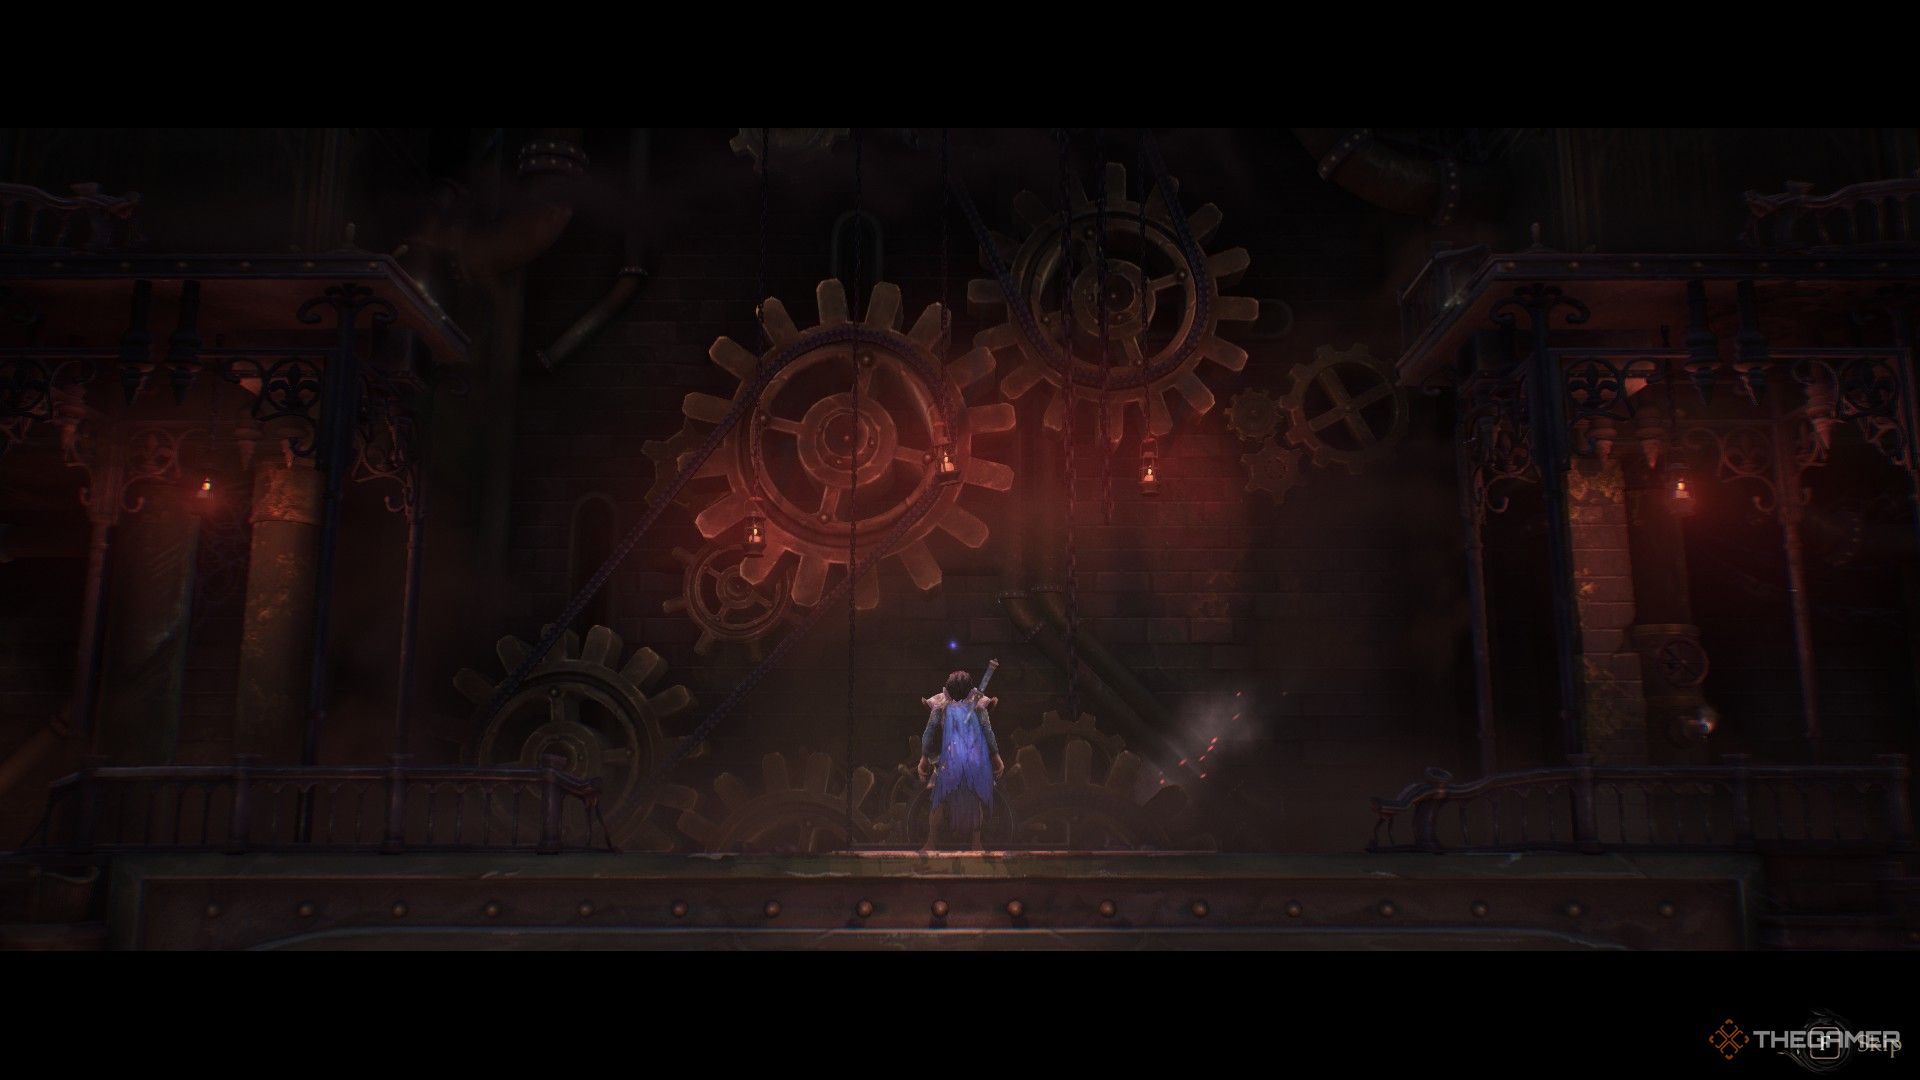
Mandragora: Whispers of the Witch Tree poses a significant challenge, even for seasoned players of the metroidvania genre. The strategy of enemy placement and engagement echoes more of what you’d find in a Dark Souls game than the classic encounters faced by Alucard and the Belmonts. Careful planning and strategic use of the game’s systems will be key to overcoming these foes.
Maximizing the mechanics of leveling up, utilizing equippable skills, and honing your crafting abilities will empower you to navigate the dark forces more effectively than simply charging in with a sword.
Adjust Accessibility Settings
You should immediately tweak two options from the default settings: quest tracking and quick buy features. These adjustments can save you from repetitive inputs while shopping and help you manage side quests without getting distracted by new ones that you pick up along the way.
Don’t forget that you’ll frequently visit shops if you tend not to revisit low-level areas for materials, and many quests will be given to you before you’ve gained the mobility tools required to complete them.
Tip: Privacy Concerns
Some players have expressed concerns regarding data collection by the game. If this is an issue for you, make sure to spend extra time reviewing the privacy settings and opt out wherever you can.
Recruit Gerald and Alannah Early
One of the initial side quests you can undertake involves recruiting the mapmaker Gerald to your camp. Having him onboard simplifies navigation and backtracking since you won’t have to mark everything yourself.
While Gerald can handle a lot, there are specific elements you might still want to mark on your map, like one-way passages and paths that require special movement capabilities.
Another valuable ally to recruit early is Alannah the alchemist, located west of Wickham after defeating the Fanghunt Executioner. Although she’s somewhat off the main path, getting her into your camp sooner allows you to start duplicating ingredients using her garden.
Buff Before Boss Fights
The game provides a steady supply of consumables. Always remember to use weapon and armor buffs before entering new areas, particularly boss arenas. Most buffs last long enough to carry you through multiple encounters.
- Weapon coatings will only deplete after a set number of attacks, which means they can be wasted only if you happen to fall off a ledge.
- Armor packs absorb a limited amount of hits—this is especially effective for builds that can only use lighter gear.
- Stronger potions have effects lasting under 30 seconds, so they should be utilized during fights for maximum benefit.
- Certain foods can last for the entire exploration of an area and may provide slowly acting effects, such as healing when out of combat.
If you’re low on supplies, you might consider entering boss fights without buffs a couple of times—this way, you can learn their attack patterns without incurring extra costs.
Tip: Exiting Boss Fights
If you find yourself in a boss fight you’re not prepared for, you can return to your last Witch Stone by exiting to the main menu. This trick works even when fast travel is disabled and can prevent you from losing valuable resources.
Falling is a Leading Cause of Death
When you enter your camp at the Witch Tree, you can view game statistics, including your most frequent cause of death. For many players, this tends to be falling or getting caught in traps, especially if you dash back recklessly after a previous death. Taking a moment to ensure proper navigation around pitfalls can save you from embarrassment.
Be mindful of which traps can eliminate you instantly and which merely deal damage:
- Giant swinging axes are a guaranteed death, but you can sprint beneath them—just be prepared for a few mishaps while learning the timing.
- Fall damage can be tricky to gauge, so if you can’t see the ground beneath you, it’s best to assume you’ll die.
- Spike pits are instant kill zones and can easily catch you off guard during combat.
- Ground spikes will respawn you at the last stable area, but the animation will show your health at zero.
- Arrow traps only deal damage, so they can be sprinted through if you are determined.
- Floating eyeballs might not be actual traps but can act as such; use ranged attacks to dispose of them.
Tip: Checking for Safe Falls
If you’re unsure whether a drop will lead to instant death or simply an unexplored area, consult your map in the pause menu. Look for ledges to grab onto as a positive sign.
Don’t Stick to Your Starting Class
Your starting class gives you a solid foundation in stats, equipment, and abilities. Remember, it’s not a strict commitment to one playstyle—especially given the generous respec options available.
Each talent tree connects to two others, allowing you to mix and match skills. Many classes have abilities that complement those of nearby trees. Although you cannot cast spells from a second tree until reaching level 25, you can still focus on building towards them and planning your skill sets in advance.
Most multiclass builds tend not to cast spells across several types due to limited equipment slots for spell focuses. It’s worth keeping in mind that even the most magic-oriented characters must engage in melee combat and acquire some sword skills, while martial classes can benefit from passive abilities found in magic trees.
Note: Spells and Focus
You need a focus that matches your class to cast spells, but passive bonuses from the talent tree can still benefit you.
Jumping is an Alternative to Dodge Rolling
Basic jumps do not cost stamina and can be just as effective as a conventional dodge against certain attacks. Additionally, jumping can be seamlessly combined with your attacks if you have spare stamina. Different attacks feature distinct visual cues, indicating whether you should dodge or leap over them.
Warning: Jumping Limitations
Keep in mind that jumping provides minimal horizontal displacement and lacks invincibility frames. If you’re facing attacks with considerable vertical reach, rolling is the better option.
Once you learn the attack patterns of your foes, you’ll find it easier to avoid damage without relying on blocking or rolling.
Tactical Enemies Require Smart Engagement
Certain enemies employ tactics that can disrupt your typical combat strategies. For instance:
- Enemies with shields may wait for you to strike, countering after blocking. Attacking them directly leaves you vulnerable; instead, you can maneuver behind them to handle other threats.
- Ranged attackers may sit behind clusters of melee enemies, making it easy to get hit while distracted. You can lure melee fighters away or rush through to target the ranged attacker directly.
- Some bosses, like the Fanghunt Executioner, have attacks that will only trigger if you provide an opening. Reckless dodging can leave you fatigued just as they strike.
- When ambushed by enemies coming from both sides, prioritize breaking out of the encirclement. You can more effectively engage multiple foes if they’re positioned in front of you.
Focus on Health and Stamina
Survival is critical in any game, and Mandragora is no exception. While martial classes start with higher hit points, all character types benefit from increasing their health.
Stamina is crucial, even if you aren’t actively using it for attacks, since it’s essential for dodging and does not recharge while casting spells. Always ensure you have enough stamina left to retreat after casting powerful spells.
Even equipment load matters for every character. Keep an eye out for vigor slots on your talent tree or adaptable slots that can switch to vigor. Strength-based builds obtain carry weight through their main attack stat, allowing them to use heavier gear.
Tip: Talent Tree Opportunities
Seek out abilities within the talent tree that scale with your maximum health. Several features can revive you or negate damage based on your overall health.
Avoid Grinding in the Same Spot
Grinding serves as a way to accumulate strength by collecting money, essence, and crafting materials. To make it most effective, don’t rely on the same spot repetitively. This way, you can gather resource nodes and complete bounty quests simultaneously.
This strategy ensures you gather a diverse array of materials rather than just a limited selection found in one location. Common materials like metal ores and simple fabrics can deplete quickly, as they’re needed for crafting and upgrading equipment.
Note: Quest Options
At various points, you’ll face several options to pursue aside from the main quest, some of which may require a higher level than you possess at first. If you’re looking to recruit Alannah early, prepare for tougher encounters than those in less challenging areas available to you before gaining mobility upgrades.