Dragon Ball: Sparking Zero has released the first DLC pack for Daima, featuring highly awaited characters from the anime. The standout addition is Vegeta in his Super Saiyan 3 form, but there’s also been significant attention given to Goku Mini, particularly concerning his Super Saiyan transformation.
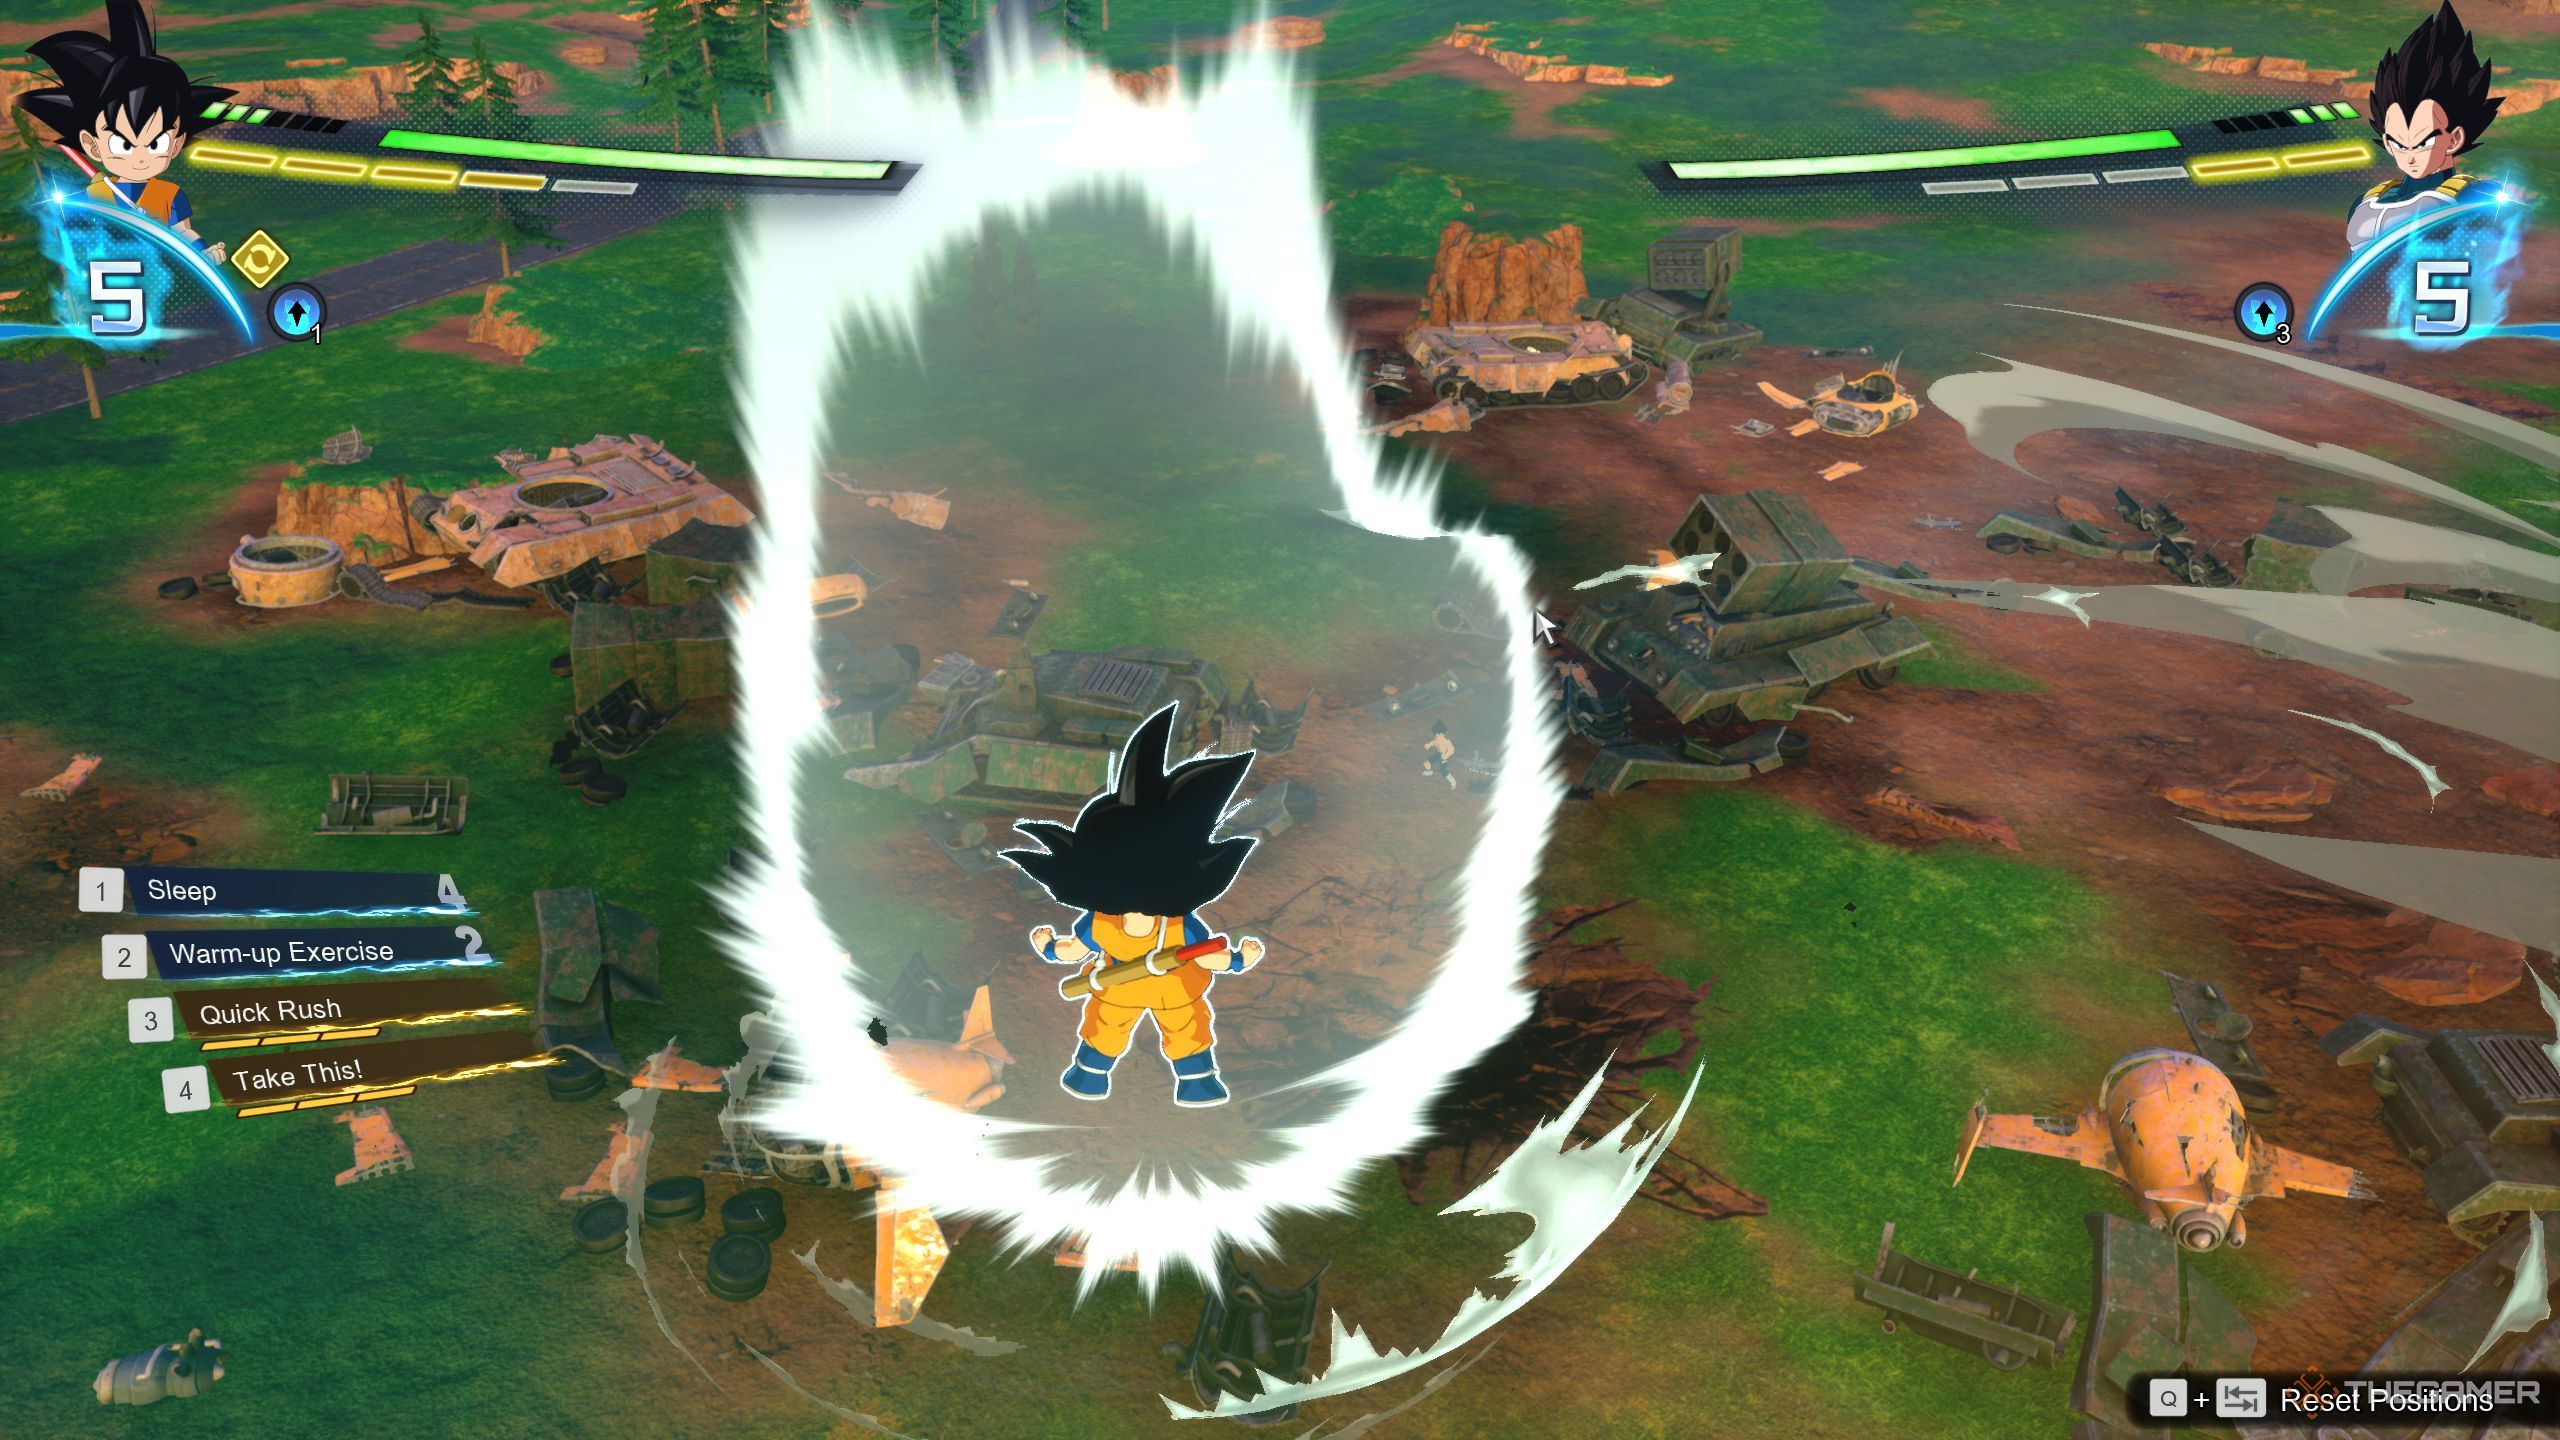
Goku Mini comes in both his base and Super Saiyan forms. This section will detail the moves and abilities of each form, plus some effective combo strategies for the Super Saiyan version. While many combos can also be applied to his base form, note that there might be variations in the heavy attack sequences.
Goku Mini Moves and Abilities
| Move | Cost | Description |
| Sleep | Four Skill Points | Goku will rest to recover health and Ki. Though effective for regeneration, it’s the slowest option available. |
| Warm-up Exercise | Two Skill Points | Boosts Goku’s melee, Ki blasts, and blast abilities for 15 seconds. |
| Quick Rush | Three Ki Bars | This triggers a cutscene where your character rushes and attacks the enemy. |
| Take This! | Three Ki Bars | Goku uses his pole to hit the opponent—this attack can’t be blocked. |
| Aura Impact | Full Ki Bar | Transforming into SSJ, Goku unleashes a powerful explosion attack. |
The Goku Mini introduced in the Daima DLC is quite similar to the previous version. His abilities like Sleep and Warm-up Exercise remain unchanged, and even his super attacks are alike.
However, he features a different ultimate attack. Instead of Power Pole Impact, this version utilizes Aura Impact, which functions as an explosive attack, providing better chances to hit stunned opponents. Additionally, Daima Goku can now throw Ki blasts at foes.
Goku Mini SSJ Moves and Abilities

| Move | Cost | Description |
| Afterimage | Two Skill Points | Goku becomes untouchable except by grabs or Ki blasts, disappearing and reappearing behind the opponent during attacks. |
| Full Power | Four Skill Points | Instant Spark attack. |
| Energy Strike | Three Ki Bars | Goku delivers a punch to the opponent during a cutscene. |
| High-Speed Strike | Three Ki Bars | A rush attack where Goku fires Ki blasts at the opponent followed by two strikes. |
| Super Kamehameha | Full Ki Bar | Goku launches Kamehameha at the opponent, which can be blocked. |
Top Combos for SSJ Daima Goku

Don’t solely depend on super attacks during matches, as they can be inconsistent. Learning combos is essential, especially ones that can catch your opponents off guard. Here are two challenging combos that provide high damage, making them worthwhile to master.
First Combo Breakdown
Start by executing a full string of charged normal attacks from different angles, making sure to connect with your normal attacks. This might be tricky, so practice before implementing it in a match. Execute this in your first combo sequence, then continue as normal.
Be careful not to hold the heavy attack too long, as it could disrupt your combo. Timing is crucial; if you hesitate, your opponent may easily dodge your attack. This is why performing it mid-combo is vital.
In the second string, incorporate a gut punch followed by flying kicks. Afterward, wrap up the combo with a heavy sweep attack.
Then hit your opponent with a few normal attacks, move your analog stick upward, step forward, and continue the combo with more normal hits. Finally, finish with any of your super attacks.
Second Combo Breakdown
Begin with the same heavy attack string and then carry on with the usual combo. After the second string, deliver a gut punch and charge your Ki blast.
Fire the Ki blast at your opponent and follow with a sweep attack. Charge another Ki blast and hit your opponent again.
Don’t immediately press the button to charge the Ki blast right after a heavy attack, as there are additional strings to trigger from heavy attacks.
If you execute a gut punch on an enemy and give the same command again, your character will perform another heavy attack unexpectedly. Wait a moment before charging your Ki blast.
After this, move your analog stick upward, step forward, and unleash a heavy attack. Then, charge your Ki blast once more and perform a normal combo. Once you’ve finished, use any of your rush moves. Ki blasts inflict decent damage between combos, but using them effectively can be tricky.
This combo tends to work much better with characters who possess shotgun Ki blasts.
Although you can easily use them outside of a combo, incorporating them into a combo can be more complex. You’ll need to practice to execute it successfully.
Be cautious not to overcharge the Ki blast, as your opponent might recover in the meantime.