The quest “Unfriendly Competition” is one of the first challenges you’ll encounter in The Elder Scrolls 4: Oblivion, and this is just as true in the Remastered edition. It mainly involves waiting and engaging with characters, but you’ll face a challenging combat encounter towards the end that deserves attention. Despite its straightforward nature, the rewards make the effort worthwhile.
This guide covers everything you need to know to complete “Unfriendly Competition,” ensuring you’re ready for the one tough battle.
How to Complete Unfriendly Competition
You’ll navigate the entire “Unfriendly Competition” questline in the Imperial City, primarily located in the Market District.
The fight takes place in a mausoleum located in the Arboretum district, putting you up against an armored foe and another enemy wielding a magical sword that drains Willpower and Endurance.
There’s also a stealth segment where you’ll need to sneak into a character’s house, requiring the unlocking of two doors. You can either stock up on lockpicks or pickpocket the keys from the character.
How to Start Unfriendly Competition

Beginning the “Unfriendly Competition” quest is easy. While in the Market District, visit one of the following stores and chat with their owners:
- Three Brothers Trade Goods. Talk to Tertullian Verus.
- The Gilded Carafe. Speak with Claudette Perrick.
- The Main Ingredient. Approach Ogier Georick.
- Jensine’s “Good as New” Merchandise. Just ask Jensine herself.
When you meet any vendor, select the dialog option “Thoronir,” prompting them to explain that a new shop has opened and is undercutting their prices. If you spoke to vendors other than Jensine, they will suggest that you speak with her.
For a quicker start, you can directly approach Jensine during business hours to discuss Thoronir. When prompted, choose “Start from the beginning.”
Casing Thoronir
Your first task after accepting the quest is to follow Thoronir when he exits his shop to track his movements. Like other vendors in the Imperial City, Thoronir closes at 8:00 PM.
After a brief wait, he’ll head to the Merchant’s Inn, where he will relax until midnight before moving on. Continue to follow him.
There’s no stealth requirement here, so you can talk to him as you follow without issue.
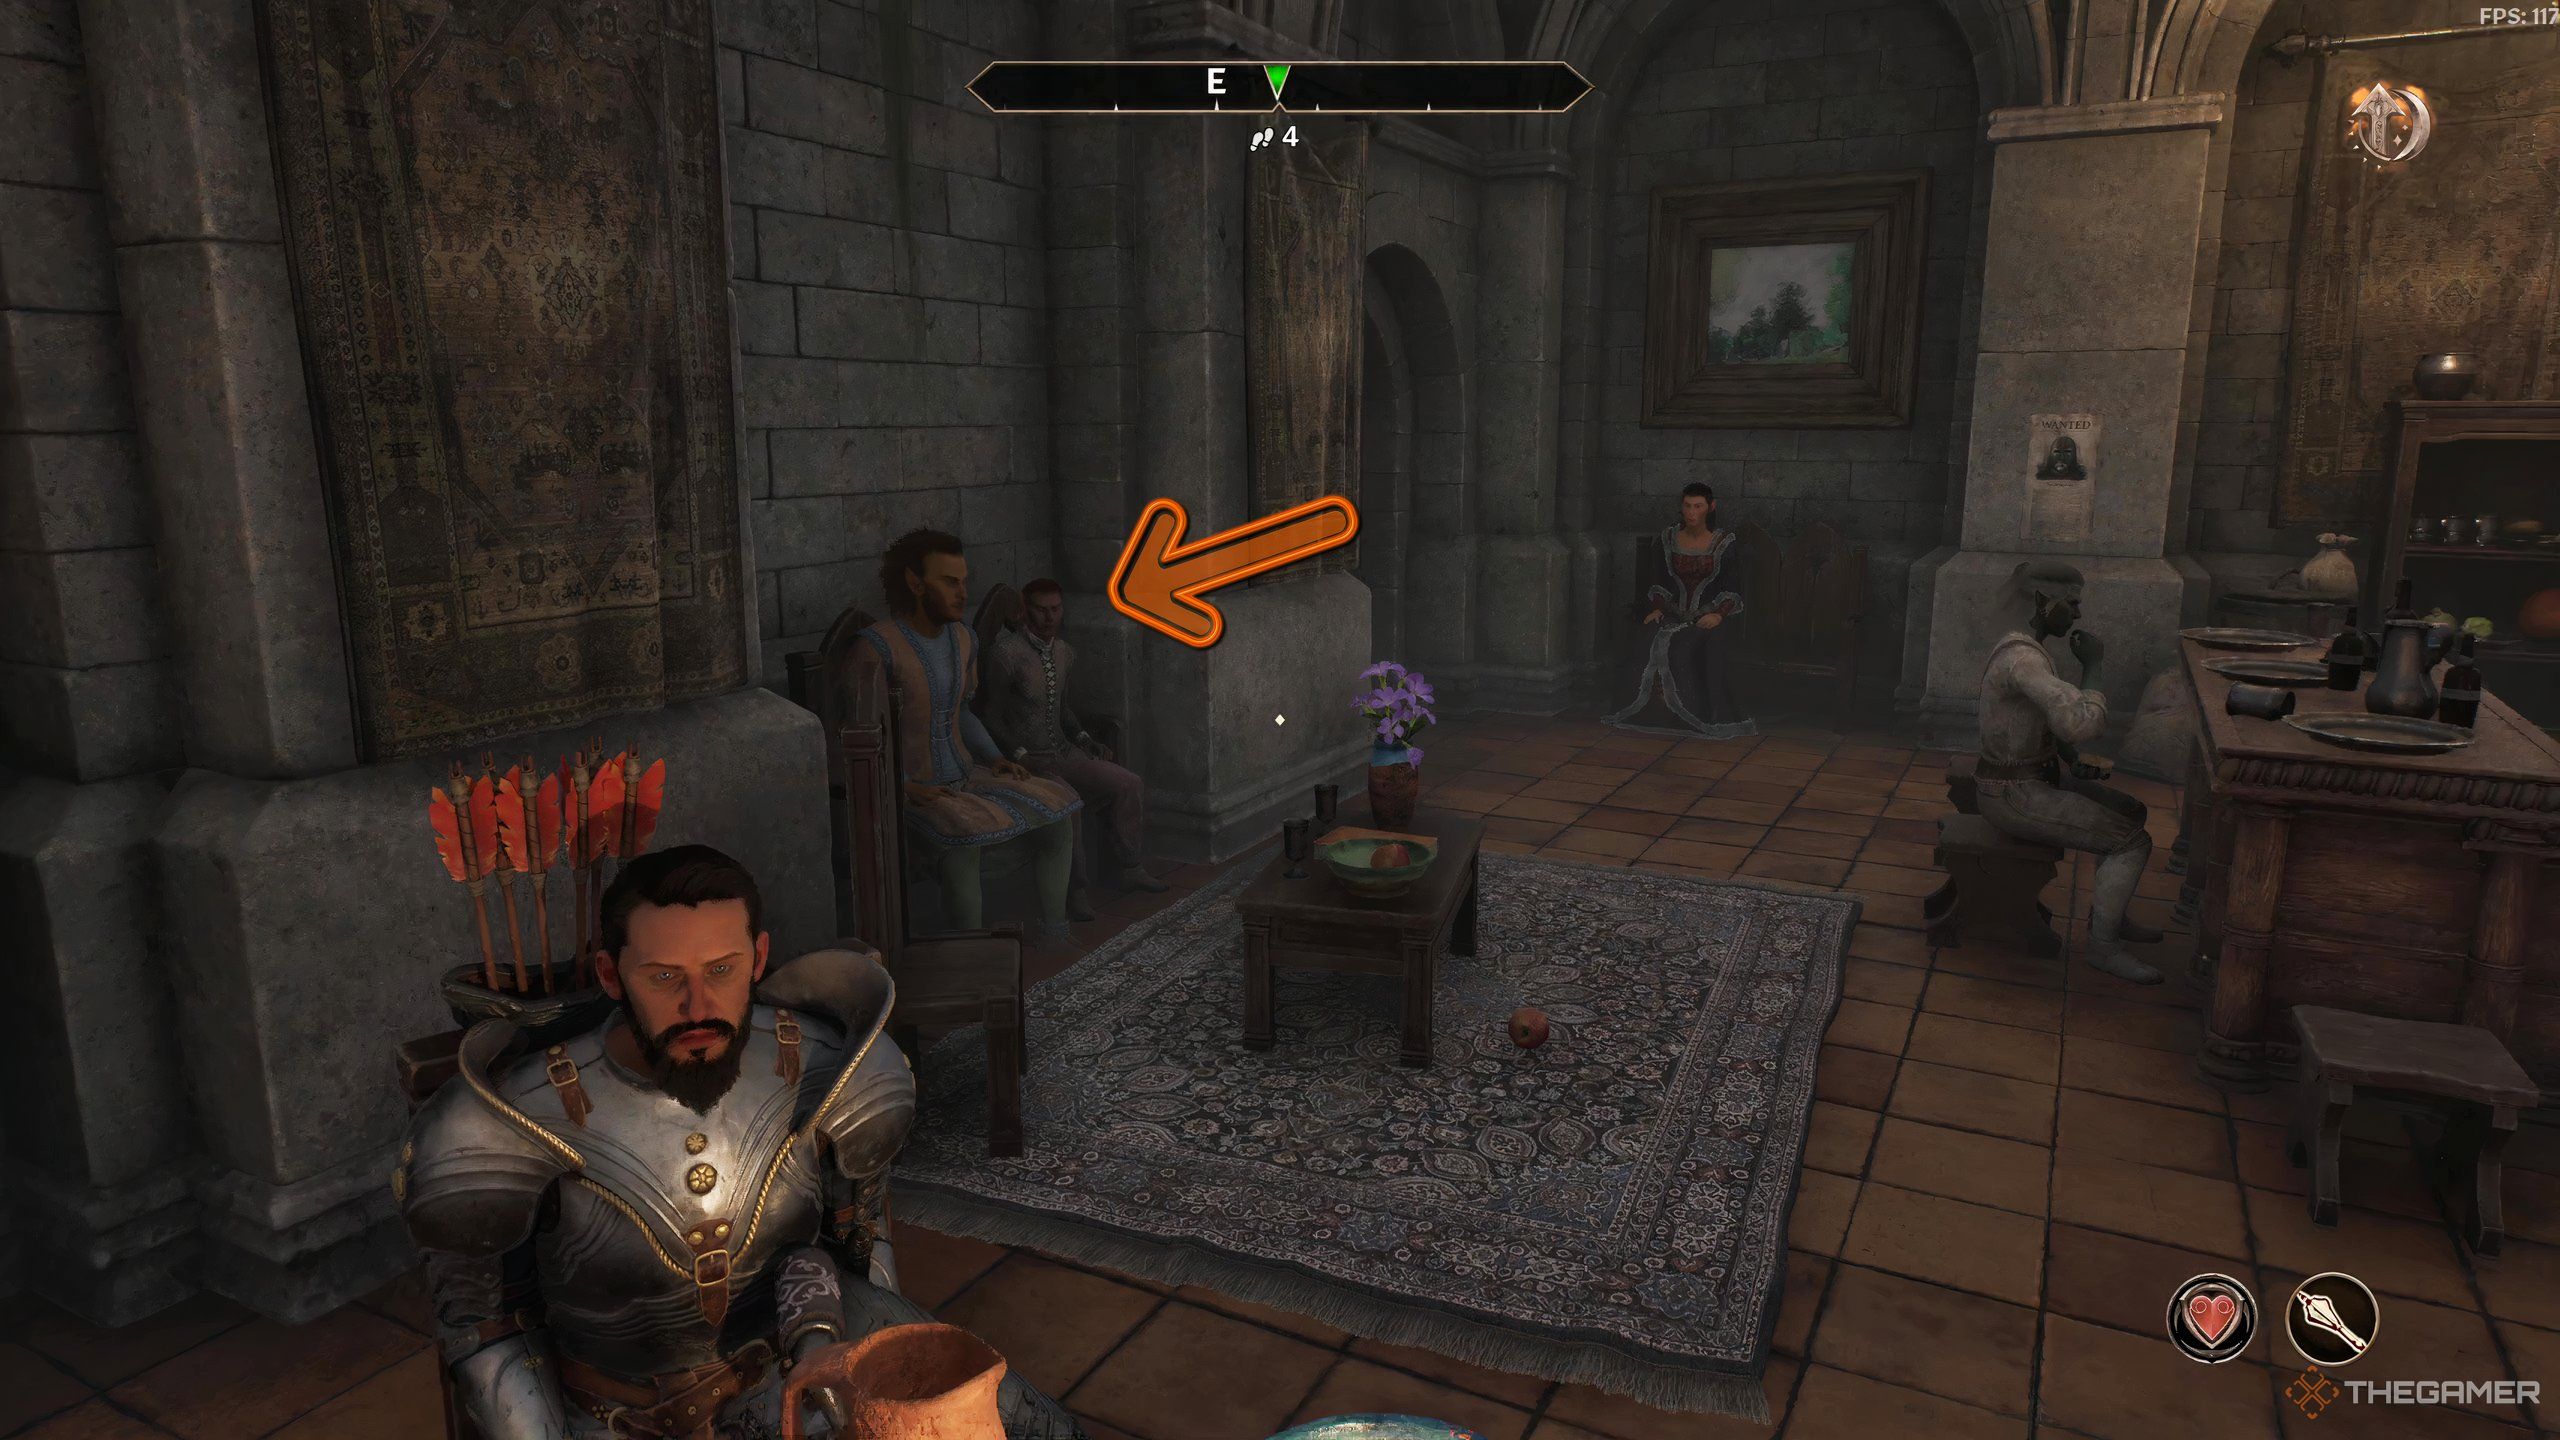
Thoronir will eventually arrive at a small garden with a well on the northwest edge of town, where he meets with a shady contact. Wait to overhear their conversation.

Interestingly, you can stand right next to them during their “secret” meeting, and they’ll act as if you’re hiding.
Your next task is to follow the contact, a dubious man named Agarmir, back to his home.
Following Agarmir

Things get tricky now. You’ll need to follow Agarmir through the moonlit city back to his home in the Talos Plaza district. Once he’s inside, the quest will prompt you to sneak into his house and investigate.
Agarmir spends a long time at home and locks the door from the inside, meaning you can’t just pick the lock to enter.
Instead, wait until dusk, around 7:45 PM. In our playthrough, it took nearly two full days until his house was accessible.
Agarmir’s house has a standard lock, so if you’re not skilled at lockpicking yet, bring several lockpicks. Alternatively, you could have pickpocketed him for the keys.
Once inside, you’ll want to make your way to Agarmir’s basement, which is also secured with a standard lock.
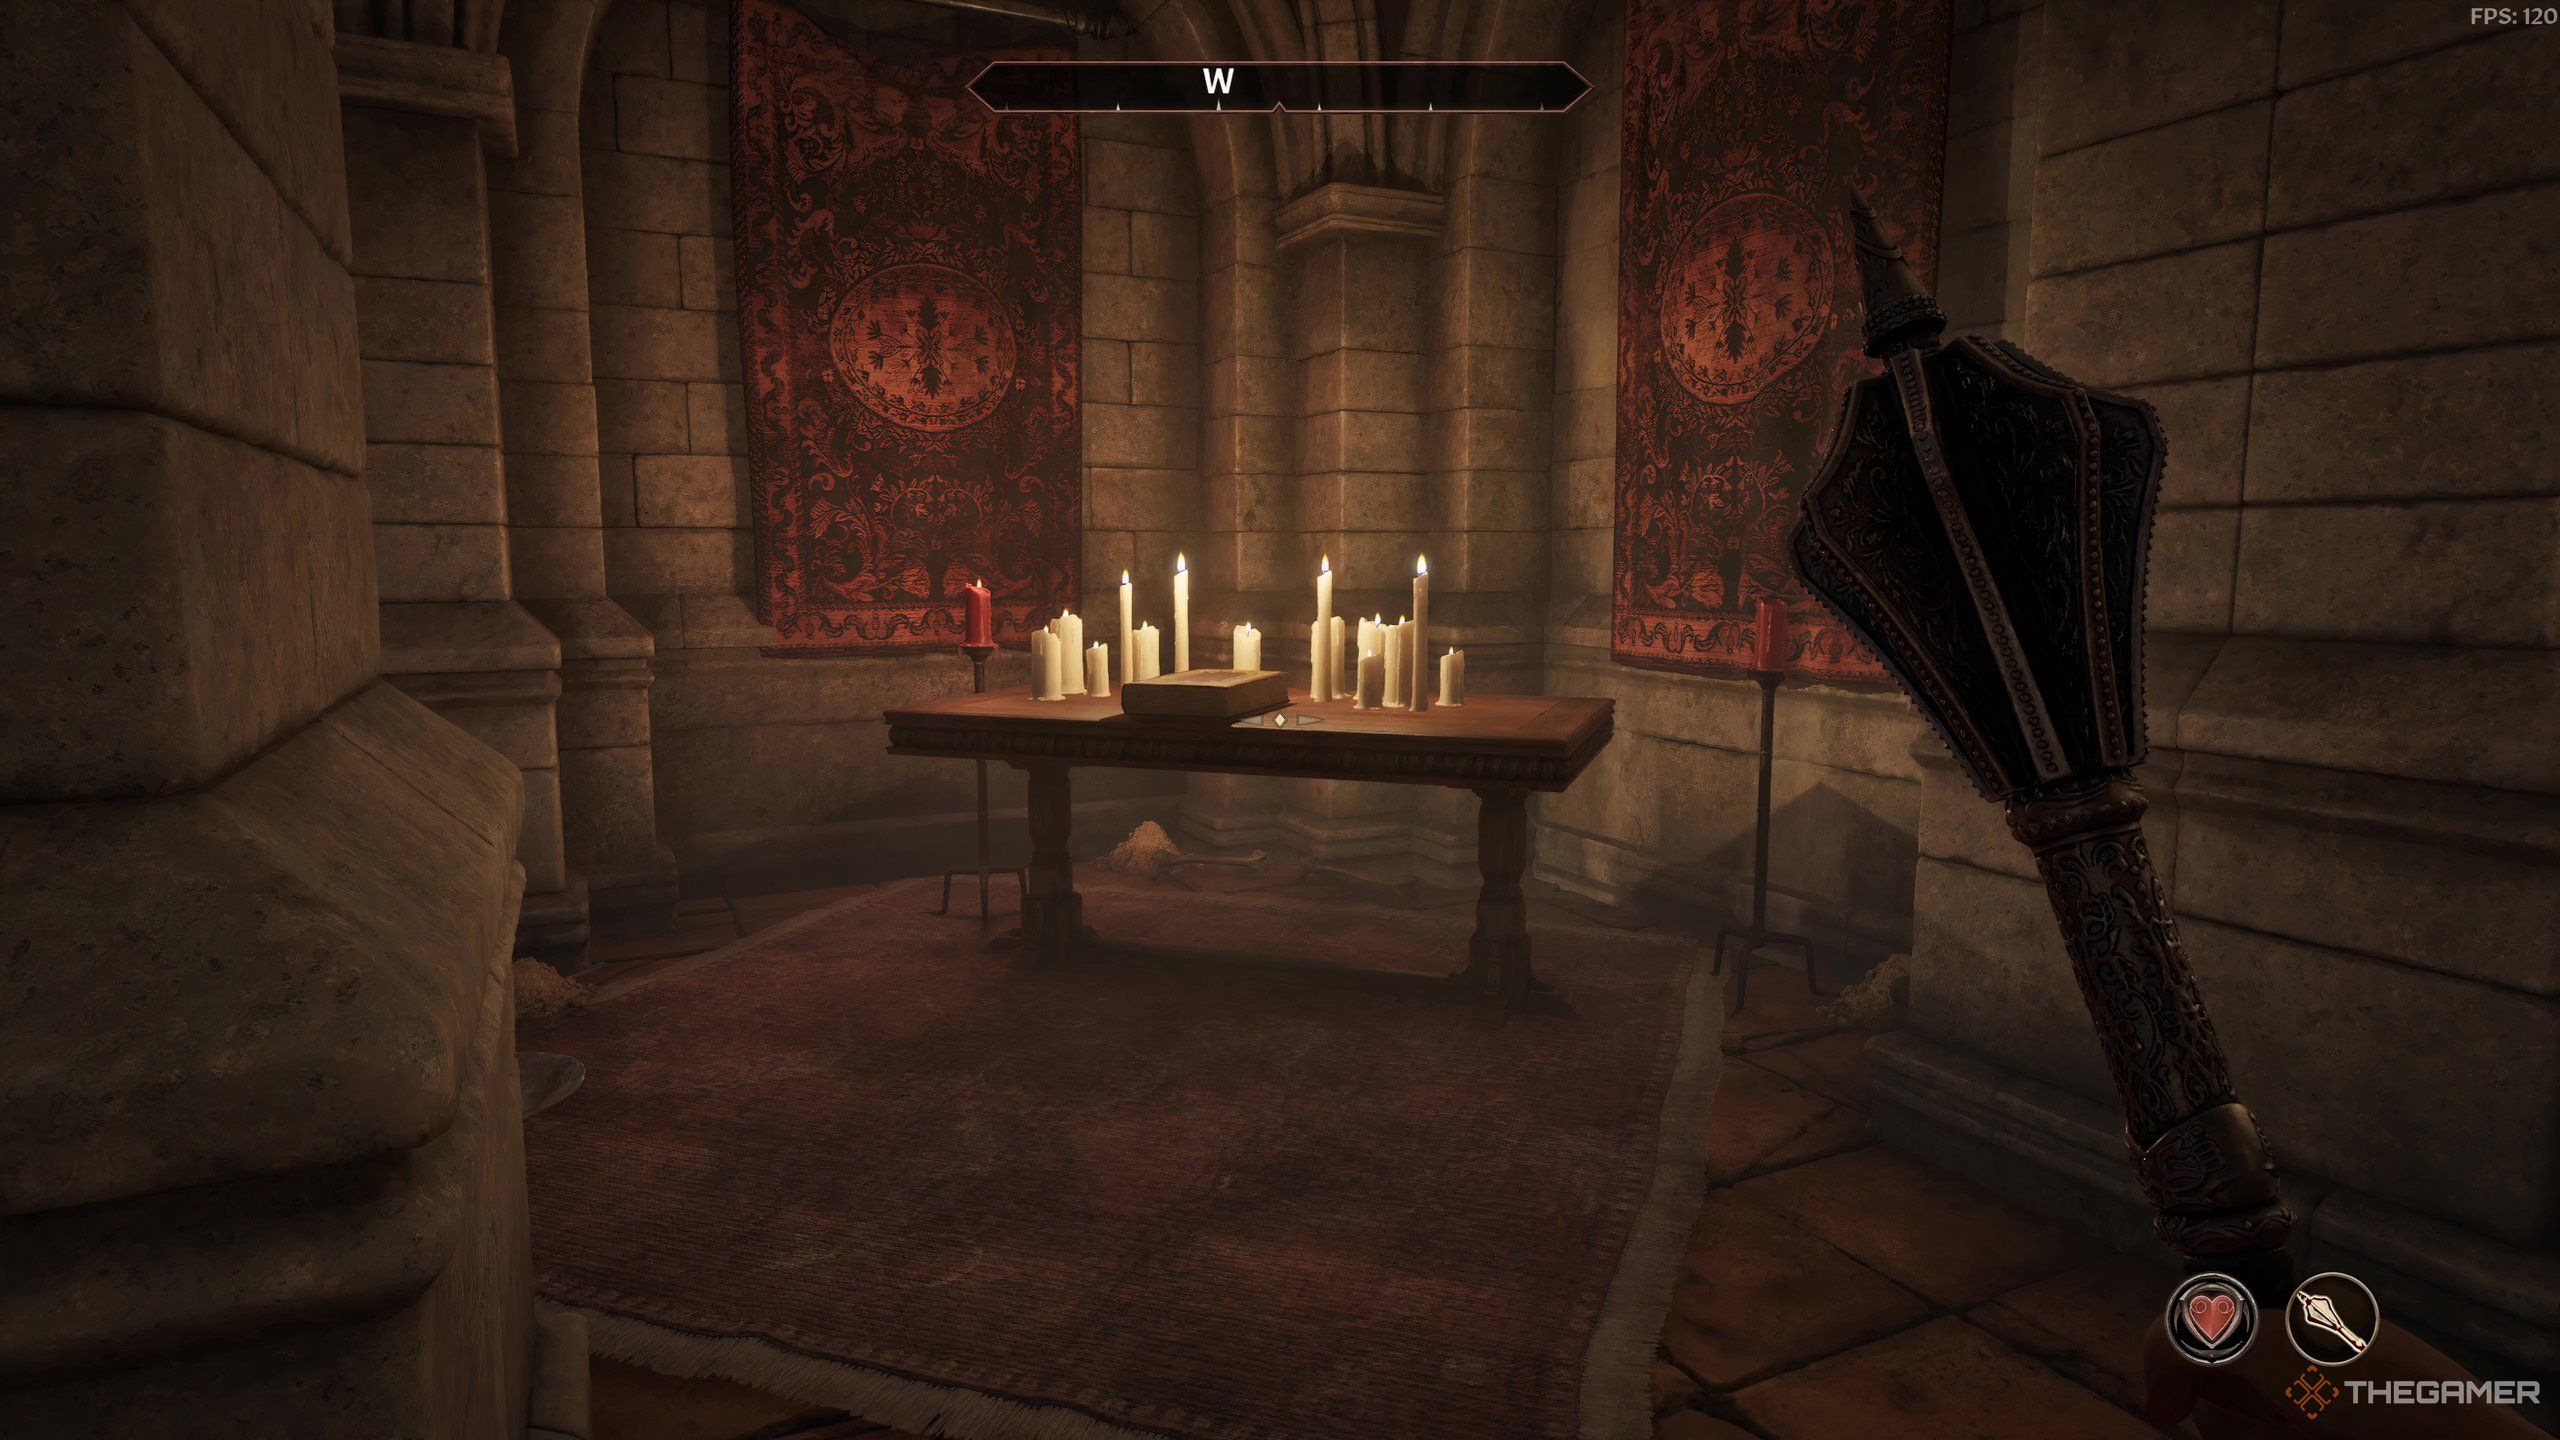
In the back corner, you’ll find a book called the Macabre Manifest, which reveals Agarmir’s grave-robbing activities and how he’s sourcing his goods through Thoronir.
Next, return to Thoronir during business hours and inform him about the source of his cheap items.
When you talk to Thoronir, choose “Taken from the Dead” twice, followed by “Help me catch Agarmir,” and finally “Don’t worry, I’ll stop him.”
Thoronir will be shocked and promise to stop selling those items immediately, leaving Agarmir to deal with.
Stopping Agarmir’s Graverobbing

After leaving Thoronir’s shop, head right and take the gate into Green Emperor Way. Proceed southwest until you reach the graveyard, and head toward the door on the outer wall beneath the blue roof.
This leads you to the Trenitus Family Mausoleum, and you’ll receive a quest update as you approach. Once inside, you’ll face Agarmir and an armed guard. Speak to Agarmir, and a fight will begin—there’s no negotiation.
How to Beat Agarmir

The challenging part of this encounter is the small space and Agarmir’s sword, which drains Willpower and Endurance with each hit.
Getting hit will make it harder for you to regain Fatigue and Magicka.
His guard is equipped with Steel armor and a Silver Longsword. When we faced them at level six, focusing on Conjuration and Destruction magic worked well. Summoning a creature can help separate Agarmir from his guard. Even a basic skeleton can distract one, allowing you to maneuver around the room’s columns.
Keep your strongest attacks and spells coming, and keep your summons active. Stock up on potions to restore Health, Fatigue, and Magicka to counter Agarmir’s weapon’s effects.
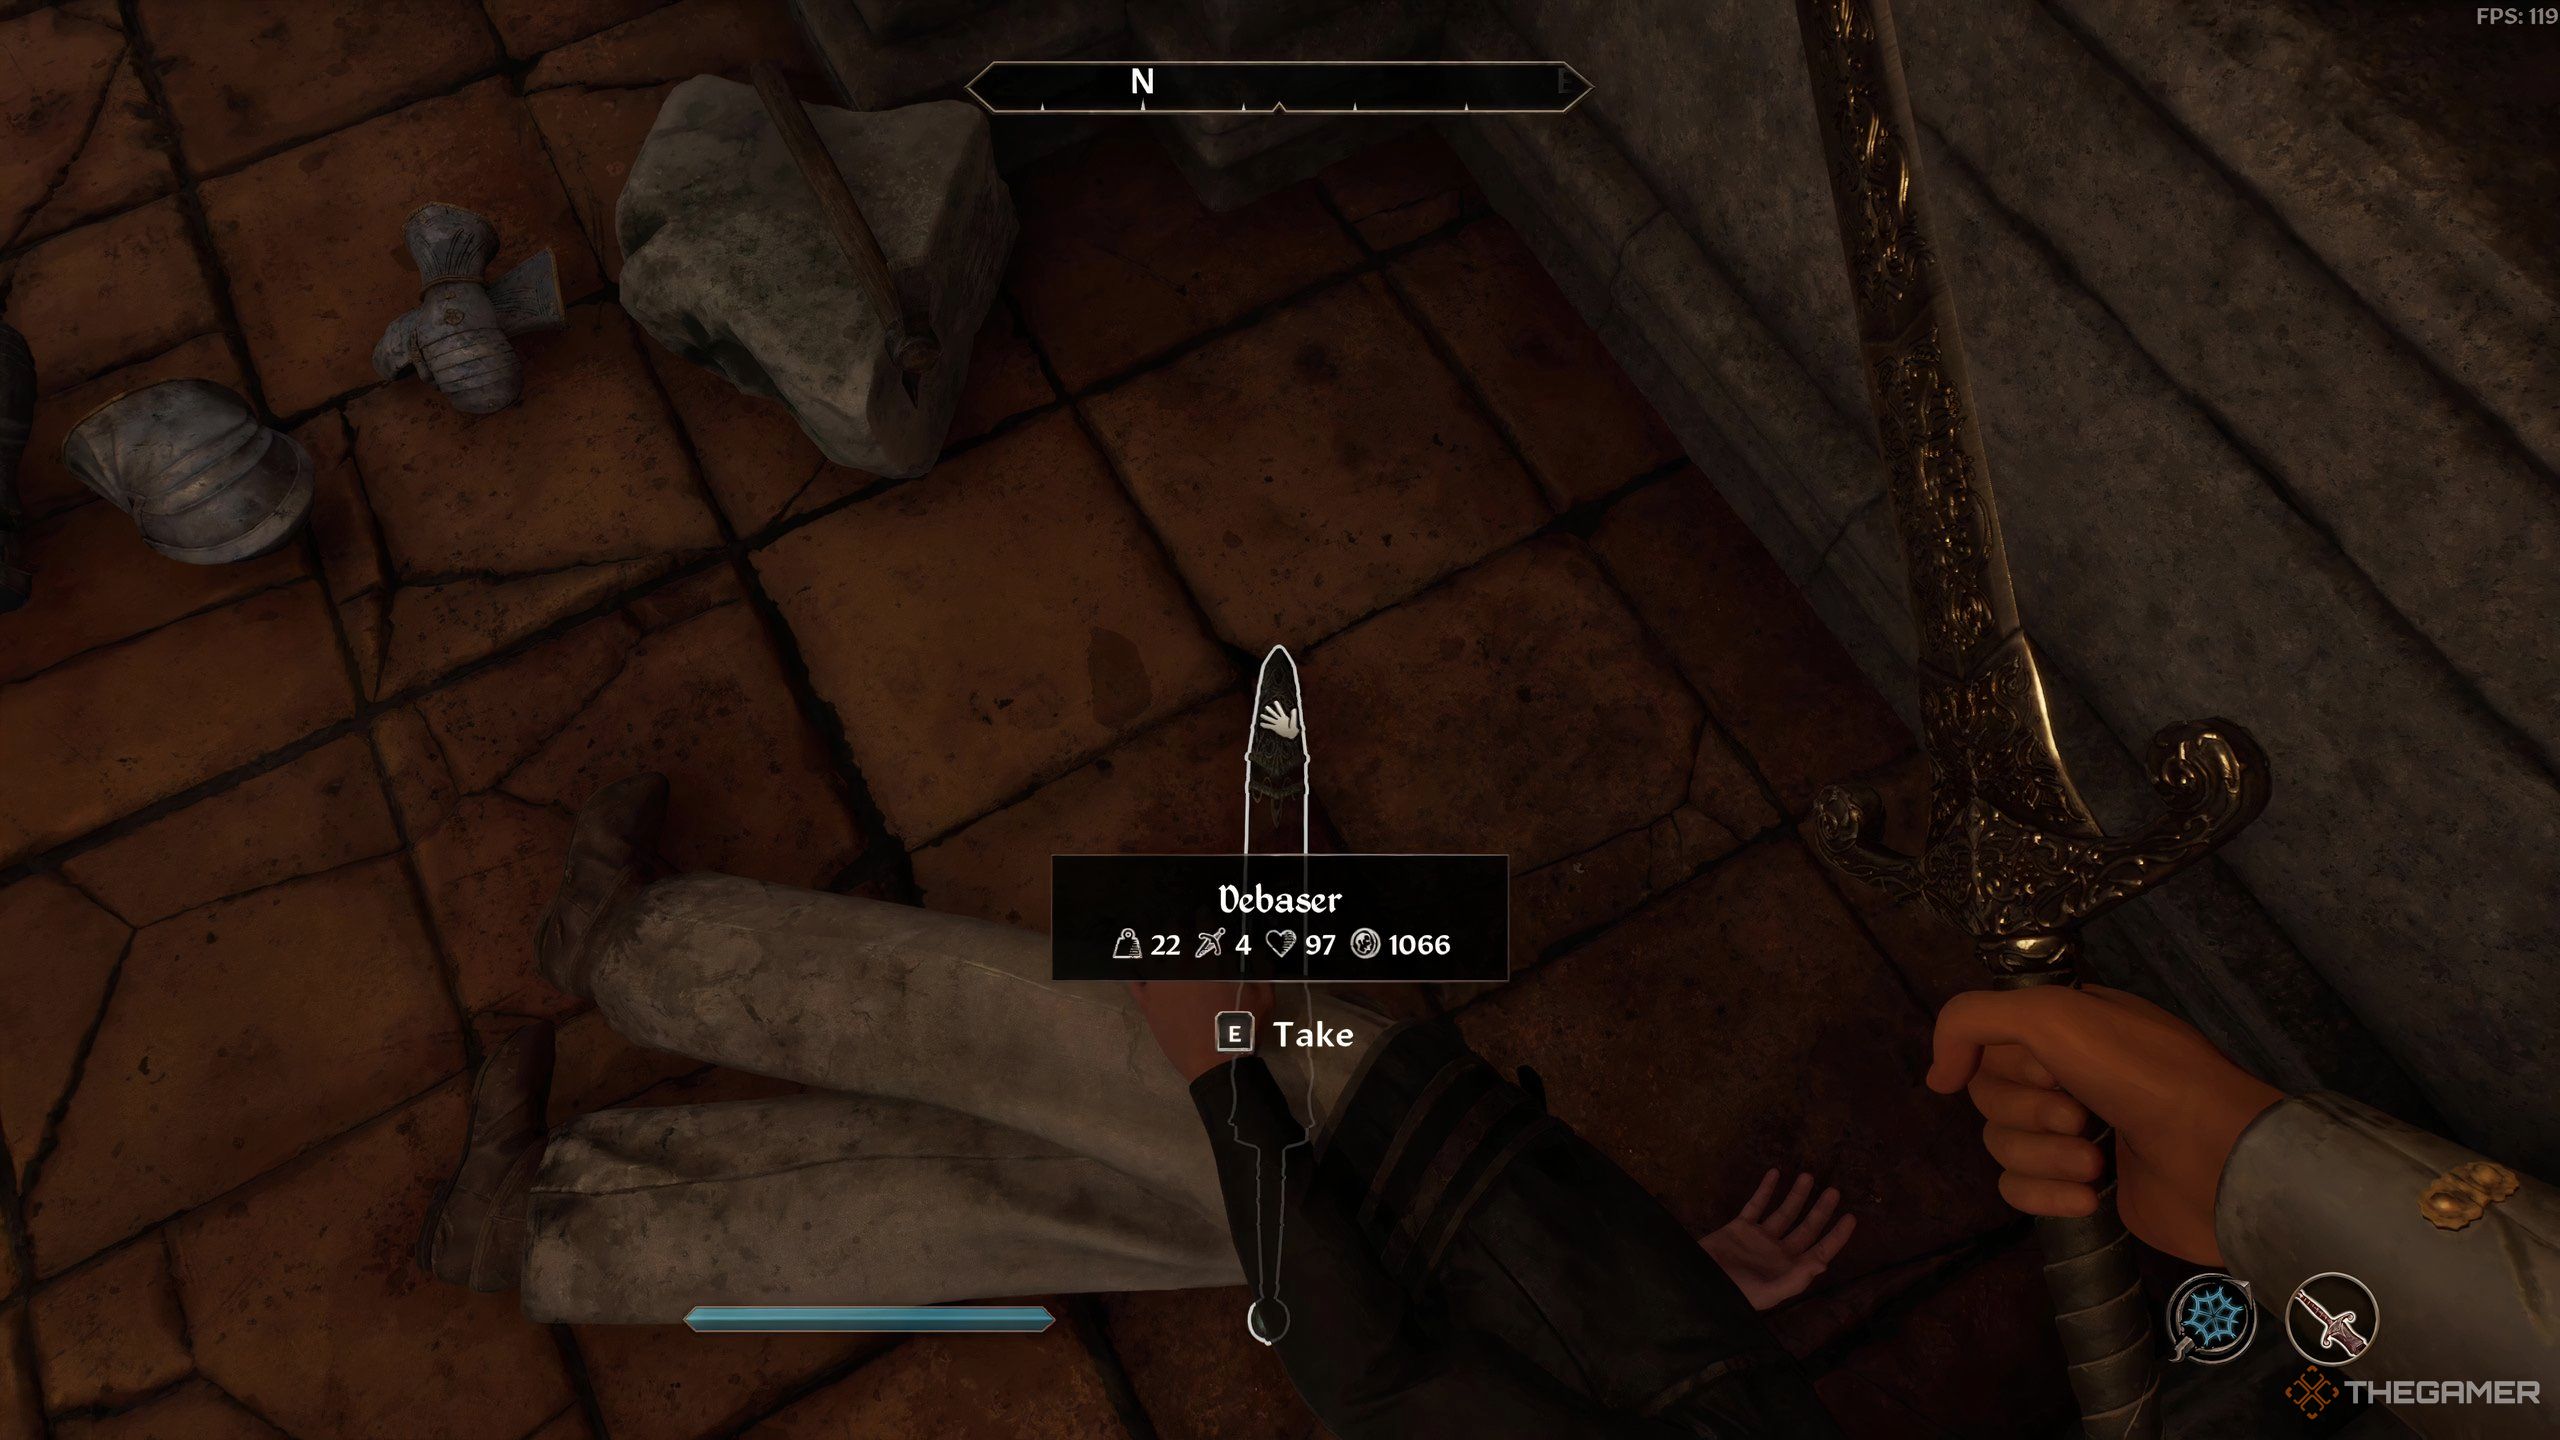
Once you defeat Agarmir and his guard, loot the Debaser short sword from Agarmir’s body. This light weapon does four damage and drains ten Endurance and Willpower per hit for 20 seconds.
Finally, collect Agarmir’s Shovel from near the open grave and return to Thoronir. When prompted, respond to his query with “Yes, here is his shovel.“
To thank you for stopping him from making further mistakes, Thoronir will reward you with a Weatherward Circlet, which offers a 15% resistance to both Fire and Frost damage.
Unfortunately, Thoronir won’t immediately offer you a discount or better prices at his store, but the ring is still a nice reward.
You’re almost finished. Return to Jensine and hand her the Shovel and the Manifest to wrap up your tasks. You’ll receive Jensine’s appreciation and 200 gold for your efforts. You may not get better prices or disposition, but gold is still valuable.