InZoi allows you to design your own items using a 3D printer, making it an exciting feature to explore. You can also find your favorite items in the game and display them in your virtual apartment. Just take a photo of something you love in real life, and bring it into the world of Zois.
By decorating your space with these creations, you’ll truly feel at home. However, creating high-quality objects can be tricky, especially if your initial image isn’t great. Here are some helpful tips to help you achieve better results with the 3D printer.
InZoi is in early access on Steam, and its content will evolve over time. We’ll keep this guide updated as changes occur.
How to Use the 3D Printer
Begin by opening the build mode and clicking on the Craft tab. From there, select the 3D Printer and upload a photo of the object you want to create. The printer will process the image for a few seconds to generate your desired item.
You can also buy a 3D printer for 628 Meows and place it anywhere in your home for your Zoi to create 3D objects. Producing a single 3D printed item will cost you 100 Meows each time you save it after it’s made.
The first attempt might not yield the desired results, so feel free to try generating it again.
And if the 3D Printer is unresponsive, restarting the game might help resolve the issue.
How to Craft 3D Printed Accessories
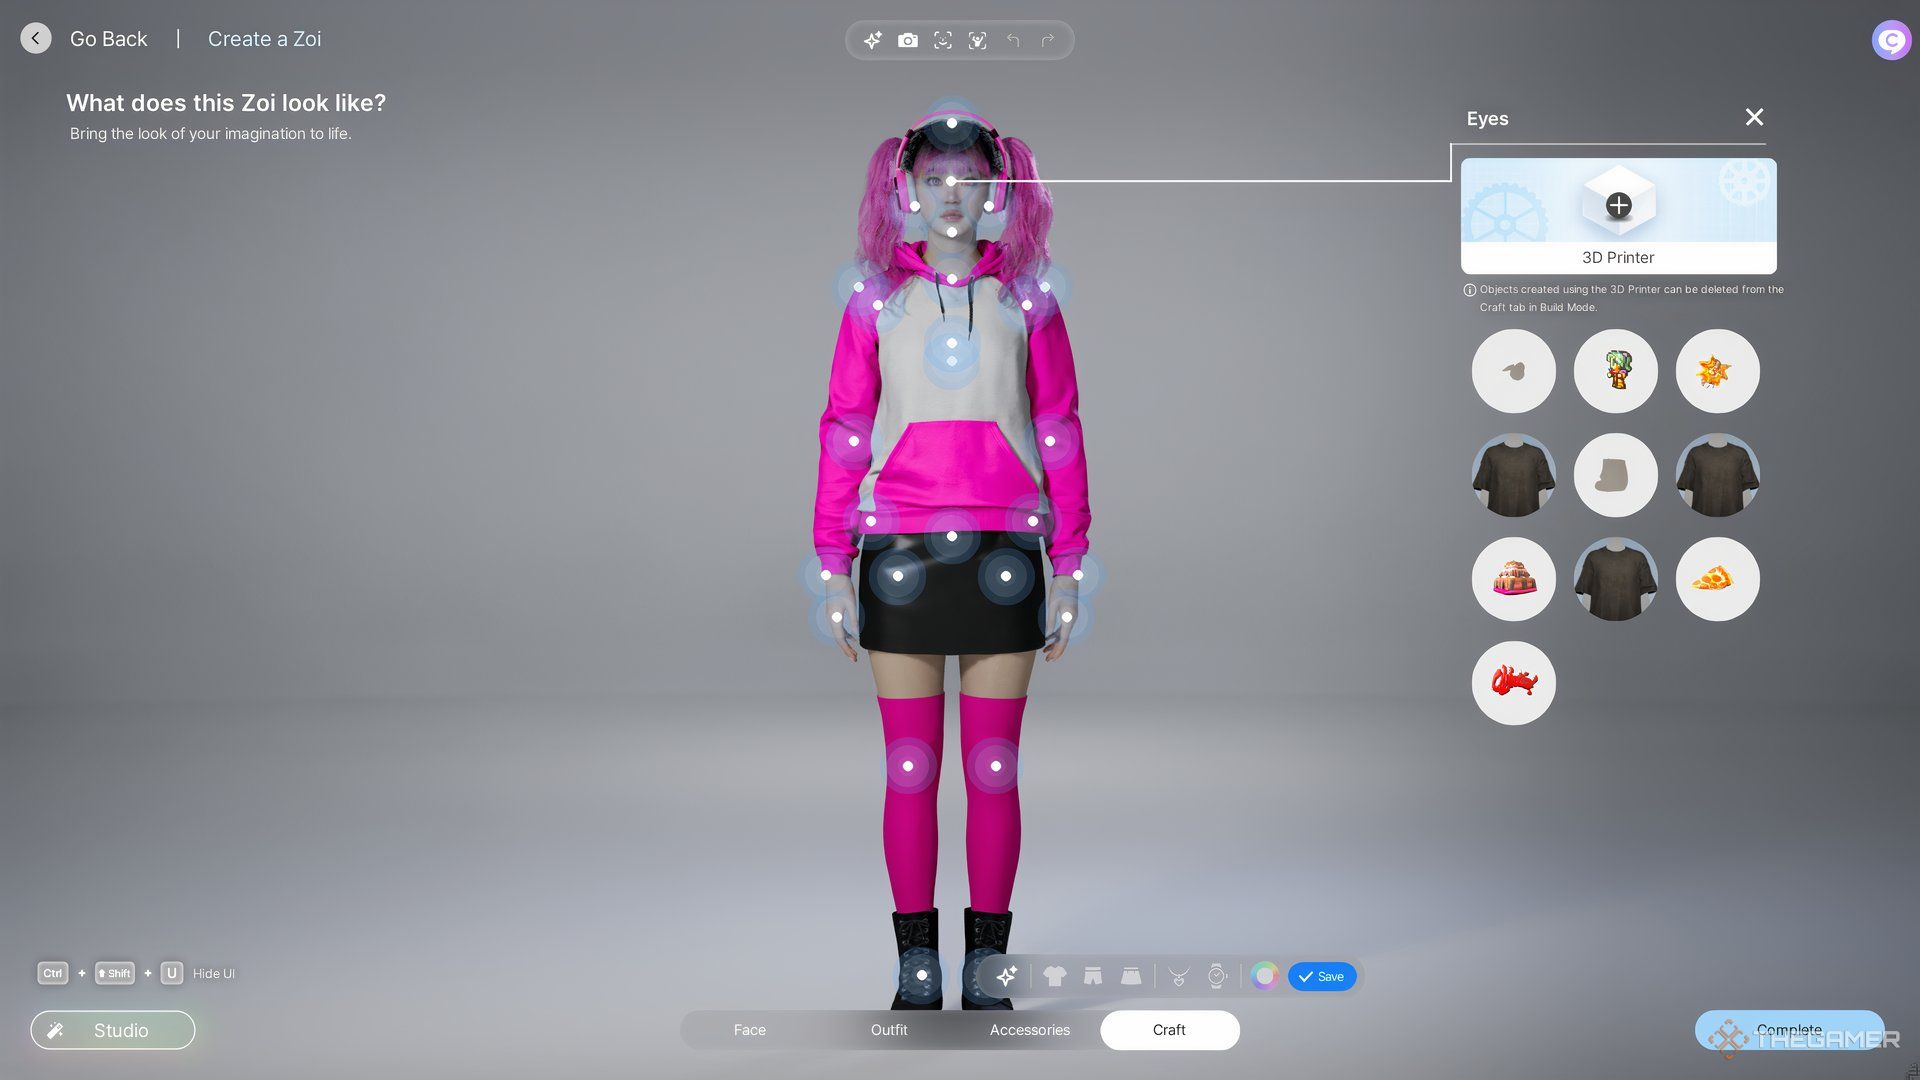
You won’t find a crafting option for accessories directly in the 3D printer, but you can do that through the clothing craft menu. After opening the craft tab, select 3D Printed Decorations. You’ll then see multiple spots on your character, allowing you to choose where to add a custom accessory. On the right side of the screen, all the objects you’ve created with the 3D printer will appear, so you can select any of them to have your character wear as an accessory.
Getting accessories right can be challenging, especially with specific curves. For instance, if you’re creating an eye patch, you’ll want it to curve inward rather than outward. To achieve this, we reversed the image design, uploaded it, and then rotated it 180 degrees to achieve the proper curve while ensuring the design wasn’t backward.

How to Get Good Results

Here are some tips to help you create clean objects, as using the 3D printer can be a bit challenging:
- Ensure the photo only captures one object to make it easier to recognize.
- Avoid bright light or sunlight when taking the photo to prevent glare or shine.
- You can create objects using 2D images, but this is more complex, especially if the object blends with the background.
- Using a green screen, transparent, or contrasting background can significantly improve your chances of success.
- If you notice some edges are missing, try rotating the object in the picture or changing its position to see if that improves the output.
- Simple objects tend to be easier to reproduce accurately since the 3D printer might struggle with intricate details.
How to Edit the Object

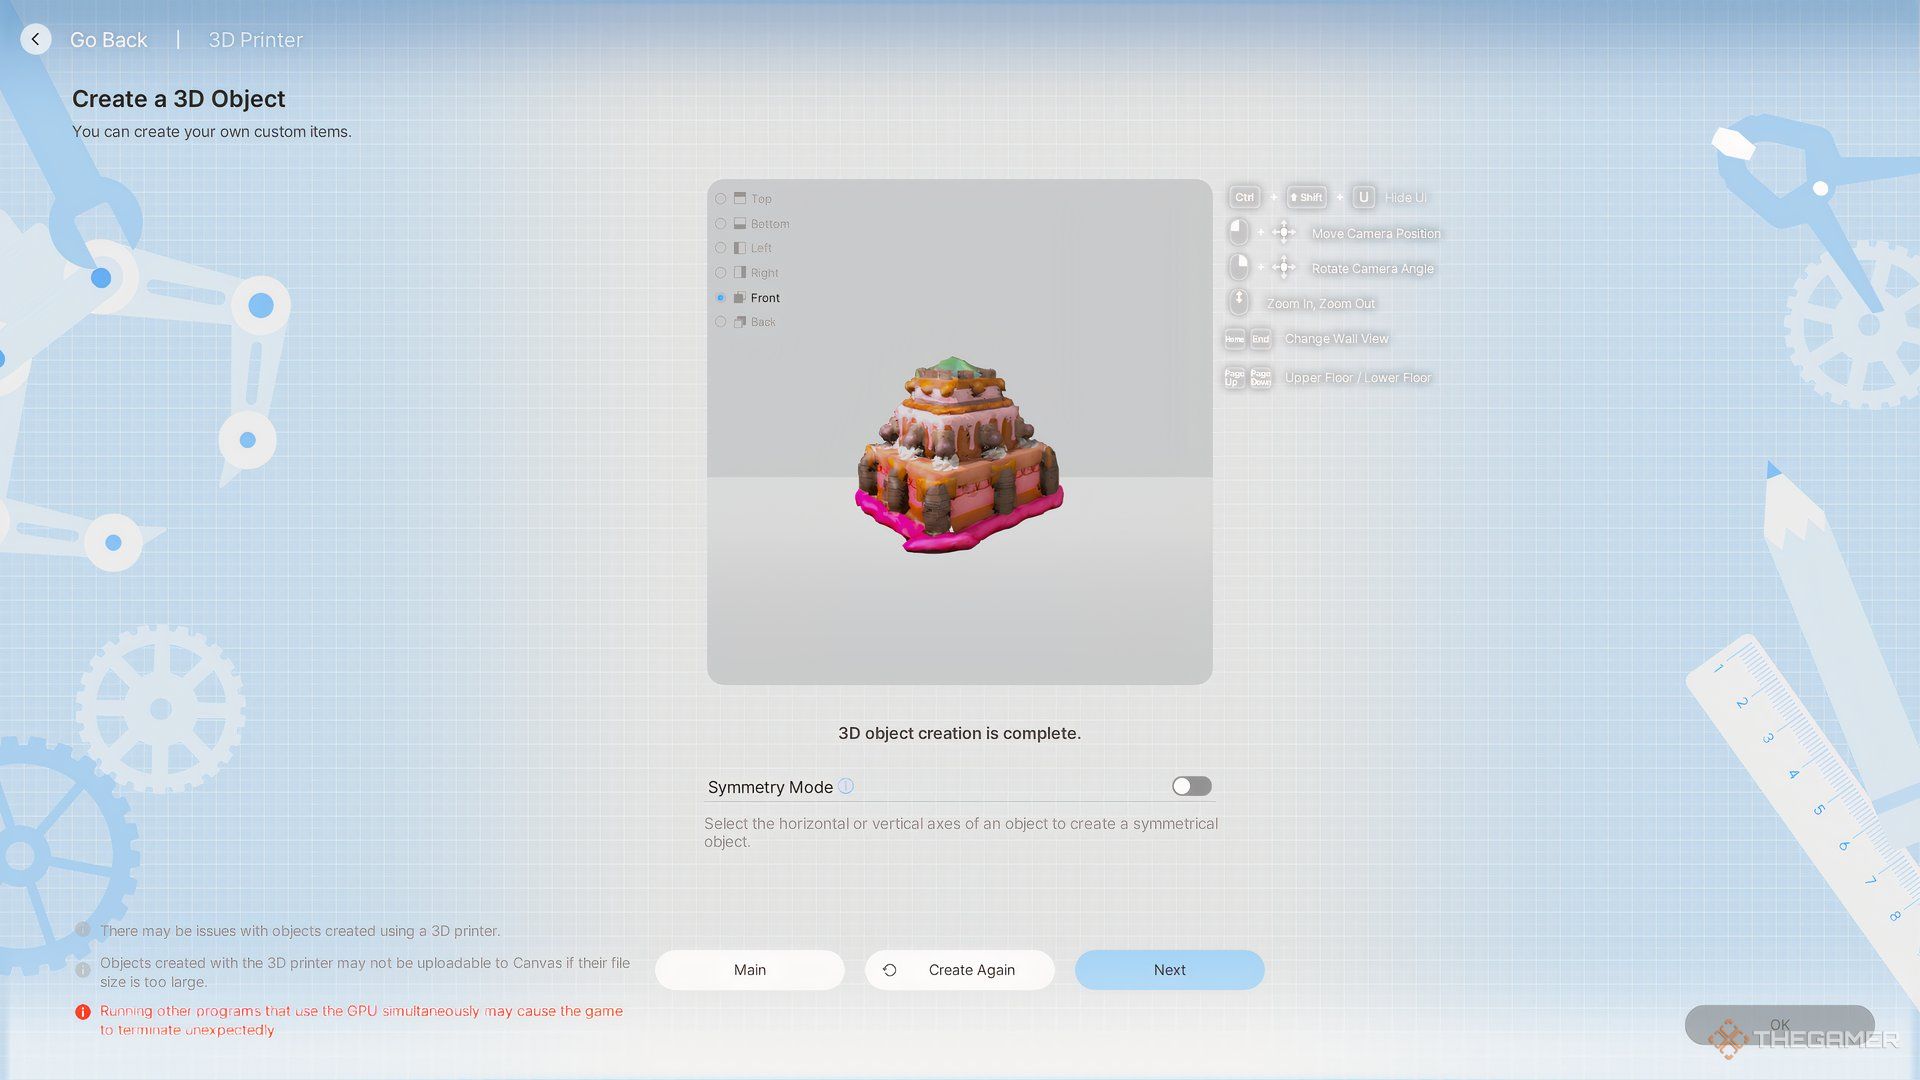
Once an object is created, you can use the X, Y, and Z-axis sliders below to adjust its rotation and positioning. When you’re happy with how it looks, click ‘Next’ to finalize the object’s location.
If you want the object to be symmetrical, enable the Symmetry Mode then generate the image again.
Utilize the X bar to change the size of the object, the Y bar to move it left or right, and the Z bar to move it up or down to place it on the desk.