I Am Future is a survival game that takes place in a post-apocalyptic setting. Unlike typical survival games, it offers a more relaxed experience, allowing you to enjoy life on your rooftop without too much pressure. You find yourself isolated from other humans, accompanied by chatty robots, while the world around you is largely underwater.
Although the game has a cozy vibe, survival is still essential. You’ll need to create useful items using technology, keep track of your hunger, and more. If you need a little help getting started, here are some beginner tips to ease your journey.
Fishing Early On Can Be Beneficial
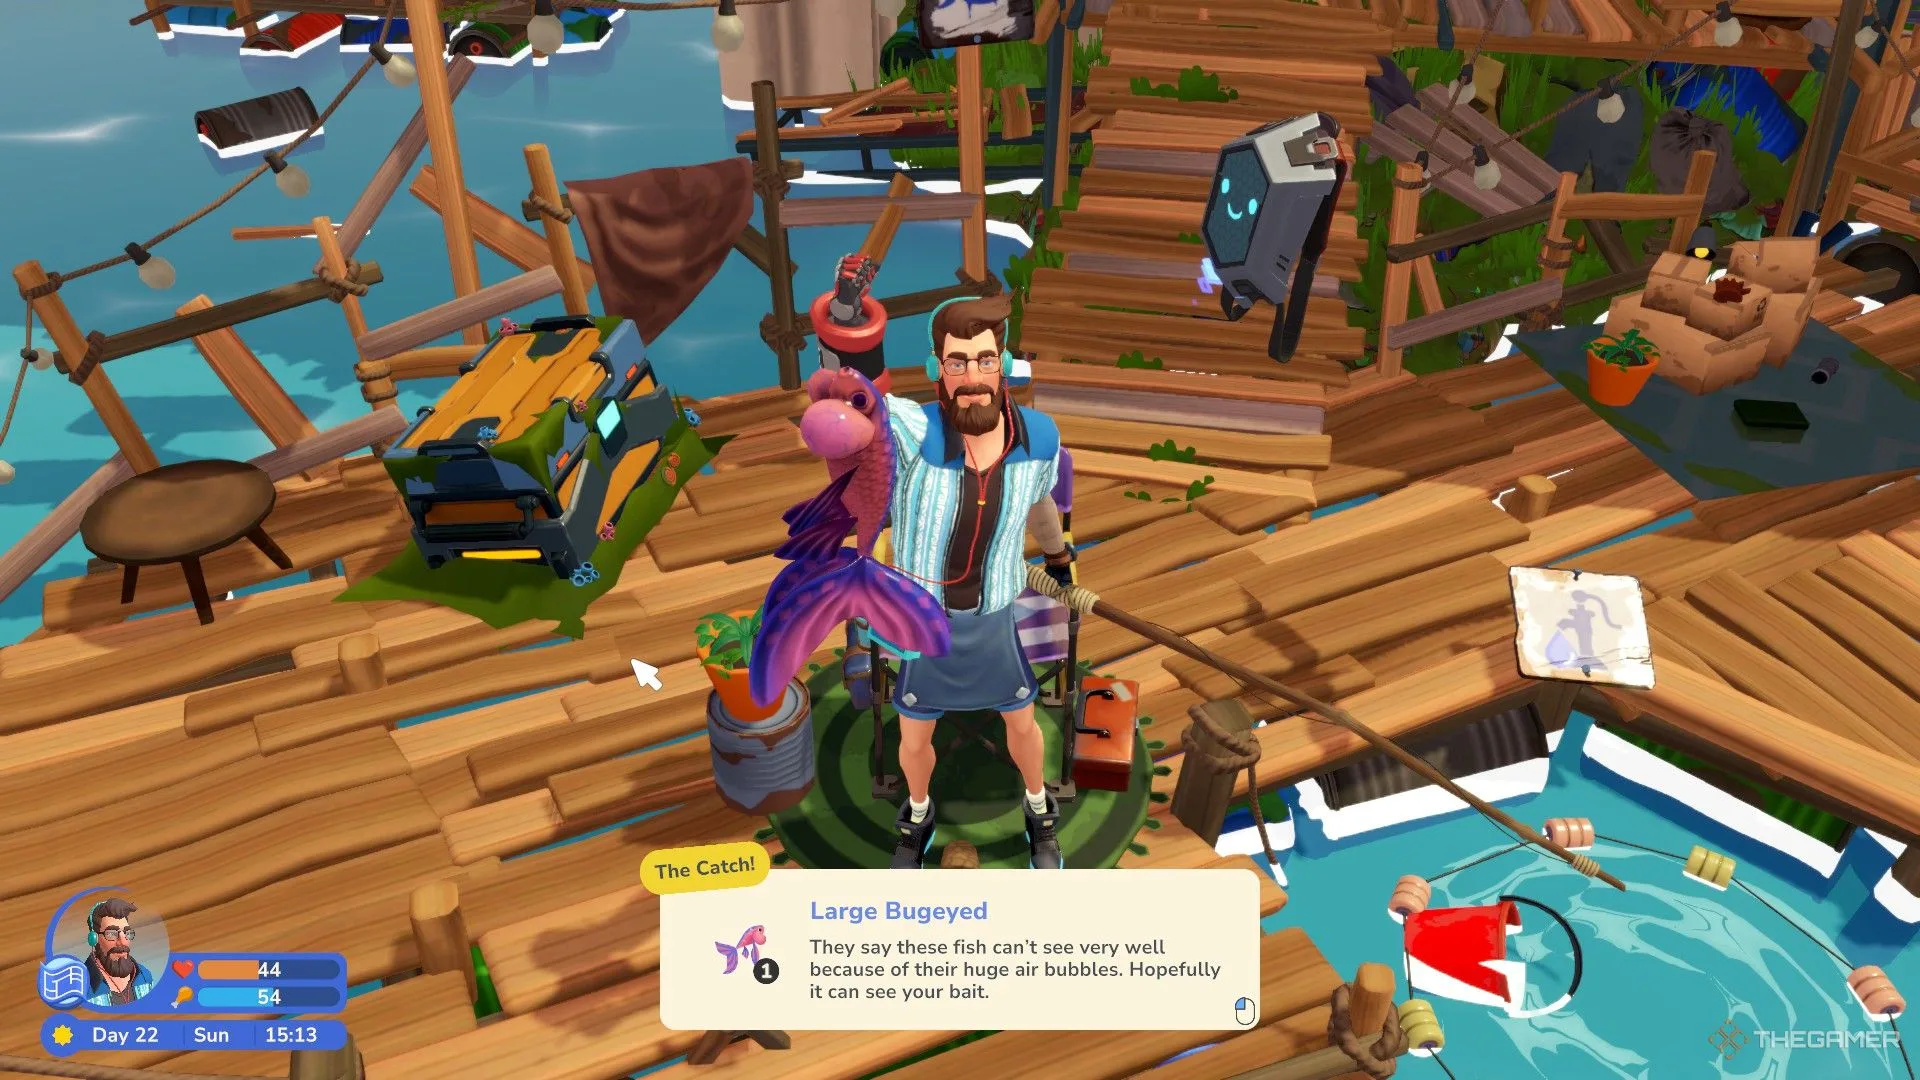
In the initial stages of the game, growing crops can be challenging due to a lack of fertilizer. Hunger is your main concern, and with limited options for growing food, you must be strategic about what you eat. The snacks you find on your rooftop aren’t very satisfying, so save them for cooking recipes. This makes fishing an ideal early-game strategy.
Through fishing, you can prepare some simple recipes. For example, you can make a dish called Patty. To catch fish early on, use worms or clams as bait. Worms come from farming, but since farming takes time, clams are easier to get. You can fish for clams without bait, though success isn’t guaranteed.
For a sure catch of clams, craft Mollusk Bait at the Workbench using Biomass. However, it’s best to avoid using Biomass as food since it doesn’t fill you up. Once you have clams, you can consistently catch Scaled Hardtooth and use Chef Mode at the Campfire to turn it into Fish Fillet and Fish Oil. Combining two Fish Fillets and one Fish Oil allows you to cook a Patty.
Keep Recipes Simple
Hunger is your most critical stat in the game, even more so than health. Your health rarely decreases, but your hunger meter will continuously drop, forcing you to search for food. Items like Biomass and Brightflower aren’t very filling, and it’s advisable to reserve those for recipes.
Experimenting with recipes at the Campfire can be fun, but at first, it’s better to stick with straightforward meals that don’t require many resources. For instance, you can make Baked Mushroom by roasting three Nightshrooms at the Campfire. Many dishes restore around 20-30 points of hunger, so Baked Mushrooms can sustain you for a while. Later, you can try more complex recipes like Seafood Salad or Burgers that restore more hunger, but it’s wise to build your cooking skills with simpler dishes for now.
Make The Most of Your Campfire
Using your campfire efficiently helps you save resources, especially since it consumes planks. While you can gather planks by cutting down trees, they take time to regrow. It’s best to prepare your meals in bulk. Before cooking, gather enough ingredients to make around ten servings at once to avoid frequently reigniting the fire.
If you’re low on fresh water, you can utilize the campfire’s heat to boil seawater, filling your barrels with fresh water. After you’re done cooking, instead of letting the fire extinguish on its own, make some coal to maximize your resource collection.
Placement of Garden Beds
When designing your base, the location of your garden beds is crucial. Make sure to keep them away from large purple plants, as these can attract leeches at night that will damage your crops, transforming them into Infected Weeds.
If you cannot fend off the leeches, you can pick them up and carry them away. Additionally, if you plan to set up sprinklers in the future, place your garden beds in an orderly fashion rather than scattered. And don’t worry if you set them up incorrectly; you can rearrange them once you get the Nano Transporter.
Resource Management
Planks and metal sheets are essential resources you will often need. As your character progresses, you’ll find yourself exploring farther from your base, making it tiring to carry these items back. For efficiency, unlock the blueprints for Metal Storage and Plank Storage early on. Store any planks and metal sheets you gather in these storage units to avoid frantic searches later. If your character’s hunger stat exceeds 65, they can carry two planks simultaneously, helping you save time.
Use the Pin Feature to Keep Track of Materials
As you progress, you’ll need to craft and upgrade many items, making it easy to lose track of the materials required, especially for major tasks like building the bridge. The solution is simple: use the pinning feature. Just click on the item you wish to craft or upgrade; the paperclip icon in the lower right corner will let you pin the necessary materials to the side of your screen, helping you remember them easily.
Collect U-Coins Early
Although there are plenty of resources on the rooftop, many are not infinite. You will need various materials, essential items, seed packets, and more to progress. After repairing the Smart Tower, send your drone on expeditions to gather small amounts of resources.
Among these locations are stores where you need U-Coins to acquire items. The only way to get U-Coins is through the Crypto Farm. Building this early is advantageous, as it will enable you to buy materials when you’re running low. While one Crypto Farm can generate enough U-Coins, having two guarantees you won’t experience a shortage.
Organize Your Resources
Since the resources you pick up will vary, inventory management should be a priority. Build at least three Small Storage units and label them for easy organization. This way, you’ll know where to find specific materials when you need them.
Additionally, seek out Backpack Modules to create more space within your inventory. By dismantling the broken minion next to the Smart Tower, you can earn an Inventory Cell, or you can purchase one from the vending machine near Earl, the talking fridge. These Inventory Cells can be crafted into Backpack Modules, streamlining your resource management.


